Configuring staff levels to change item routing
Use the Staff Level function to switch to different routing rulebooks on the fly in the kitchen, when you use multiple routing rulebooks. You must create a staff level for each routing rulebook you created. To implement, you must create a staff level, attach a default staff level to your kitchen settings, and add a 'Set Staff Level' command button to a kitchen screen.
To configure staff levels: Create a staff level for each routing rulebook you use. You must attach a routing rulebook to a staff level for it to appear for selection on the Set Staff Level screen.
- With Kitchen selected in the product panel, select Maintenance > Kitchen Configuration > Staff Level.

- Click New.
- Type a name for the staff level.
- Select the routing rulebook to use for this staff level from the 'Routing rulebook' drop-down list.
- Click Save.
- Repeat this procedure for other staff levels you want to create.
- Click Close and exit the Staff Level function.
To assign a default staff level in kitchen settings: You must attach a default staff in kitchen settings. This staff level is in use at all times for the whole store until you select another.
- With Kitchen selected in the product panel, select Maintenance > Kitchen Configuration > Kitchen Settings > Kitchen tab.
- Under the 'Defaults' group bar, select the staff level from the 'Default staff level' drop-down list.
- Click Save.
- Click Close and exit the Kitchen Settings function.
To provide the ability to change a routing rulebook: You can provide access to view task information for an item by either adding the Set Staff Level command to a bump bar layout or adding the Set Staff Level command to a touch screen terminal.
To add a Set Staff Level command to a bump bar layout:
- With Kitchen selected in the product panel, select Maintenance > Hardware > Bumpbar Layout.
- Select a bump bar layout from the 'Bumpbar Layout' drop-down list.
- Select the Design tab.
- Select a function button from the design and select Set Staff Level from the 'Command' drop-down list.
- Click Save.
- Repeat this procedure for other bump bar layouts you want to change a routing rulebook.
- Click Close and exit the Bumpbar Layout function.
To add a Set Staff Level command to a kitchen screen:
- With Kitchen selected in the product panel, select Maintenance > Hardware > Kitchen Screen.
- Select a kitchen screen from the 'Kitchen Screen' drop-down list.
- Select the Design tab.
- Select the Commands subtab.
- Click Add. The system adds a blank row under the 'Commands' group bar.
- Select Set Staff Level from the 'Commands' drop-down list.
- Click Save.
- Repeat this procedure for other kitchen screens you want to change a routing rulebook.
- Click Close and exit the Kitchen Screen function.
To use staff levels to change item routing:
Once you create your staff levels and add the staff level commands, you can change a routing rulebook on demand.
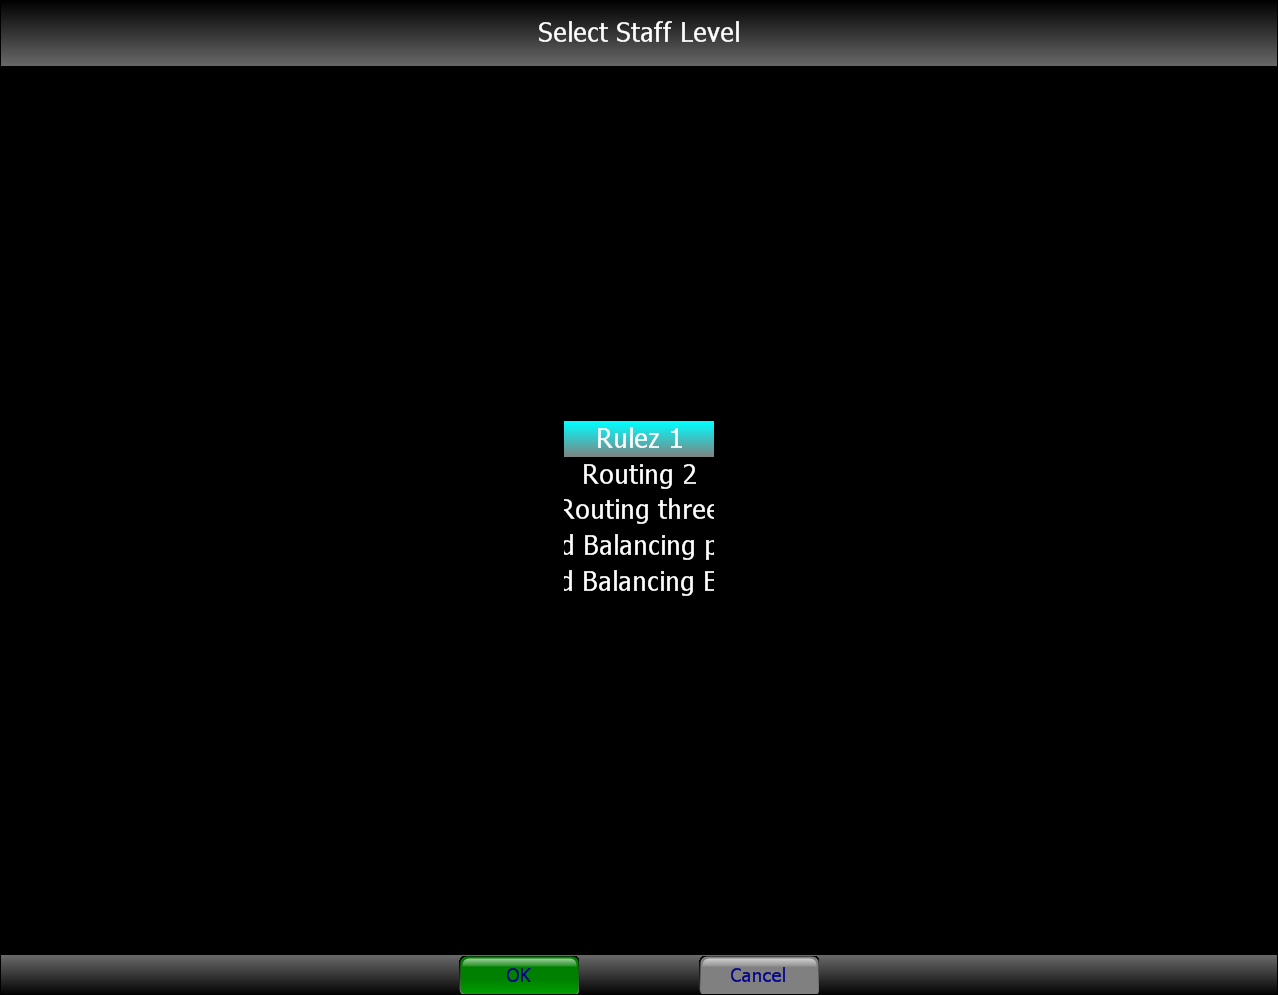
- Select the Set Staff Level command, using either a touch screen or bump bar. The Select Staff Level screen appears with all routing rulebooks configured with a staff level attached.

- Select a routing rulebook.
- Exit the Select Staff Level screen by either clicking OK with a touch screen terminal, or pressing the Set Staff Level command again from the bump bar.