Customizing your kitchen screens
You can customize the graphical display and behavior of your kitchen screens. Customization methods include screen type, fixed cell, split screen, skin colors, and headers and footers. Use screen customization to enhance an employees interaction with a kitchen terminal within a specific area of an operation.
Defining kitchen screen types
Aloha Kitchen provides a number of different screens for your kitchen staff to assist them in the preparation and production of items.
Production order view
The 'Production order view' kitchen screen type displays order information with a start and a cooking queue; however, you can hide the start section when you set the percentage to 0. This screen is always used at the production station. Click the New drop-down arrow, select Production order view, and click OK to enable this screen.
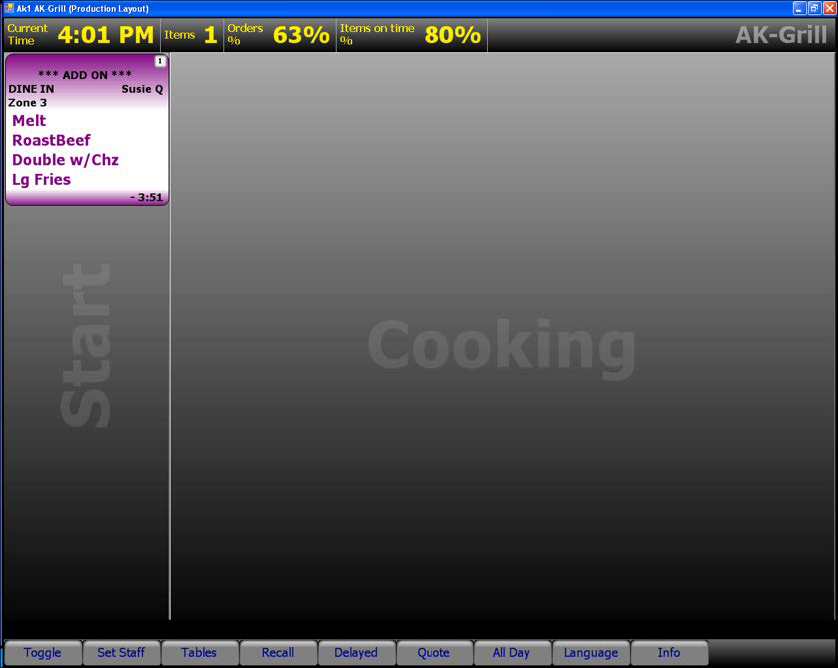
Production start only The 'Production start only' kitchen screen type displays item information with a start queue only. Production employees can only start items. This screen is always used at the production station. Click the New drop-down arrow, select Production start only, and click OK to enable this screen.
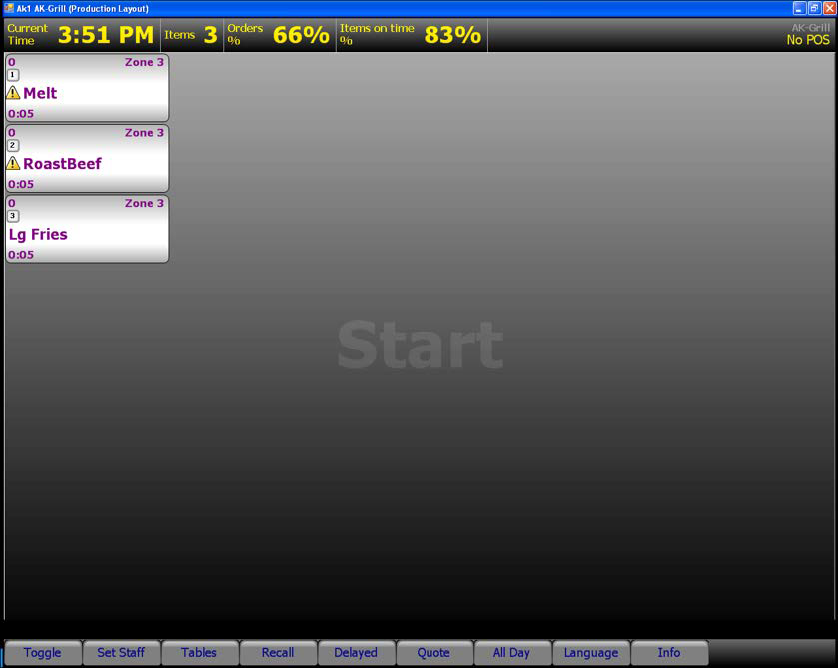
Production line item
The 'Production line item' kitchen screen type displays item information with a cooking section only. This screen is always used at the production station and is the least used screen type. Click the New drop-down arrow, select Production line item, and click OK to enable this screen.
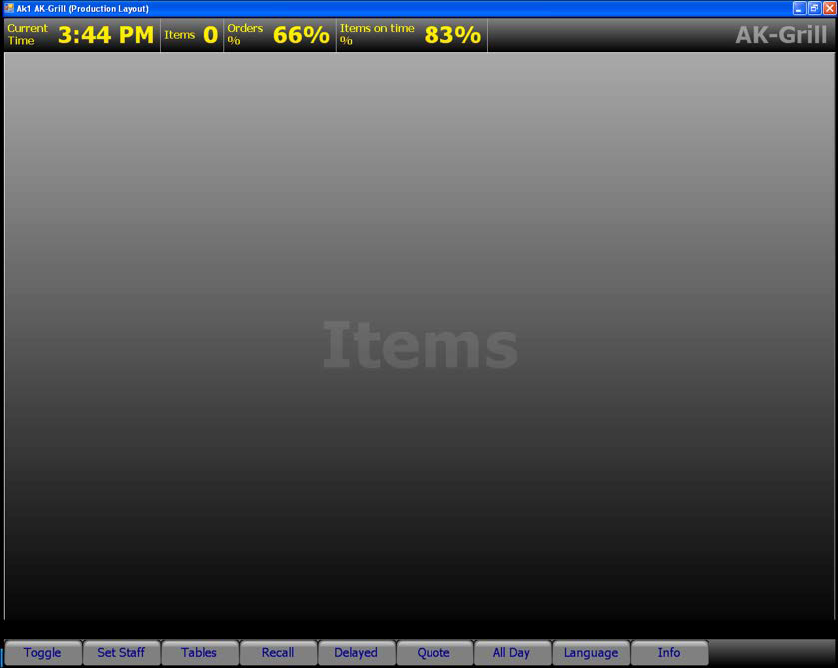
Production cooking only
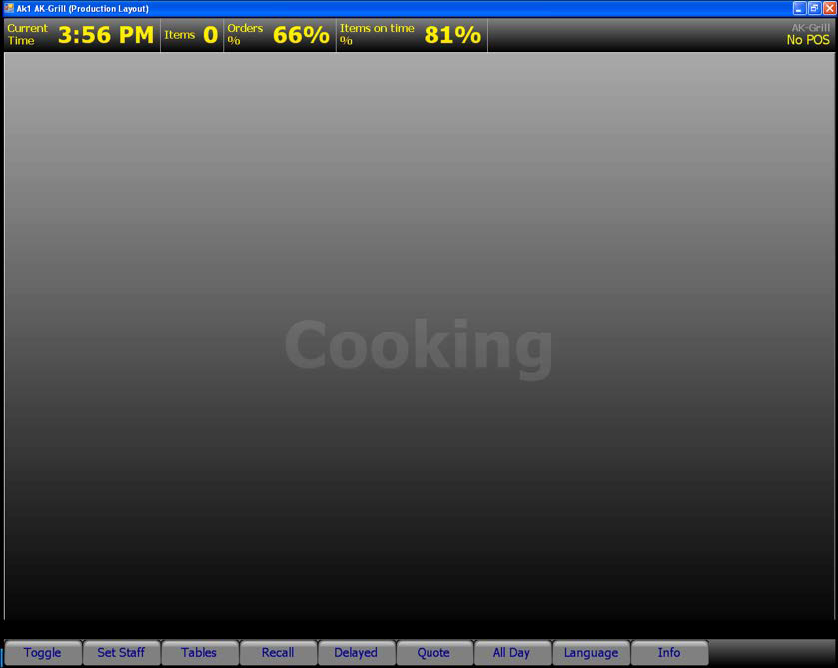
The 'Production cooking only' kitchen screen type displays item information with a cooking section only. Production employees can bump items only. This screen is always used at the production station. When you create a new kitchen screen, Click the New drop-down arrow, select Production cooking only, and click OK to enable this screen.
Enabling fixed cell orientation
Aloha Kitchen has the ability to display the cells on a kitchen screen with a static width and length. Fixed cell orientation is only supported for Expo Order View and Production Order View kitchen screen types.
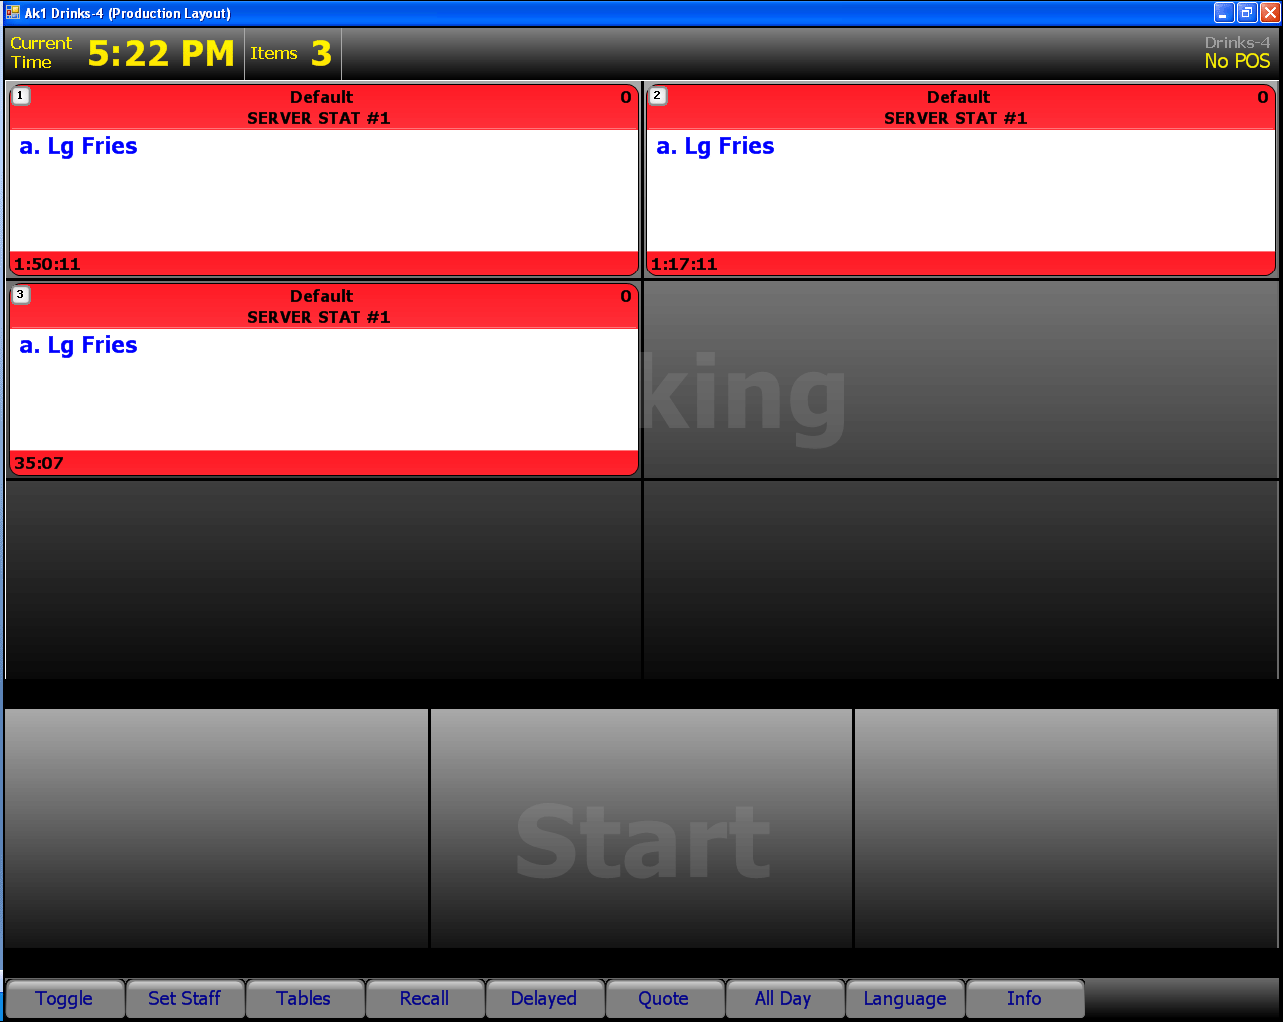
To enable fixed cell orientation:
- With Kitchen selected in the product panel, select Maintenance > Hardware > Kitchen Screen.
- Select a screen from the 'Kitchen Screen' drop-down list.
- Under the 'Display options' group bar, configure the following:
- Select Enable Fixed Cell.
- Type the number of rows to display in 'Number of rows.'
- Type the number of rows to display in the Start area in 'Start queue rows.'
- Type the number of columns to display in 'Number of columns.'
- Type the number of columns to display in the Start area in 'Start queue columns.'
- Click Save in the Command panel.
- Repeat this procedure for other kitchen screens you want to support fixed cell orientation.
- Click Close in the Command panel to exit the Kitchen Screens function.
To provide the ability to navigate with fixed cell orientation:
If you are using a touch screen terminal, you simply need to touch the cell for selection; however, if you are using a bump bar, you must configure a different set of bump bar layout commands to support navigation with fixed cell orientation. Use this bump bar layout in place of the one described in the Aloha Kitchen Getting Started Guide.
-
With Kitchen selected in the product panel, select Maintenance > Hardware > Bumpbar Layout.
-
Select a bump bar layout from the 'Bump bar layout' drop-down list.
-
Click the Design tab.
.png)
-
Click the left function box of the bump bar layout.
-
Select a function button from the 'Command' drop-down list, such as 'Start.' The system automatically populates the 'Text,' 'Button color,' and 'Text color' for the button 6. based on the function you selected, however, you can change these attributes, as needed.
-
Click the next function button to the right and select another command.
-
Repeat step 6 to configure the following commands, depending on if you are using Aloha Quick Service or Aloha Table Service.
Bump Bar Layout Commands for a production station
(starting with the large box on the left and moving clockwise)QS and TS Bump Selected Bump Cell 1 Selected Bump Cell 2 Selected Bump Cell 3 Selected Bump Cell 4 Selected All Day Selected Display (Toggle Display) Selected Item Cursor Up Selected Print Selected Item Cursor Down Selected Info Selected Select Staff Selected Bump Cell 8 Selected Bump Cell 7 Selected Bump Cell 6 Selected Bump Cell 5 Selected -
Click Save in the Command panel.
-
Repeat this procedure for other bump bar layouts for fixed cell orientation, if needed.
-
Click Close in the Command panel to exit the Bumpbar Layout function.
Enabling split screen orientation
You can enable split screens in Aloha Kitchen. This is typically used at the expo station for an overall view of the kitchen.
To enable split screen orientation:
- With Kitchen selected in the product panel, select Maintenance > Hardware > Terminals.
- Select an Aloha Kitchen terminal from the 'Terminal' drop-down list.
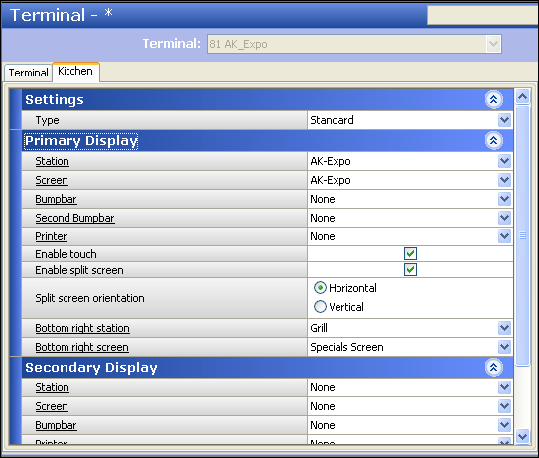
- Select the Kitchen tab.
- Under the 'Primary Display' group bar, configure the following:
- Select Enable split screen to allow the terminal to use a split screen. The system adds additional options.
- Select Horizontal or Vertical from the Split screen orientation to determine if the split screens will be side-by-side or one on top of the other.
- Select a kitchen station from the 'Bottom (right) station' drop-down list.
- Select a kitchen screen from the 'Bottom (right) screen' drop-down list.
- If you are using a secondary display, configure the following under the 'Secondary display' group bar:
- Select Enable split screen to allow the secondary display on the terminal to use a split screen. The system adds additional options.
- Select Horizontal or Vertical from the Split screen orientation to determine if the split screens on the secondary display will be side-by-side or one on top of the other.
- Select a kitchen station from the 'Bottom (right) station' drop-down list.
- Select a kitchen screen from the 'Bottom (right) screen' drop-down list.
- Click Save in the Command panel.
- Repeat this procedure for other terminals you want to configure split screen functionality.
- Click Close in the Command panel to exit the Terminals function.
To provide the ability to access individual split screens:
If you are using a touch screen terminal, you simply need to touch the individual screens for selection; however, if you are using a bump bar, you must configure additional bump bar layouts for each split screen. Refer to the Aloha Kitchen Getting Started Guide for more information on configuring a bump bar layout.
- With Kitchen selected in the product panel, select Maintenance > Hardware > Bumpbar Layout > Design tab.
- Select a bump bar layout from the 'Bumpbar Layout' drop-down list.
- Select a function button from the bump bar layout.
- Under the 'Settings' group bar, select Top (left) or Bottom (right) to specify which split screen on which the button will function.
- Repeat steps 3 and 4 to until you configure the split screen for each function of the bump bar layout.
- Click Save in the Command panel.
- Repeat this procedure for each bump bar layout for each split screen.
- Click Close in the Command panel to exit the Bumpbar Layout function.
Creating a customer order display
A customer order display screen is available to use with both Aloha Quick Service and Aloha Table Service, but is used primarily in a quick service counter environment. The screen uses a dedicated customer-facing terminal that allows the guest to monitor the status of their order, by name or order number. You can connect a bump bar and printer, as you do with any other terminal; however, it is more common to have customer orders automatically remove from the screen without user intervention, after a certain amount of time.
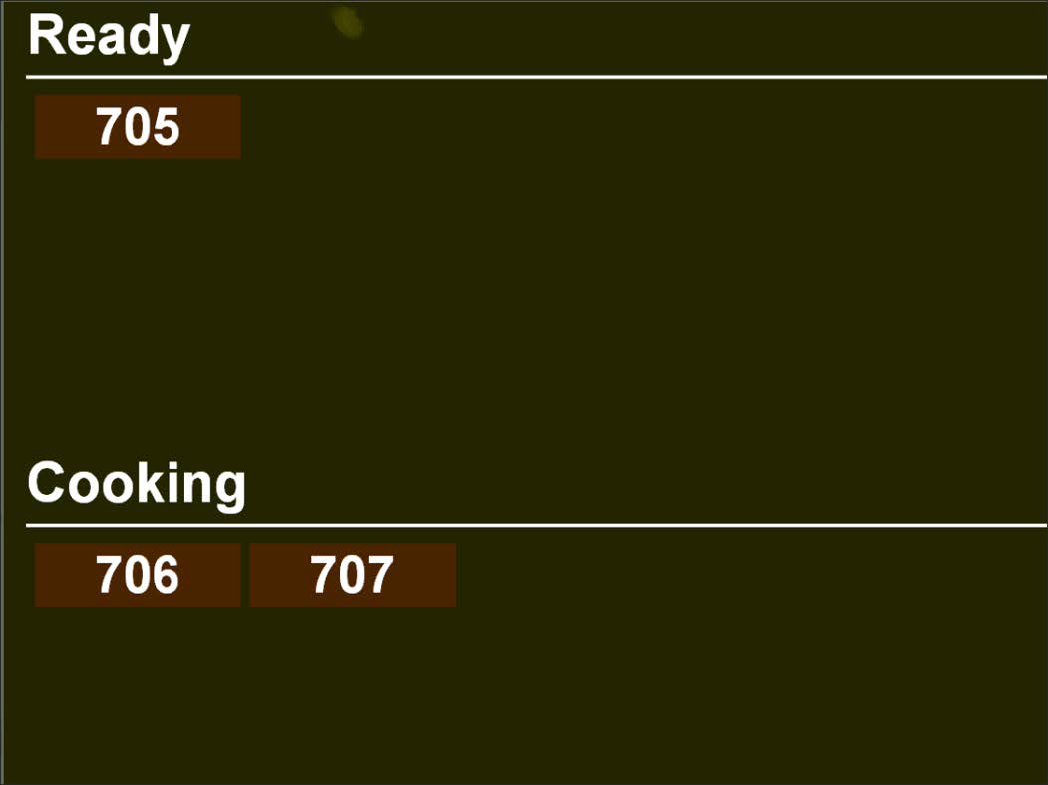
Some benefits for using a customer order display are:
- Keeps the guest informed of the status of their order and deters them from congregating around the counter and asking about the status of their order.
- Allows you to customize the background and cell colors of the screen.
- Allows you to add graphics or scrolling media files to the screen for promotional needs or branding of the restaurant.
Reference: Refer to the Customer Order Display Feature Focus Guide for complete information on configuring and using a customer order display screen.