Configuring interface terminals for Mobile Pay
It is necessary to configure one interface terminal for each order entry terminal in your Aloha POS system.
Note: DO NOT assign an interface employee to any interface terminal you create for Mobile Pay.
To configure an interface terminal for each order entry terminal:
-
Access Maintenance > Hardware > Terminals.

-
Click the New drop-down arrow and click OK. For CFC sites, select a store and click OK.
-
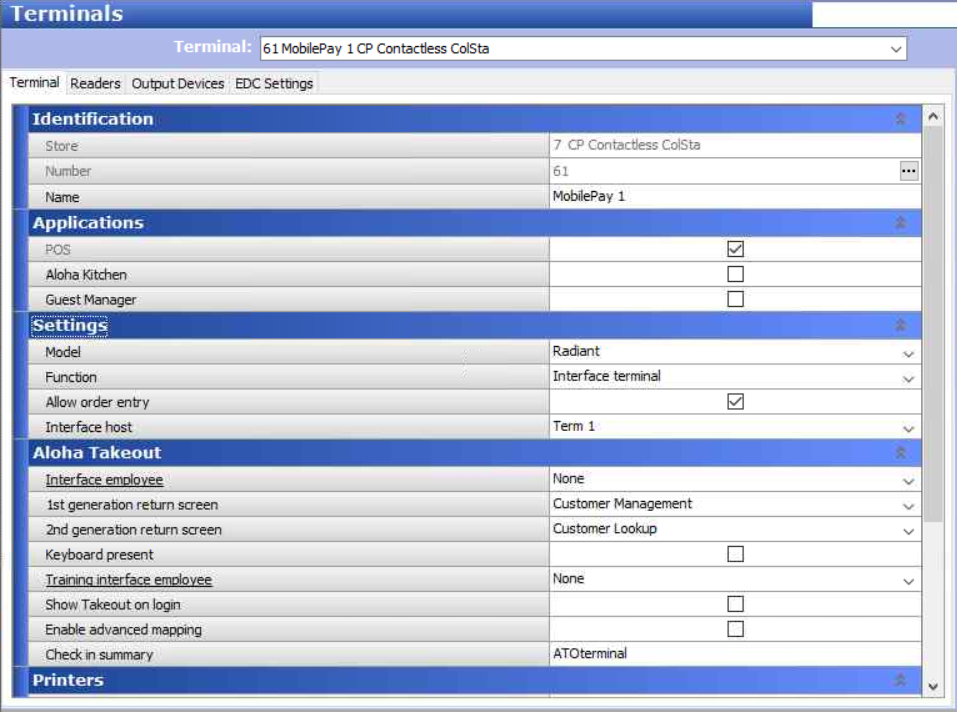
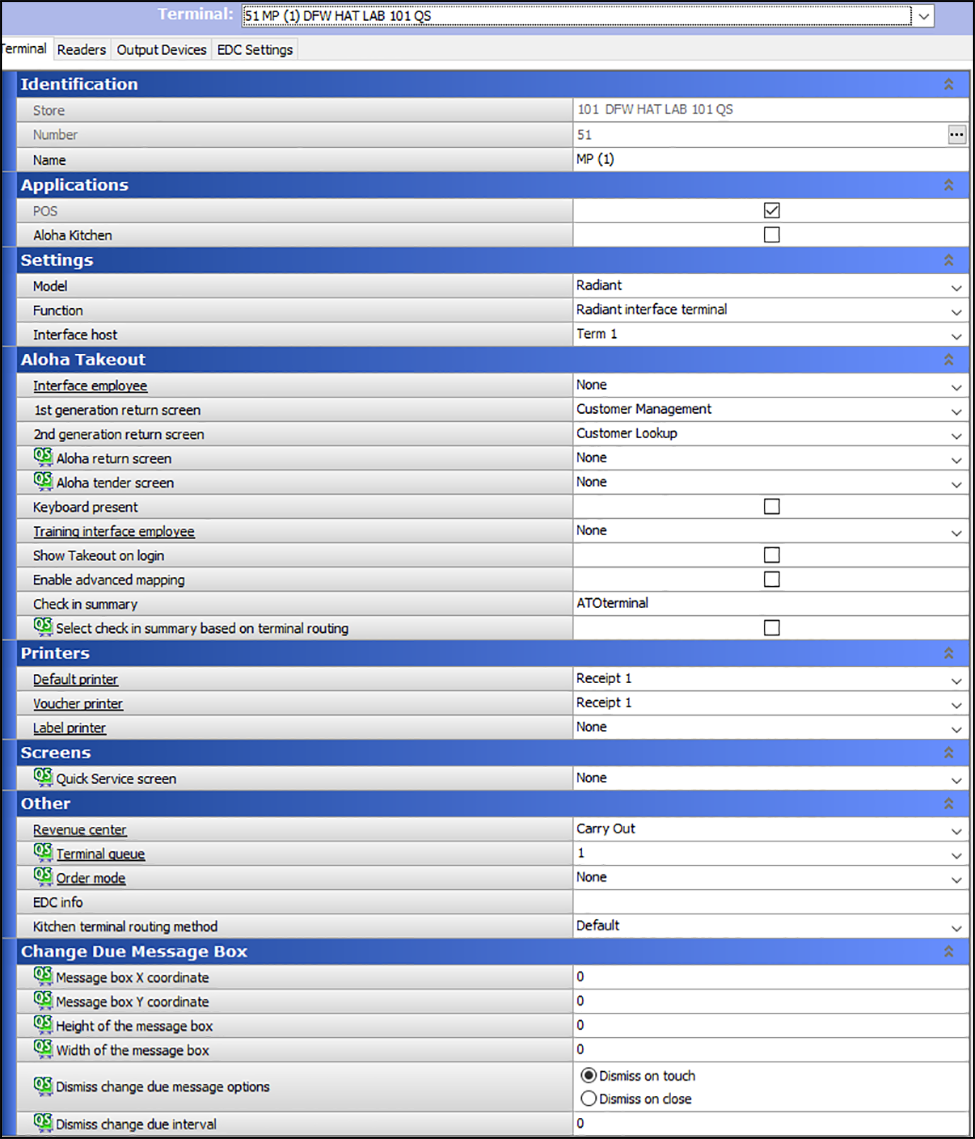
Type a name for the terminal in the 'MP (x)' format, where 'x' is the ID of the interface terminal's host terminal. For example, 'MP (1)' is defined for physical terminal (host) number 1, 'MP (2)' for Terminal #2, 'MP (8)' for Terminal #8, and so on.
-
Under the 'Applications' group bar, select POS.
-
Under the 'Settings' group bar, select Radiant from the 'Model' drop-down list.
-
Select Radiant interface terminal from the 'Function' drop-down list.
-
Under the 'Printers' group bar, select the same printer defined as the 'Default printer' for the 'Interface host.' This printer prints the receipts for a check.
-
Select the same printer defined as the 'Voucher printer' for the 'Interface host.' This printer prints the credit card vouchers for a check.
-
Under the 'Other' group bar, select the same revenue center defined for the 'Interface host'.

Note: You can also copy each terminal and change the required fields.
-
Repeat these steps to create an interface terminal for each order entry terminal in your Aloha POS system.
-
Click Save.
-
Repeat this procedure until you create an interface terminal for each order entry terminal.
-
Exit the Terminals function.