Configure a Delivery Zone
Aloha Online Ordering can use a defined delivery radius or a delivery zone to determine a delivery area for your online ordering. By default, Aloha Online Ordering uses the defined delivery radius set in Configuration > Site Setup > Sites > Site Details tab. It is possible to have some site locations using a delivery radius, and other site locations using a delivery zone.
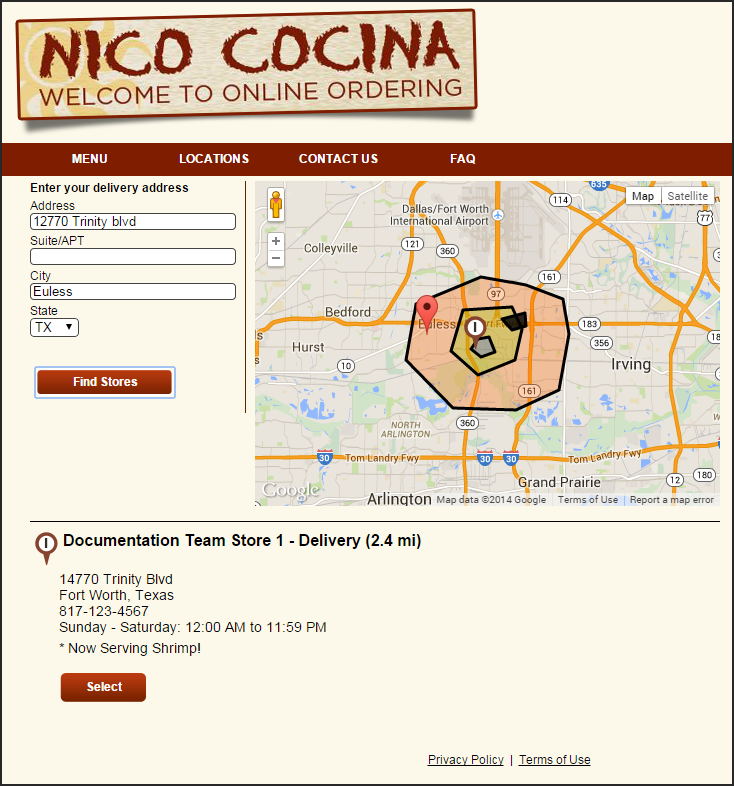
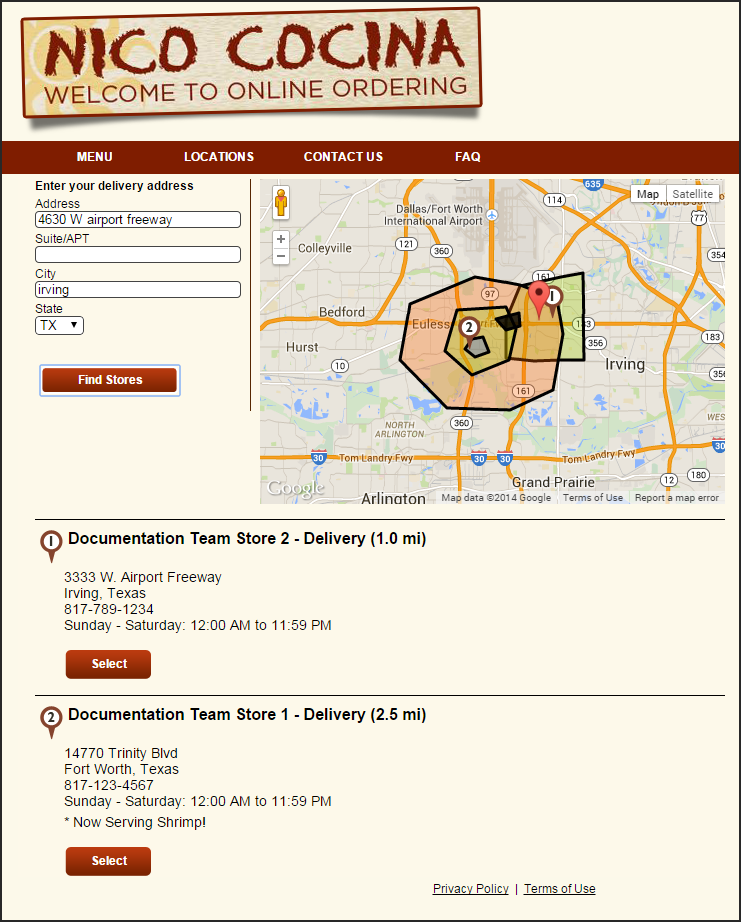
You configure a delivery zone by site location. Additionally, you can define areas within a delivery zone to which you do not deliver. When you configure the delivery zone for a site location, the delivery area appears on the online ordering site. For site locations close together, it is possible to create delivery zones that overlap. Consumers can then choose the store location from which to place an online order for delivery. If a consumer enters an address for delivery, and the address falls outside the delivery area, the online ordering site allows the consumer to place an order for pickup.
💡 Prior to configuring a delivery zone, you must contact your Aloha Online Ordering representative or send an email message to the Aloha Online Ordering Team at support@alohaenterprise.com to enable delivery zone functionality for you.


To configure a delivery zone:
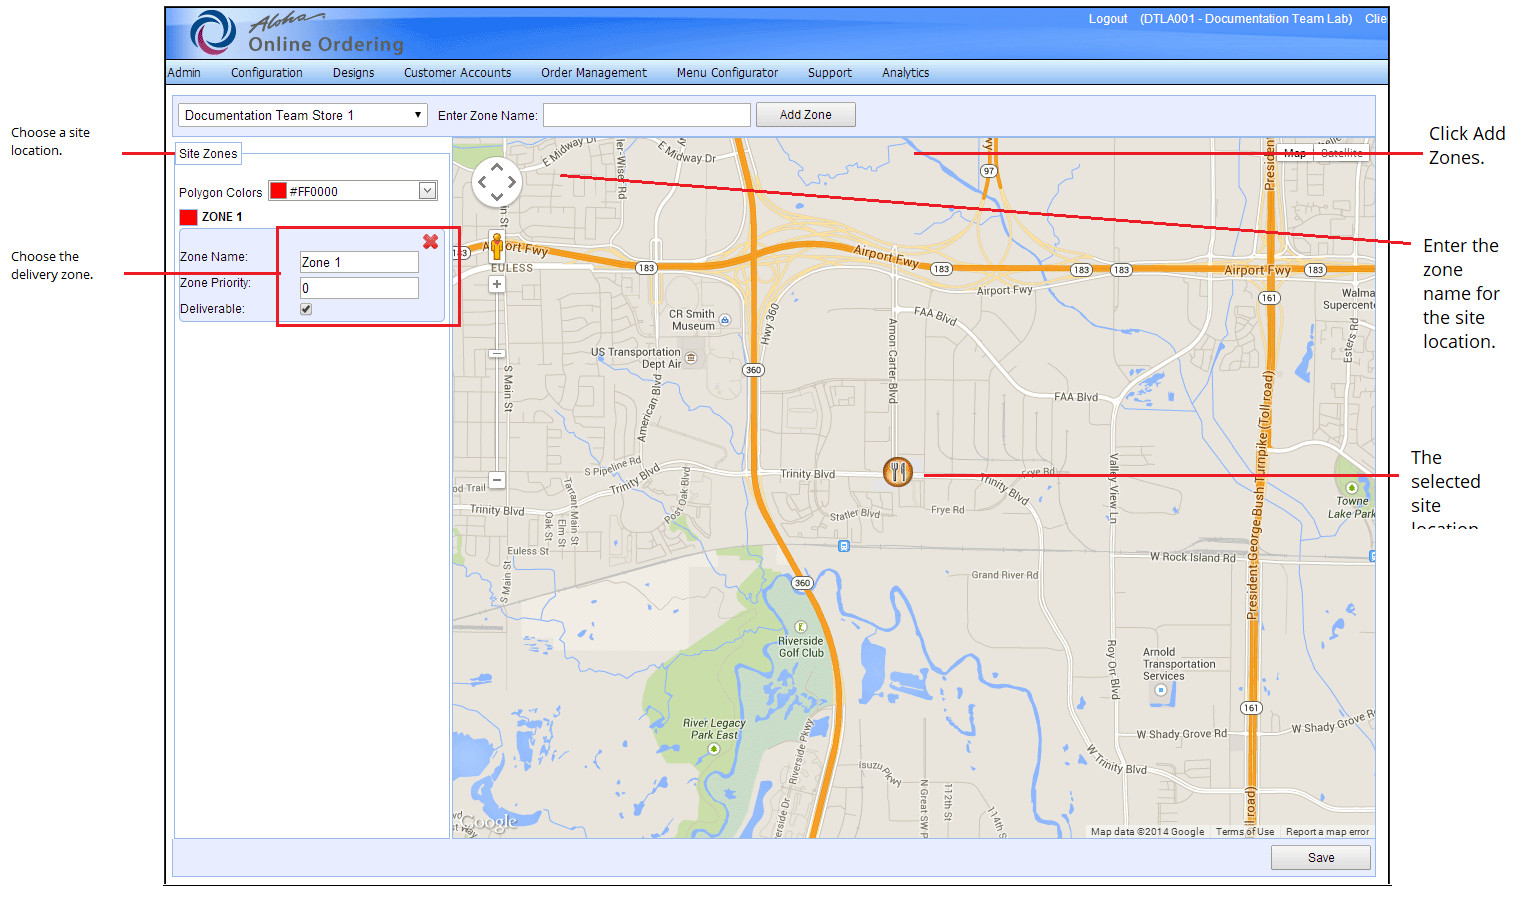
- In Web Admin, select Configuration > Delivery Zones > Delivery Zone Configuration.

- Select the site location for which to add a delivery zone from the ‘Select Site’ drop-down list. The system navigates to a map view, and indicates the site location on the map. If the system navigates to a different address, reset the longitude and latitude settings for the site location using the Geocode button in Configuration > Site Setup > Sites > Site Details tab.
- Type a name for the delivery zone.
- Click Add Zone. The delivery zone you create for the site location is exclusive to the selected site location. The system adds ‘Site Zones’ to the left of the map.
- (Optional) Change the color for the delivery zone, using one of the following:
Select the color from the color palette from the ‘Polygon Colors’ drop-down list.
-OR-
Enter the polygon color number. - (Optional) Enter the numeric value for the zone priority of the delivery zone. By default, the system sets the value to ‘0.’ Zone priority determines which zone to use when an address falls across multiples zones, since different zones may have different delivery fees. For example, for an outer delivery zone you may charge a delivery fee of $5.00, and for an inner delivery zone you may charge a delivery fee of $4.00. When an address appears in all zones, zone priority indicates which zone to use when assessing a delivery fee.
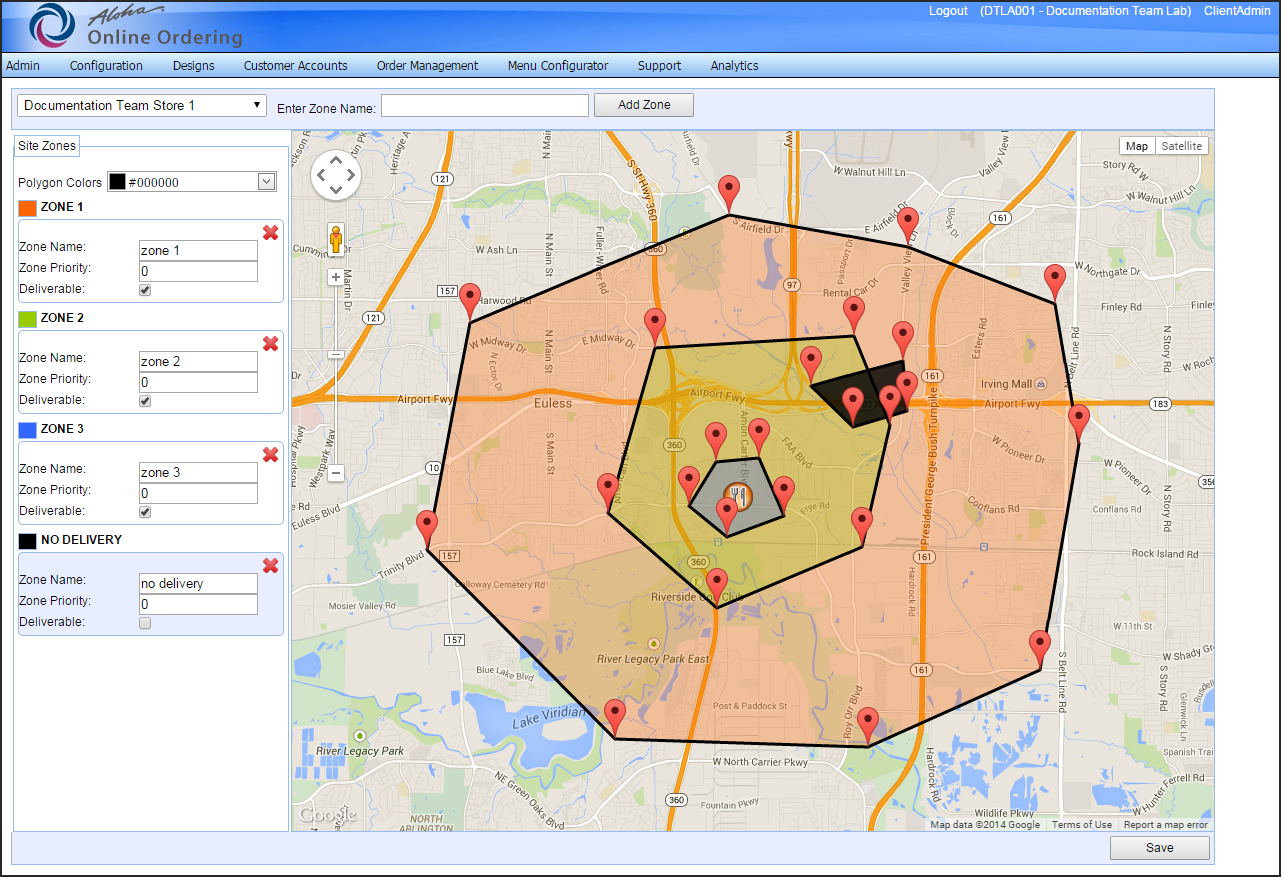
- Confirm the delivery zone is for delivery. By default, the system selects deliverable for the delivery zone. If you want to create an undeliverable delivery zone, clear Deliverable. You may want to create an undeliverable delivery zone for areas with high crime rates. Undeliverable delivery zones appear in black on the map. You may want to consider creating undeliverable delivery zones first.

- Determine the boundary points of the delivery zone, and click those points on the map. The system places a red marker icon at the boundary point. To move a boundary point, press and hold the left mouse button on the boundary point, drag the boundary point to the desired location on the map, and release the left mouse button.
- Click Save.