Designing the voucher for a campaign
To define and format a voucher to print for a campaign in which you are trying to drive traffic back into your restaurant at a later date, use the layout of the General message' type in Print Designer. We recommend you begin by copying the default General Message' template provided for you, rather than creating a layout from scratch, to save time and to complete the task more quickly. You can then remove elements from, or add elements to, your new layout, and move elements up or down, to change the order in which they appear on the voucher.
- Select Maintenance >Hardware >Print Designer.

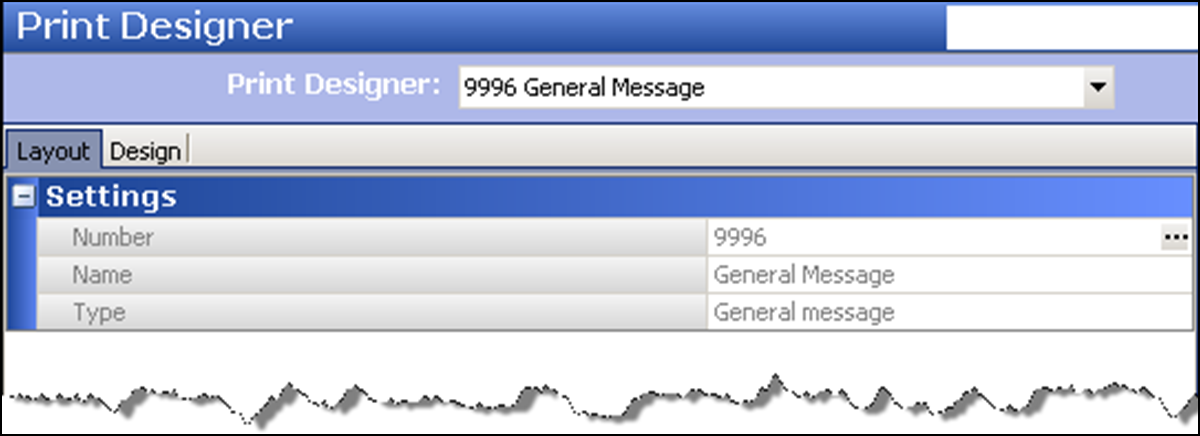
- Select 9996 General Message from the 'Print Designer' drop-down list, if not already selected.
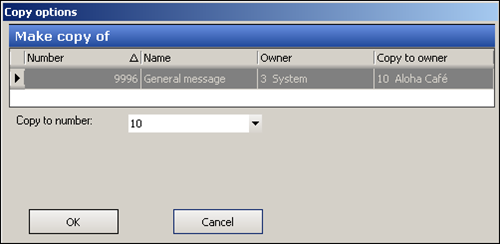
- Click Copy in the Command panel to display the copy options.

- Accept the system assigned number or click the drop-down arrow next to 'Copy to number' to display the Number Assignment dialog box, from which you can choose an alternate number, and click OK.
- Replace the default text of General Message in 'Name' with text that helps identify the layout, such as 'Guest Appreciation.'
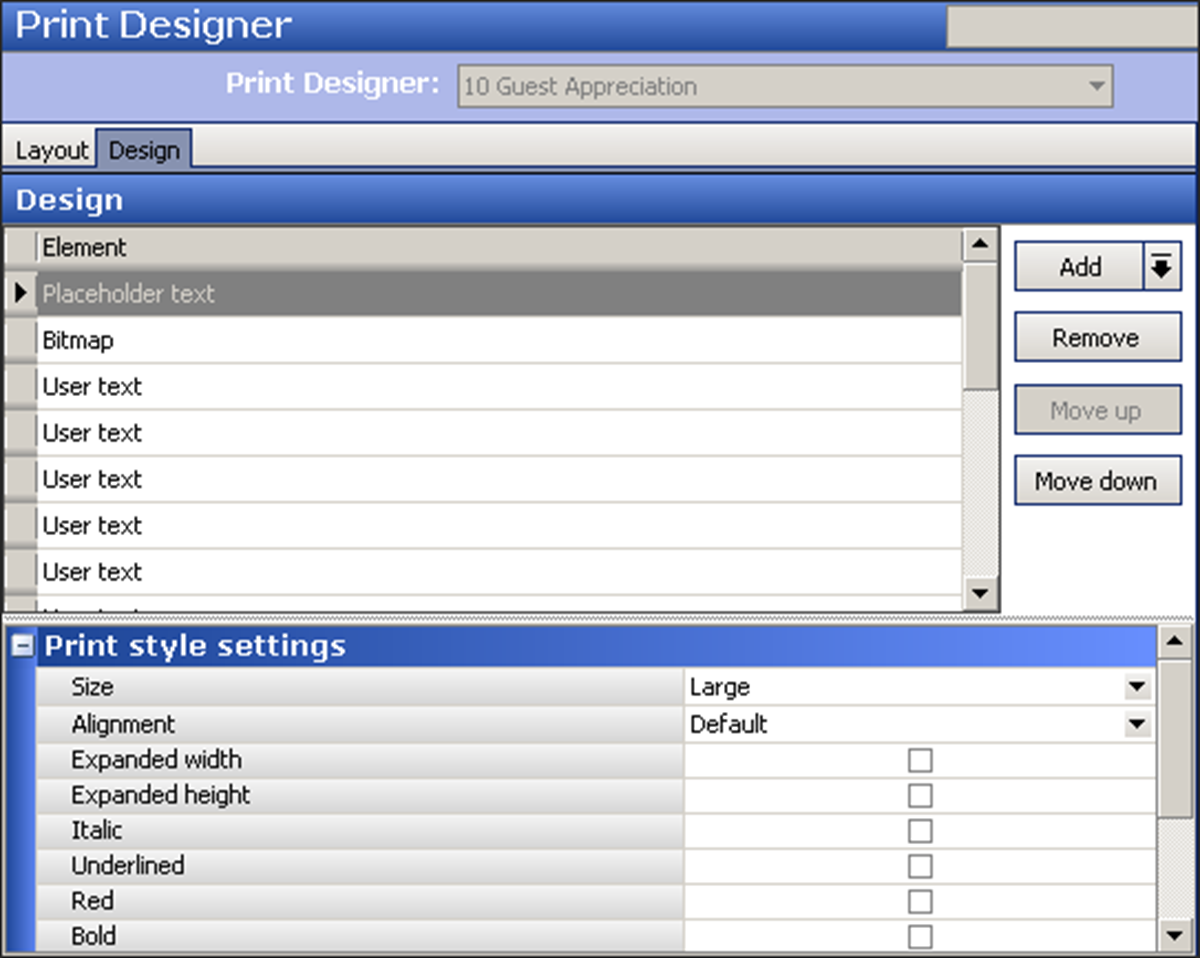
- Click the Design tab. The default layout for the 'General message' layout appears.

- Add or remove elements to the layout, based on your needs. For example, to insert a blank line between two lines of text, click the Add drop-down arrow, select Linefeed as the type, and click OK.
- Use Move Up and Move down to change the order in which elements appear in the layout.
- Select an element under the 'Design' group bar and options specific to that element appear under the 'Print style settings' group bar. Customize each element as you see fit.
- Select the relative size of printed text for the selected element from the ‘Size’ drop-down list. Your choices are Large, Medium, Small, Very small, and Very large.
- Select Expanded width, to stretch the printed element horizontally across the line.
- Select Expanded height, to increase the height of the printed element.
- Select Italic, Underlined, Red, or Bold, to change the appearance of the element, if desired.
- For 'User text' elements, under the 'User text settings' group bar, type the text to appear on that line of the voucher.
- To establish the number of calendar days after printing the voucher an offer is valid, select the Redemption period element under the 'Design' group bar and type the number of days, such as 10. The system then determines the redemption period beginning with the next business date. For example, if you print the voucher on January 7th, the redemption period will be from January 8th to January 18th.
- Click Save and exit the Print Designer function.
Continue to "Creating a customer survey."