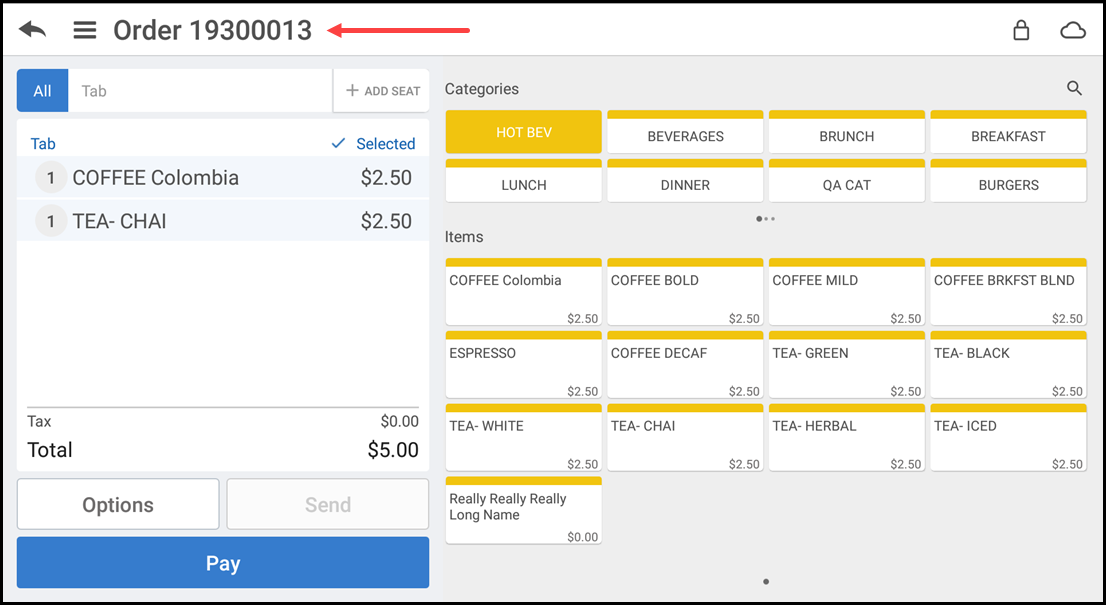
Assigning a customer to a guest check
Capturing customer information allows customers to earn loyalty rewards, and enables you to email receipts and coupons to customers.
-
Log in to the POS.
-
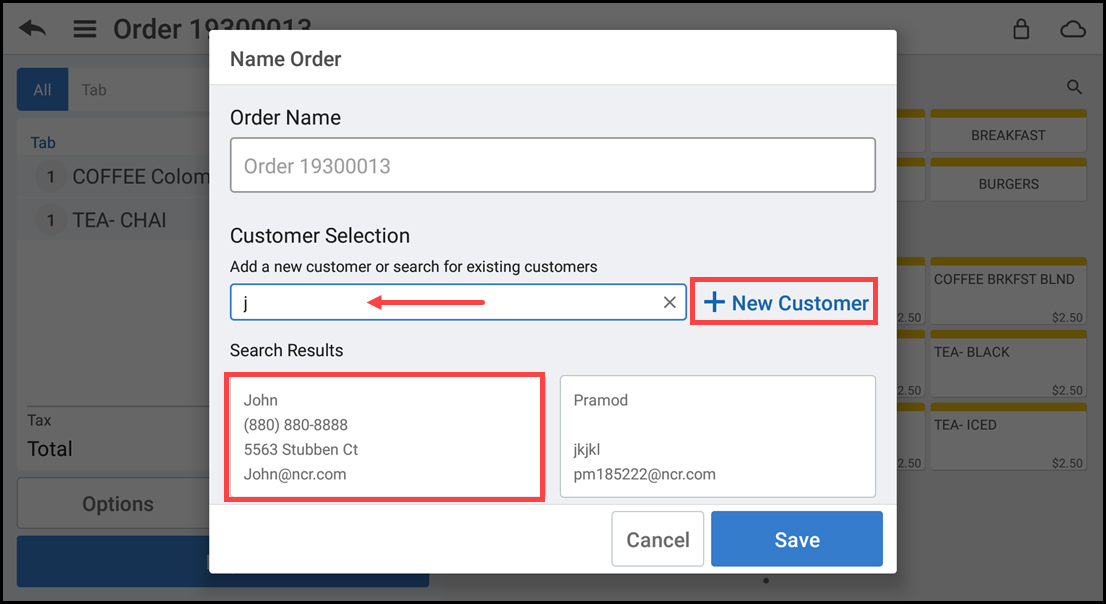
With the guest check active, tap the Order Name near the top left on the POS screen. The Customers search screen appears.
-
Type a customer name or phone number in Search. The matching results appear on the screen.
-
Tap the customer name to assign the customer to the guest check.
-OR-
If the customer does not appear in the results, tap New Customer to enter customer information and tap the down arrow icon at the top right of the screen.
-OR-
If the customer does not want to provide you with their information, tap Cancel at the top left of the screen. The POS returns to the guest check screen.
Note: You must enter the customer name and at least two other pieces of information to save the customer record.
Looking for resources or help with Silver? Click here.