Working with the Advanced Landing Page
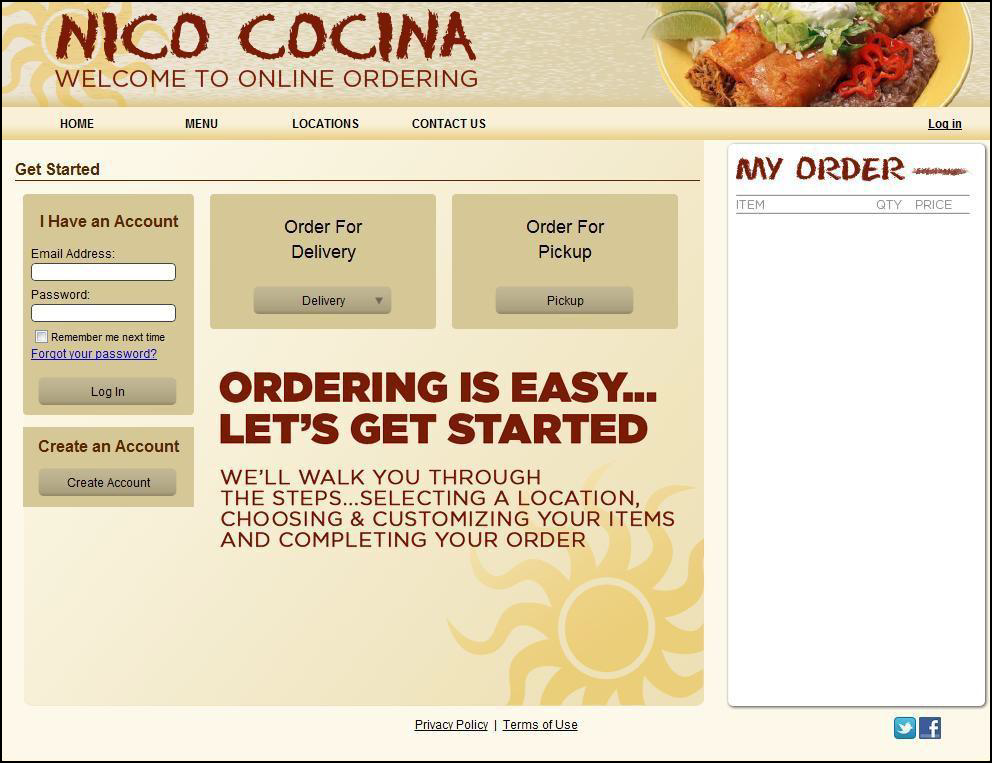
Adding the Advanced Landing page allows you to remove a step from the online ordering process by adding Login, Delivery, and Pickup options to the initial page a consumer sees when accessing your online ordering site. To add the Advanced Landing Page to your online ordering site requires you to configure a number of company settings. Optionally, you may update the graphics related to the Advanced Landing page.


Updating Company Settings
Update the following company settings to configure the Advanced Landing page. Refer to To add or edit a company setting for more information.
| Company setting | Value for Advanced Landing page | Action |
|---|---|---|
| AdvancedLandingPage | true | Enables the advanced landing page. |
| StartOrderURL | ‘/’ | Necessary when you enable the advanced landing page. |
| StoreLocatorRequiresAddress | false | Necessary when you enable the advanced landing page. |
| LandingPageAccountLoginSuccessfulURL | You have three options: 1. ‘/-’ – User remains on landing page. 2. ‘/AccountDashboard.aspx’ – System directs user to the Account Dashboard page. 3. ‘/AccountInfo.aspx’ – Systems directs the user to the Manage Account page. | Controls the page the system redirects a user after logging in at the advanced landing page. |
| DisableDeliveryLanding | true – Hides the delivery option. false – Does not hide the delivery option. | Controls whether the user sees the option for delivery for online orders. |
Updating Graphics on the Advanced Landing Page
The Advanced Landing page adds the following elements, which you may want to customize for your online ordering site.
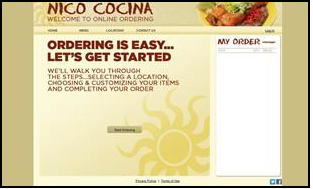
- page_landing_advanced.png – This element contains the same dimension and layout as the page_landing.png.
- Delivery buttons – The Advanced Landing page adds the following delivery buttons:
- button_down.png
- button_down_hover.png
Changing the Text on the Advanced Landing Page
You can change the text, such as ‘Order For Delivery’ and ‘Order For Pickup,’ on the advanced landing page.
To change the text that appears on the advanced landing page:
-
In Web Admin, select Configuration > Messages Setup.
-
Select the message to edit. On the advanced landing page, the Delivery Line Header and the Pickup Line Header each contain two lines. For example, the default text for line one is ‘Order For,’ and the default text for line two is ‘Delivery’ for delivery, and ‘Pickup’ for pickup. The settings are:
- WebOrder.LandingPageAdvanced.DeliveryLineOneHeader
- WebOrder.LandingPageAdvanced.DeliveryLineTwoHeader
- WebOrder.LandingPageAdvanced.PickupLineOneHeader
- WebOrder.LandingPageAdvanced.PickupLineTwoHeader
-
Click Edit. The Edit Message screen appears.
-
Type the custom message.
-
Click Update.
Understanding Store Locator Behavior with the Advanced Landing Page
When using the advanced landing page, how you set the Store Locator value further determines how the system presents information about nearby stores to the consumer for delivery orders. You use company settings to define store locator behavior.
| Company Setting | Behavior |
|---|---|
| StoreLocatorEnabled = true | The system takes the delivery address information from the consumer on the advanced landing page and transfers the information to the address fields on the store locator page, presenting the consumer with the nearby stores. |
| StoreLocatorEnabled = false | The system does not prompt the user to enter a delivery address. Instead, the system directs the user to a page with a list of store locations. |
| StoreLocatorEnabled = false LocationsURL = (a valid URL) | The system redirects the consumer to the specified URL when they select the Delivery button. |