Understanding layout alignment and elements
The Print Designer tool uses elements to build and design your layout, such as ‘Ordermode name,’ ‘Day part,’ ‘Revenue center,’ and many more. Some of these elements are standard to all businesses and some are only required when you use a certain feature or interface with a complimentary product. For example, you would always include the ‘Current date’ element, and only include the ‘eFrequency check total’ element if you use Aloha Insight.
Whether you create a layout for a chit or a guest check, you must be familiar with the divisions of the layout to properly create your design. Envision the layout in three vertical (top-down) areas, Header, Item, and Footer, and three horizontal positions, Left, Center, and Right.
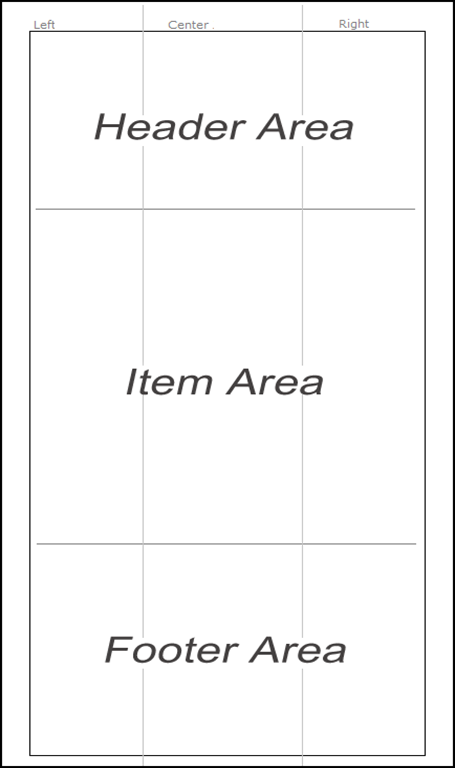
Vertical areas
The vertical areas (Header, Item, and Footer) are defined sections of the layout for customization. With the exception of the Item area, they are unrestricted, meaning an element that is normally hard-coded for the Header area can easily be placed in the Footer area, with Print Designer. Additionally, there is no limit to the elements you can add to the Header or Footer area.
- Header - The Header area is usually designated for store information, essential check requirements, such as employee name, time, check number, and anything else you deem as header information.
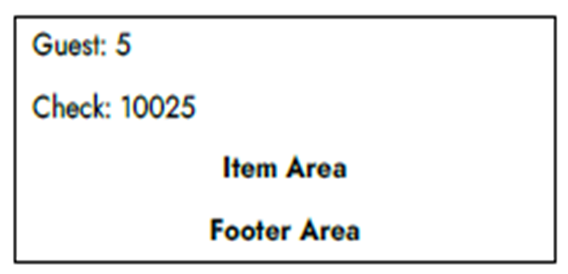
- Item - The Items area is restricted, meaning you cannot make any design changes within the Print Designer tool. This area consists solely of the Items element, which is a required element in your design for the guest check.
- Footer - The Footer area is usually designated for salutations, guest experience feedback, and anything else you deem as footer information.<img alt="Footer Area Example" src="https://docs.ncrvoyix.com/images/aloha-pos/PrintDesigner_HeaderEx.png>
Horizontal positioning
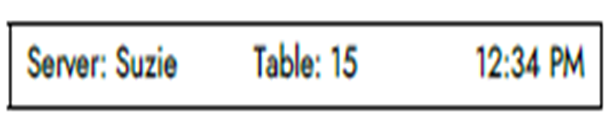
The horizontal positions (Left, Center, and Right) provide the flexibility to align elements flush against the left or right sides, or directly in the center of the layout. Each element has a default alignment; however, you can change this alignment to your liking. For example, the default alignment for a guest count appears flush left; however, you can easily place it in the middle or flush right.

Additionally, using the ‘Custom line’ element, you can assign up to three select elements to appear on a single line, to conserve space and provide unity.
Return to the main "Print Designer" page.