Configuring images for site elements
Click Studio > Images in the navigation pane to access the Image Editor function and associate images to specific elements of a website. Most images only apply to customers who has loyalty. You must still configure menu item images in Web Admin.
You can configure the following images:
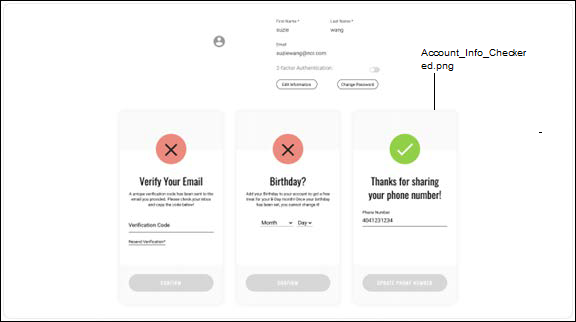
- Account_Info_Checkered.png
- App_Store_Badge.png
- Apple_Store_Badge.png
- AvailableRewardIcon.png
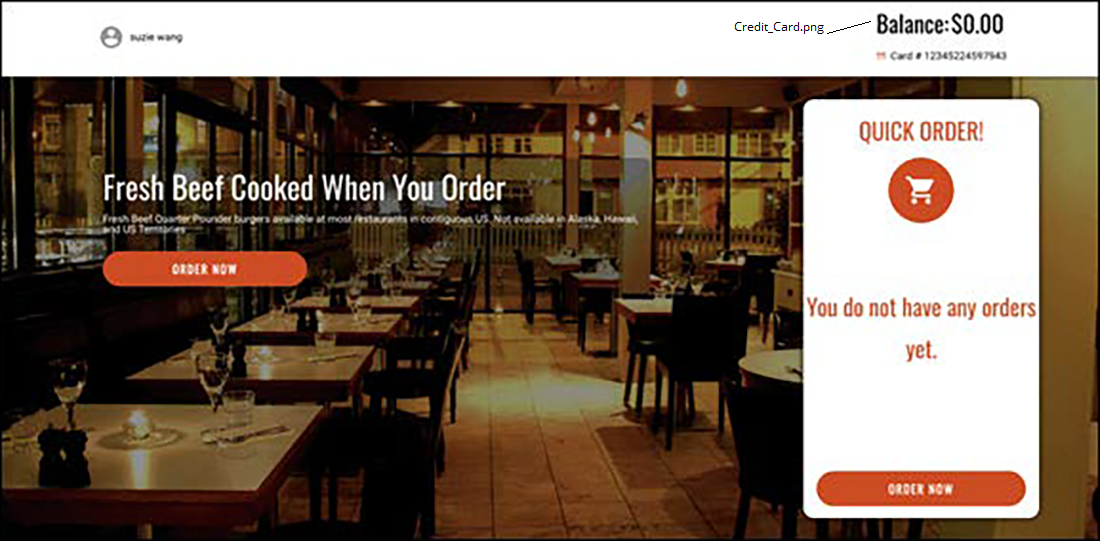
- Credit_Card.png
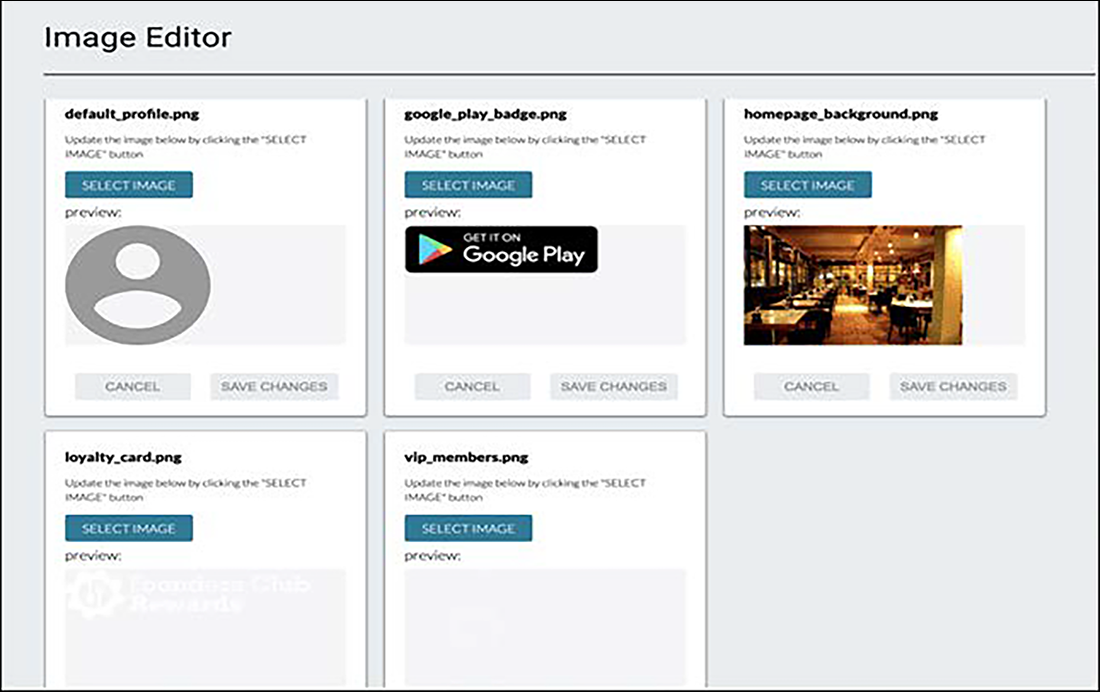
- Default_Profile.png*
- Dine_In_Landing.png* — Specifies the image to appear when the consumer scans a QR code with the Contactless Dine-in feature. By default, the system uses the ‘Vip_Members.png,’ or, if one is not defined, a stock ‘DINE IN’ image.
- Google_Play_Badge.png
- Homepage_Background.png*
- Item_Default.png*
- Logo.png*
- Loyalty_Card.png*
- OrdersRewardIcon.png*
- SmallOrdersRewardIcon.png*
- VIP_Members.png*
"*" – no example is provided.
To configure images for a site element:
- Click Studio > Images in the navigation pane to open the Image Editor screen.
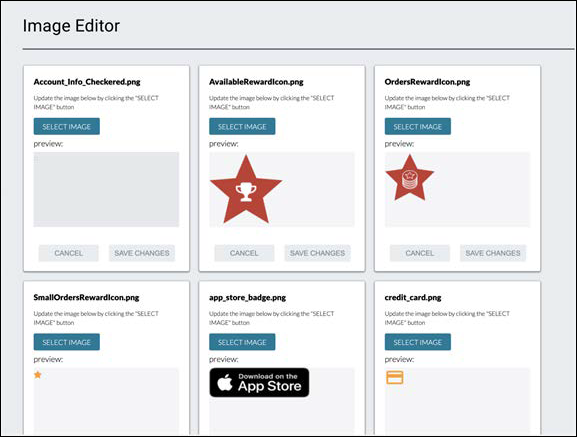
- Select a tile on which to add an image.
- Click SELECT IMAGE. A file explorer window opens.
- Click Browse, locate the Image to use, and click Open.
- Review the Image in the preview window to confirm it is the correct image.
- Click SAVE CHANGES.
Credit card image on website
Account info checkered image on website
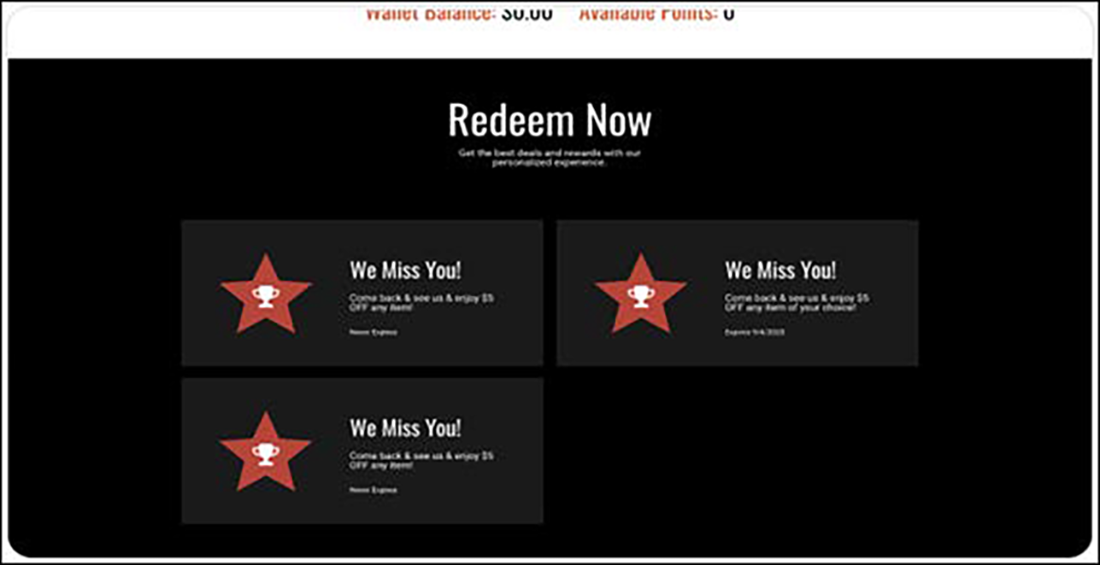
Available reward icon image on website
Apple store badge and Google Play badge images on website
Continue to "Configuring site fonts."