Creating items
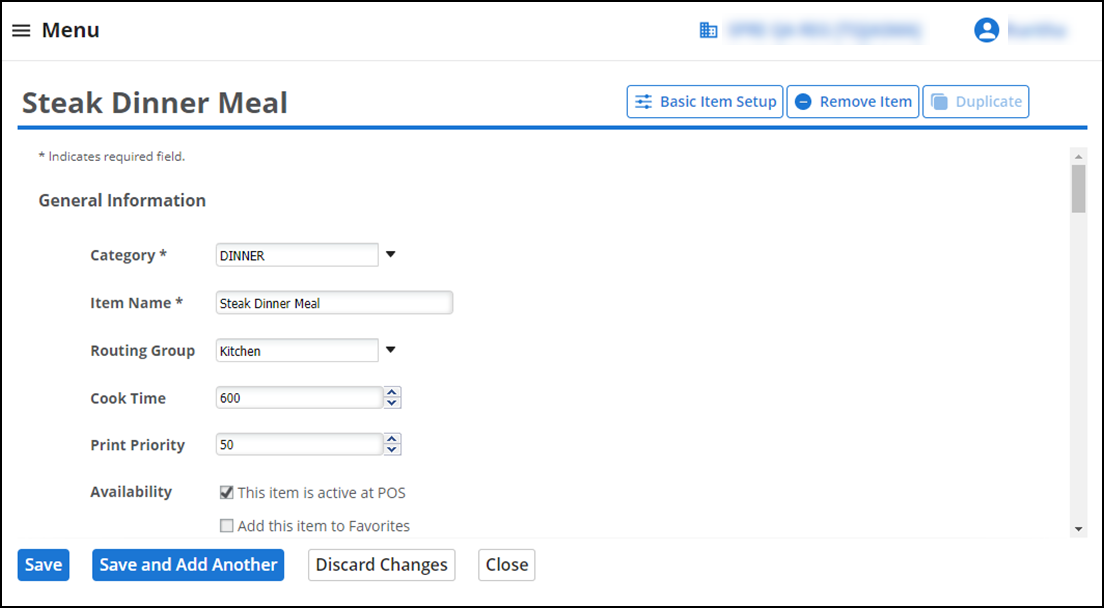
To configure the Steak Dinner Meal in the sample scenario requires you to first create all items, including the menu items and all modifier items, required to successfully add the item to the guest check with correct guest selections. To meet the requirements of the sample scenario, add the following items:
| Item to create | Type of item |
|---|---|
| Steak Dinner Meal | menu item |
| Salad | menu item and modifier item |
| Fries | menu item and modifier item |
| Vegetables | menu item and modifier item |
| Italian | modifier item |
| Ranch | modifier item |
| 1000 Island | modifier item |
| French | modifier item |
To create the Steak Dinner Meal menu item:
-
From Back Office, select Menu > Categories & Items.
-
Select the BY ITEM tab located at the top of the screen.
-
Click Add Item on the right. The Extended Item Setup screen appears.

-
Select a category from the drop-down list.
-
Type an item name, such as Steak Dinner Meal, for the menu item. The item name appears on the POS app on the order entry screen.
-
Select This item is active at POS next to ‘Availability.’
-
Select Menu Item as the ‘Item Type.’ Do not select Modifier Item since this item does not serve as both a menu item and a modifier item.
-
Do not make any selections for ‘Item Modifiers,’ as you have not yet created the necessary Modifier Groups. You return to this step later in the configuration.
Tip: Since this item does not also serve as a modifier item, the 'Modifier Groups' option is not available.
-
Complete the remaining options as you would for any other menu item, including the appropriate tax category to apply to the item.
-
(Multi-Store only) Click Assign Stores to select the stores for which to make the item available and click Done. On the item screen, the system identifies the stores to which you assigned the item. If the item is available to all stores, select All Stores.
-
Click Save and continue to the next procedure.
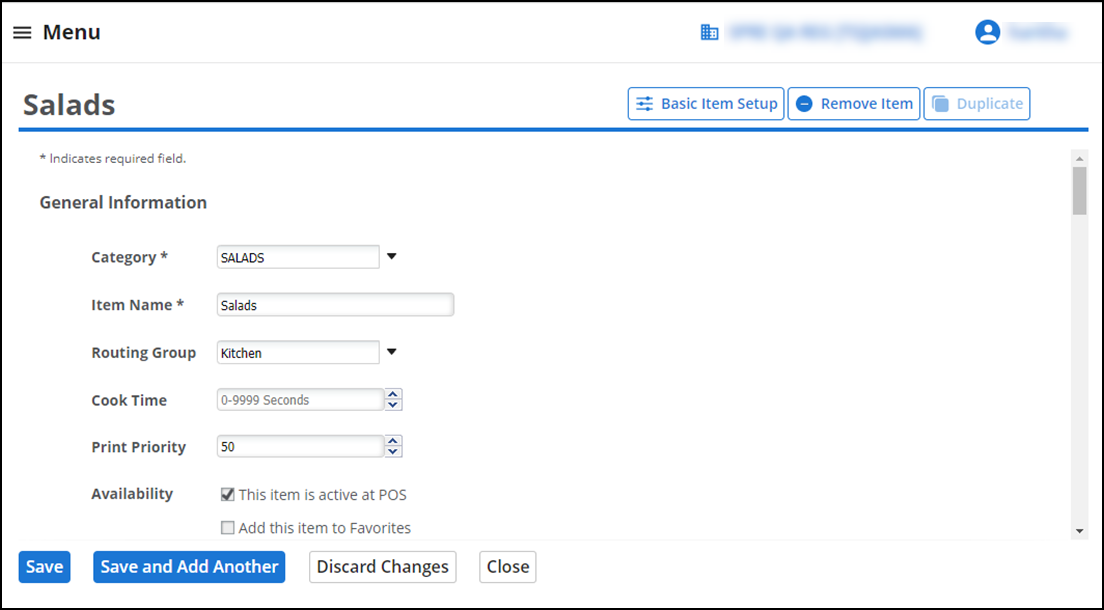
To create the items that serve as both a menu item and a modifier item, such asSalad, Fries, and Vegetables:
- While still in Menu > Categories & Items, click Add Item. The Extended Item Setup screen appears.

- Select a category from the drop-down list.
- Type an item name, such as Salad. The item name appears on the POS app on the order entry screen.
- Select This item is active at POS next to ‘Availability.’
- Select both Menu Item and Modifier Item to the right of ‘Item Type,’ to indicate you sell the item as both a menu item and a modifier item.
- Do not make any selections for ‘Item Modifiers’ or ‘Modifier Groups,’ as you have not created the necessary Modifier Groups. You return to this step later in the configuration.
- Enter the price for the menu item in ‘Sales Price.’ You control the price of the item when sold as a modifier item in the MODIFIER GROUPS function.
- Complete the remaining options as you would for any other menu item, including the appropriate tax category for the item when it is sold as a menu item.
- (Multi-Store only) Click Assign Stores to select the stores for which to make the item available and click Done. On the item screen, the system identifies the stores to which you assigned the item. If the item is available to all stores, select All Stores.
- Click Save.
- Repeat this procedure for Fries and again for Vegetables to configure the sample scenario.
- Continue to the next procedure.
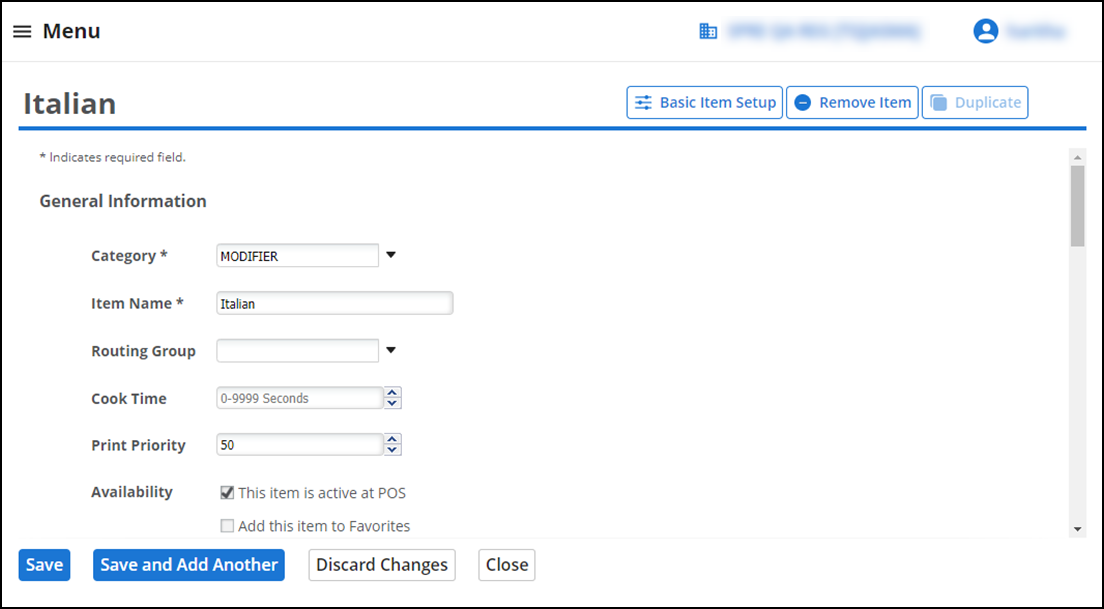
To create the items that serve as modifier items only, such as the dressing choices for salad (i.e. Italian, Ranch, 1000 Island, French):
- While still in Menu > Categories & Items, click Add Item. The Extended Item Setup screen appears.

- Select a category from the drop-down list.
- Type an item name, such as Italian. The item name appears on the POS app on the order entry screen.
- Select This item is active at POS next to ‘Availability.’
- Select only Modifier Item to the right of ‘Item Type,’ to indicate you sell the item as a modifier item only. Selecting this option enables the Modifier Groups selection.
- Do not make any selections for ‘Modifier Groups,’ as you have not yet created the necessary modifier groups. You return to this step later in the configuration.
- You can enter a price for the modifier item in ‘Sales Price,’ or specify the price of the modifier item when you add it to the modifier group in the MODIFIER GROUPS function.
- Complete the remaining options as you would for any other modifier item.
- (Multi-Store only) Click Assign Stores to select the stores for which to make the item available and click Done. On the item screen, the system identifies the stores to which you assigned the item. If the item is available to all stores, select All Stores.
- Click Save.
- Repeat this procedure for the remaining dressing choices required to configure the sample scenario.
Continue to "Creating modifier groups."