Configuring Consumer Marketing for Tier Pricing
To configure Tier Pricing, you must first configure a member type in Consumer Marketing to use in Aloha Cloud, if the member type does not already exist.
To configure a member type in Consumer Marketing:
- Log in to Consumer Marketing. The My Account screen appears.
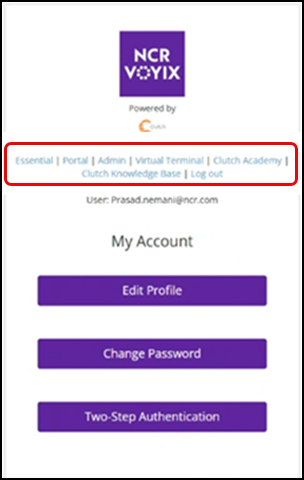
- Select Essential from the list of hyperlinks in the middle of the screen. The Essential screen appears.
- Click the profile icon to display a pop-up menu.
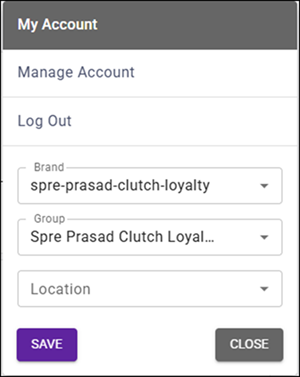
- Select the brand and group name from the menu that appears, and click SAVE.
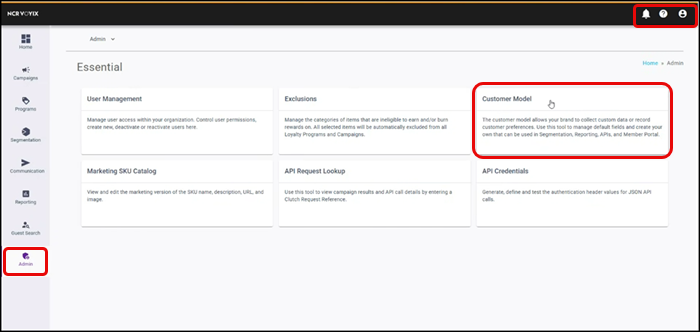
- While still on the Essential screen, select Admin on the left side of the screen, and then Customer Model. The ‘Custom Fields’ screen appears.
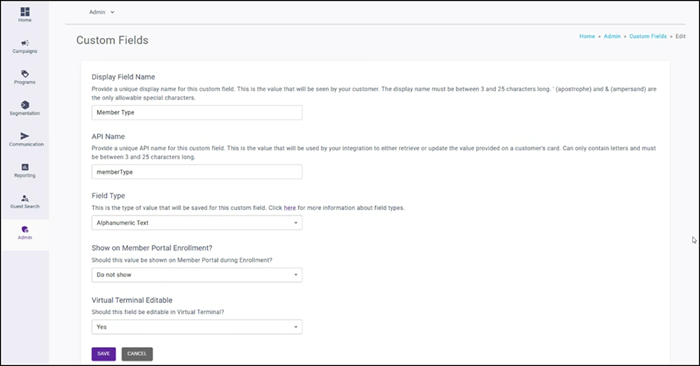
- Type Member Type in ‘Display Field Name’ to specify the name to appear.
- Type memberType in ‘API Name.’ This field is case sensitive and you cannot use a duplicate API name.
- Select Alphanumeric Text in ‘Field Type.’
- Select Yes in ‘Virtual Terminal Editable.’
- Click Save. The new custom field appears in the list.
Once you configure the member type, you define the name of the member type. The name is used to correlate with the Tier Pricing record in Aloha Cloud.
To define the member name:
- While still on the Essential screen, click the profile name, select Manage Account from the menu that appears, and click SAVE. The ‘My Account’ screen appears.
- Select Virtual Terminal from the list of hyperlinks. The ‘Switch Terminal’ screen appears.
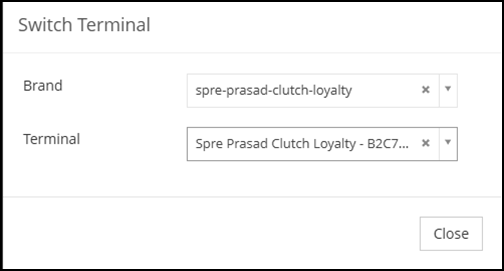
- Select the brand and terminal, and then click Close. The Loyalty screen appears.
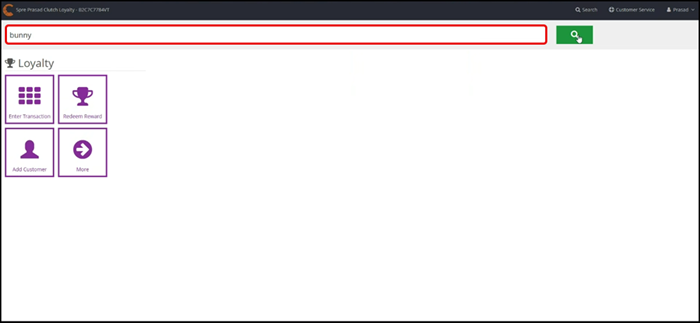
- Type the criteria in the search box to locate the customer account and press Enter. The ‘Customer Info’ screen for the selected customer appears.
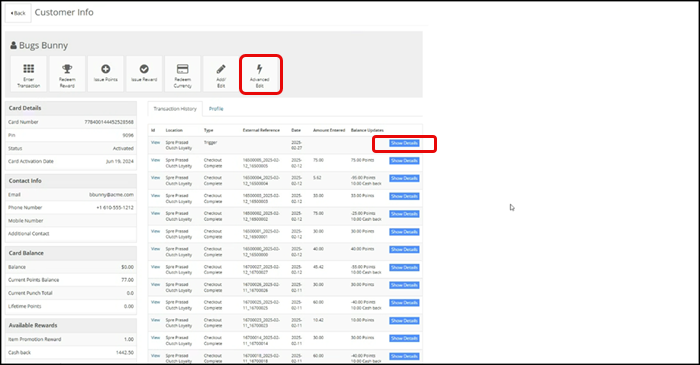
- Click Show Details to expand the information for the customer.
- Click Advanced Edit. The ‘Advanced Profile’ screen appears.
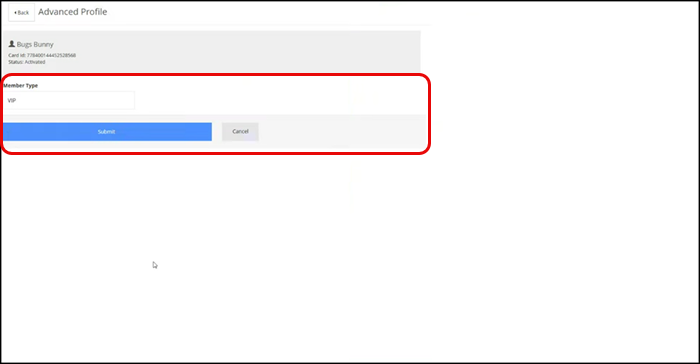
- Type the name of the ‘Member Type,’ such as VIP. You use this name to match the loyalty tier pricing name in Configuring Loyalty Tier Pricing”
- Click Submit. A success message appears.
- Click OK.
Continue to "Enabling Tier Pricing."