Configuring a layout from the default template
To create your own custom layout, we recommend you begin by copying and renaming the default template provided for you in the Aloha POS system. You can then remove, add, and organize elements as you see fit. This method saves you time and allows you to be functional more quickly, rather than creating a layout from scratch.
Tip: The default templates are not intended for use as your production prints. Each one is protected, preventing you from making any changes to it; instead, use the “copy” command to copy a template to a new record and then modify the new record.
It is up to you to remove elements from, or add elements to, your new layout, and to move elements up or down to change the order in which they appear. You can also combine certain elements so that they print on the same line in the layout, using the ‘Custom line’ element. For example, you can print the current date and time on the same line.
Tip: If you include an element for a feature you do not have your system configured to use, the system allows you to add the element to the layout, but does not print anything on the chit.
For a default chit layout, the elements are the same for Aloha Quick Service and Table Service. The following example depicts the elements provided on the default chit template.

| Legend | Description |
|---|---|
| Bold box | Indicates elements containing internal leading and trailing linefeeds which you can suppress. |
| Double line box | Indicates a ‘Custom line’ element was used to add up to three specific elements onto the same line. |
For a default guest check template, we provide one for each environment, Aloha Quick Service and Aloha Table Service. The following examples depict the elements provided on the default Quick Service (Left) and Table Service (Right) guest check.
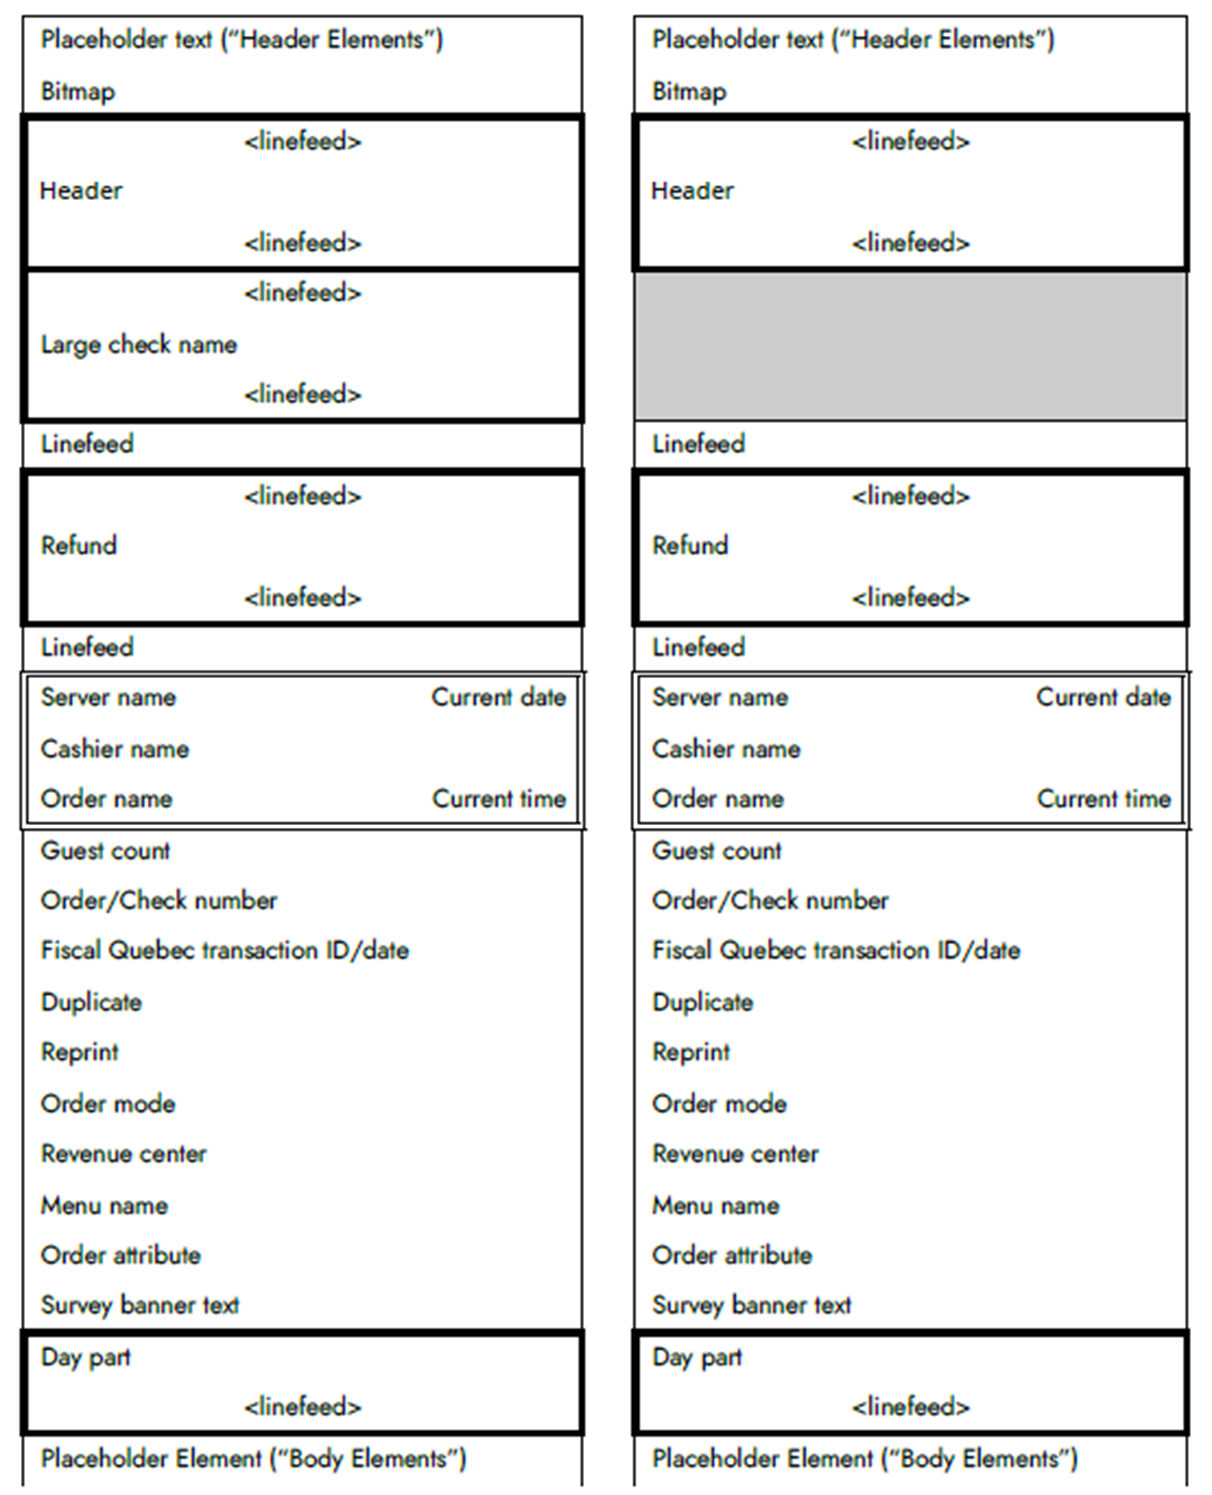
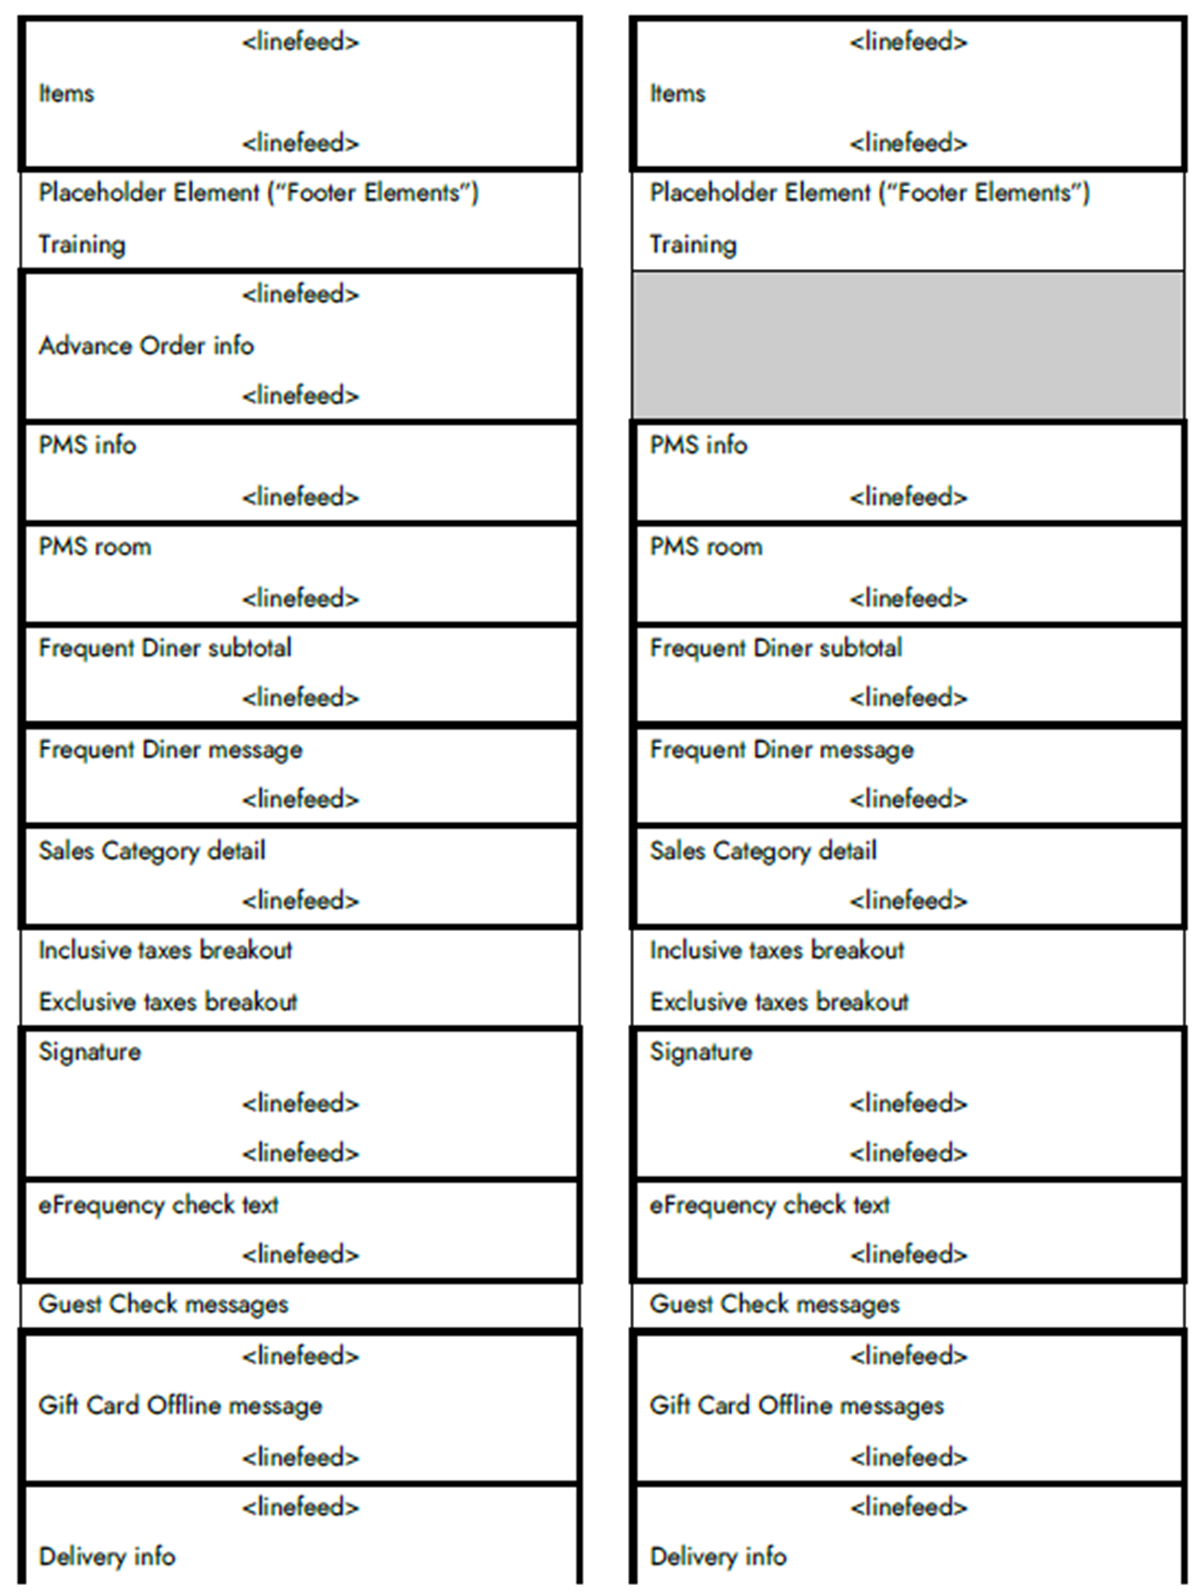
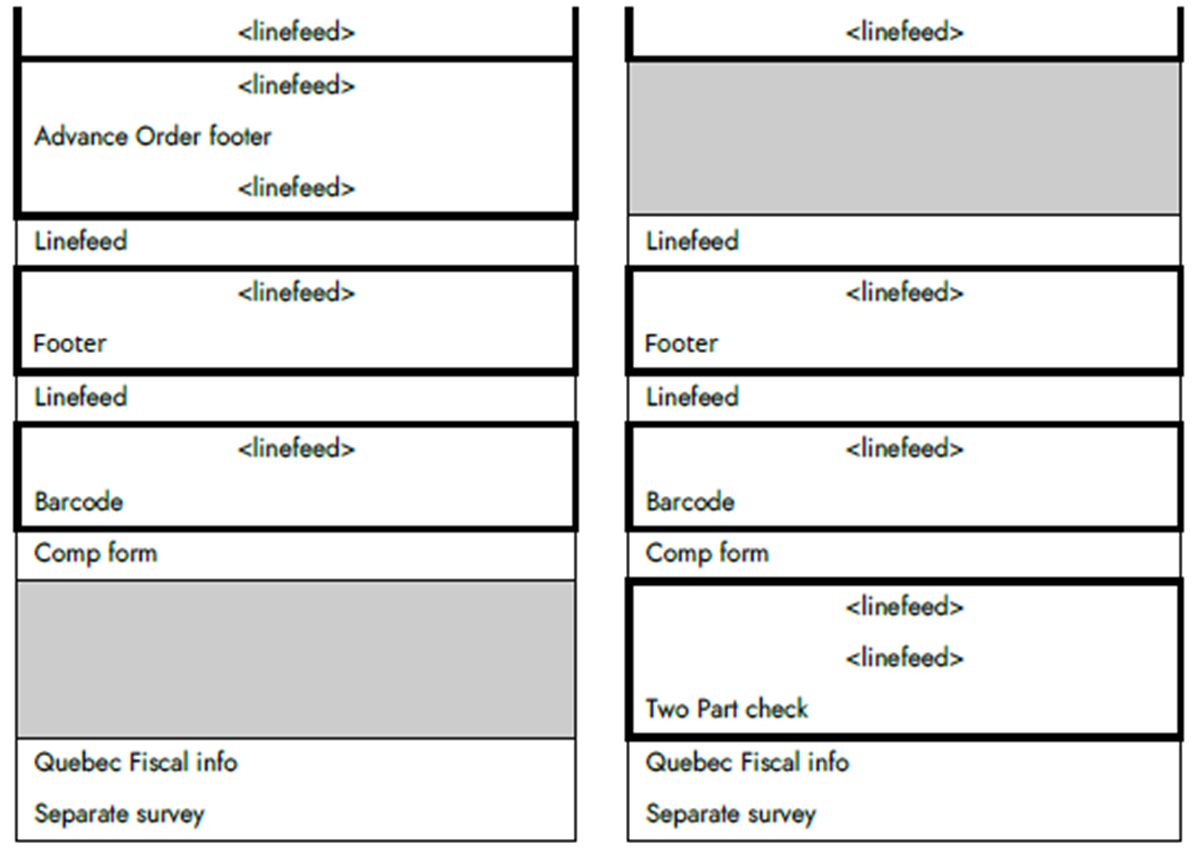
| Legend | Description |
|---|---|
| Bold box | Indicates elements containing internal leading and trailing linefeeds which you can suppress. |
| Double line box | Indicates a ‘Custom line’ element was used to add up to three specific elements onto the same line. |
| Shaded box | Indicates areas in the example to be ignored and are provided only to align the Quick Service and Table Service elements side by side. |
To configure a custom layout starting with a template:
-
Select Maintenance > Hardware > Print Designer.
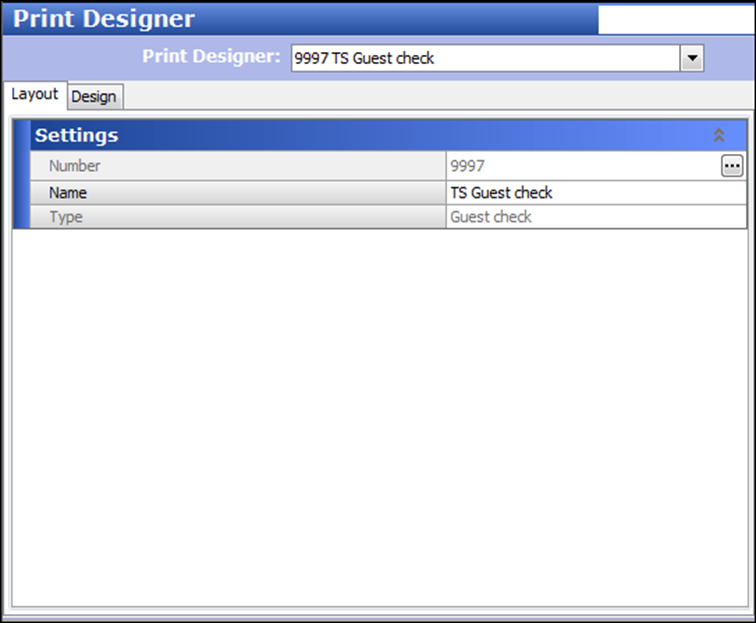
-
Select either 9996 General Message, 9997 TS Guest Check, 9998 QS Guest Check, or 9999 Default Kitchen Chit from the ‘Print Designer’ drop-down list.
-
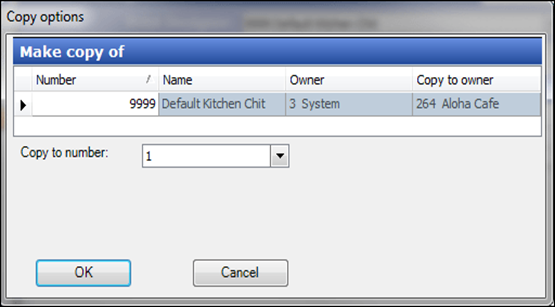
Click Copy in the Command panel to display the copy options.
-
Type a name for the new layout, such as ‘Expo Chit’ for a chit or ‘Custom Check’ for a guest check.
-
Accept the system assigned number or click the drop-down arrow next to ‘Copy to number’ to display the Number Assignment dialog box, from which you can choose an alternate number, and click OK.
-
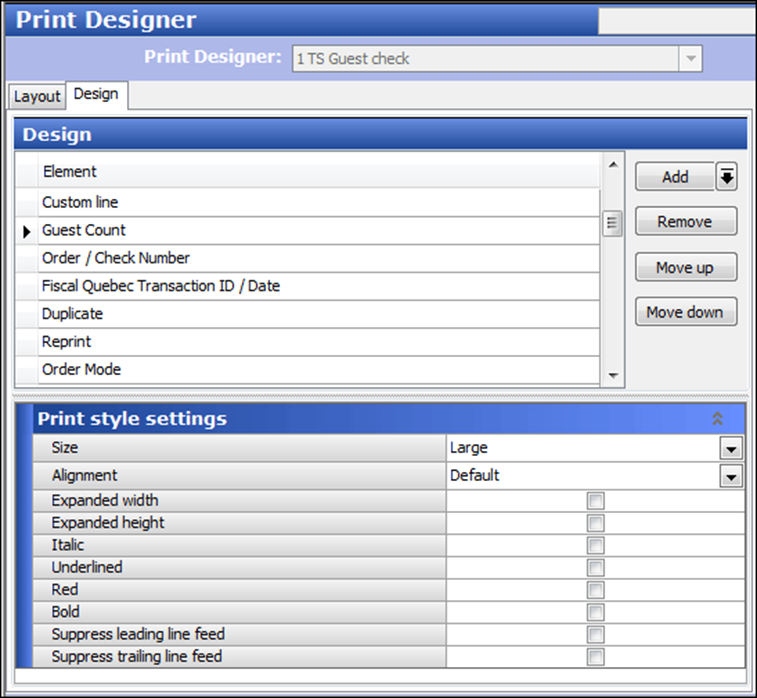
Select the Design tab.
-
To design the layout, perform any of the following steps:
a. To add an element to the layout, click the Add drop-down arrow to display a list of available elements.
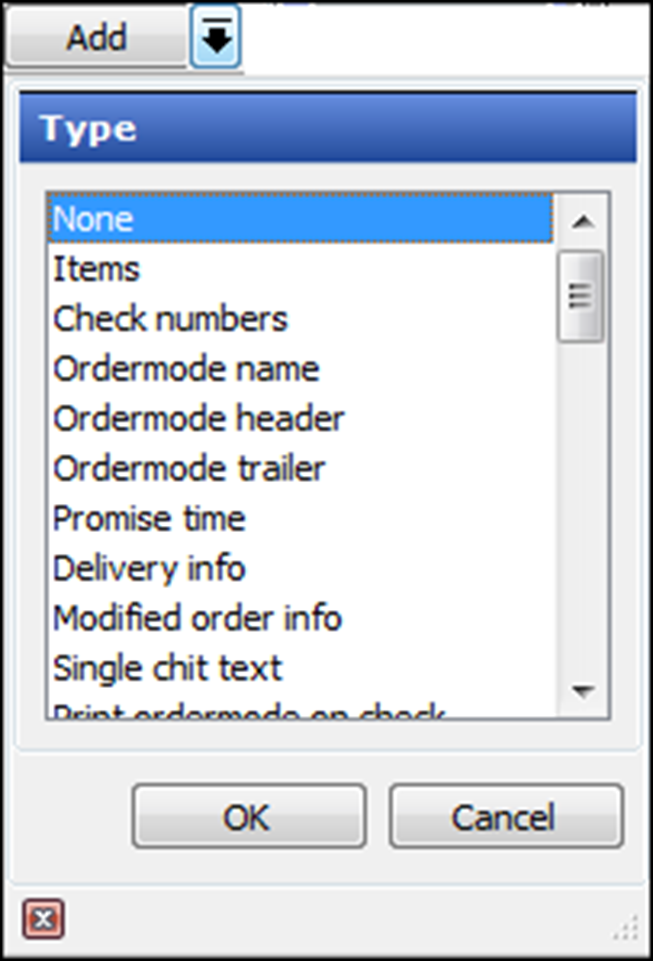
Select the element to add from the ‘Type’ list box and click OK. The element appears at the bottom of the list of elements under the ‘Design’ group bar. Also, based on the element you select, additional options may appear under the ‘Print style settings’ group bar, which require you to complete the element.
Reference: For a comprehensive list of elements available to use, refer to "Appendix B: Production Chit and Order Taker Chit elements," "Appendix C: Guest Check elements," or "Appendix D: General Message Chit elements."
b. To remove an element from the design, select an element you do not need from the list of elements available under the ‘Design’ group bar and click Remove. A confirmation appears. Click Yes at the prompt to confirm the removal of the record from the layout.
c. To change the top-down order in which elements appear on the layout, select an element and click Move up or Move down.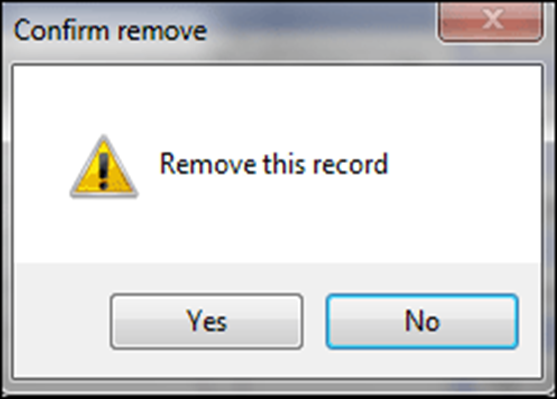
-
Repeat this procedure for other elements to include in the new layout until you are done adding, removing, or moving items in the list.
Tip: The Items and Training elements are required elements. If you do not select a required element, an error message appears prompting you to add the element to your layout.
-
Click Save and exit the Print Designer function.
Continue to "Customizing the Print Desinger layout."