Adding a recipe button
After you enter the recipes and configure the display and print options for the individual items, you must provide access to the Recipe button in the FOH. For Quick Service operations, you must add the Recipe button function to a panel. For Table Service operations, the Recipe button appears on the bottom right row of the FOH Order Entry screen by default; however, you can replace the bottom right row with a custom panel of the 'Order Entry' type for additional flexibility and functions. If a custom panel is in use, you must add the Recipe button to the custom panel.
Reference: Refer to the "Custom TS Order Entry Screen Feature Focus Guide - HKS349" for detailed instructions on replacing the bottom right row with a custom panel.
To add the recipe button:
- Select Maintenance > Screen Designer > Table Service Screen Designer or Quick Service Screen Designer. The screen designer function opens in a new window.
- Select Work with Panels.
- Select Panel > Open Panel, select a panel of the 'Order Entry' type (TS only) or any panel (QS only) and click OK.
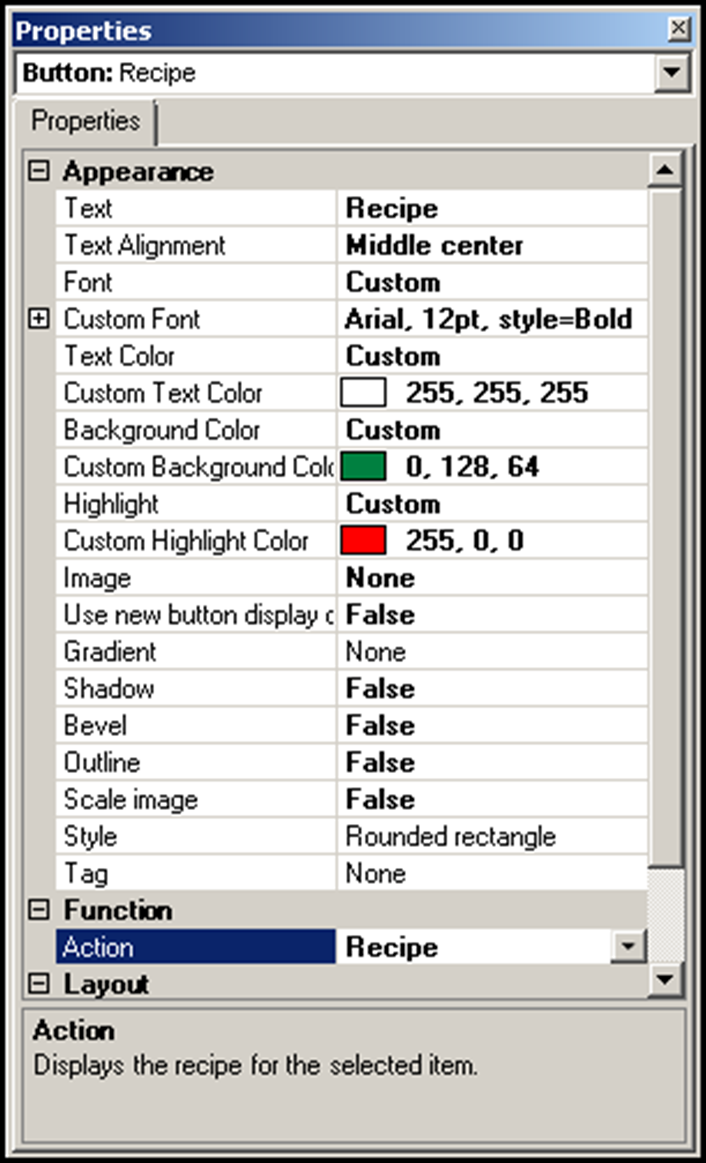
- Select an available button, or select Panel > New Button to create a new button. The Properties dialog box appears.

- Under the 'Function' group bar, select Recipe.
- Configure the remaining options as you would for any other button.
- Exit the Screen Designer function.
Continue to "Refreshing POS data."
After running a data refresh, return to the main "Recipes" page.