Editing an email template
Consumer Marketing provides thoughtfully designed and flexible templates to simplify the creation of the emails you send to your consumers. When you log in to Consumer Marketing, select Communication from the navigation panel on the left to access the Communication page.
Getting started
The Communication page offers two methods for selecting a template to use for creation of an email.
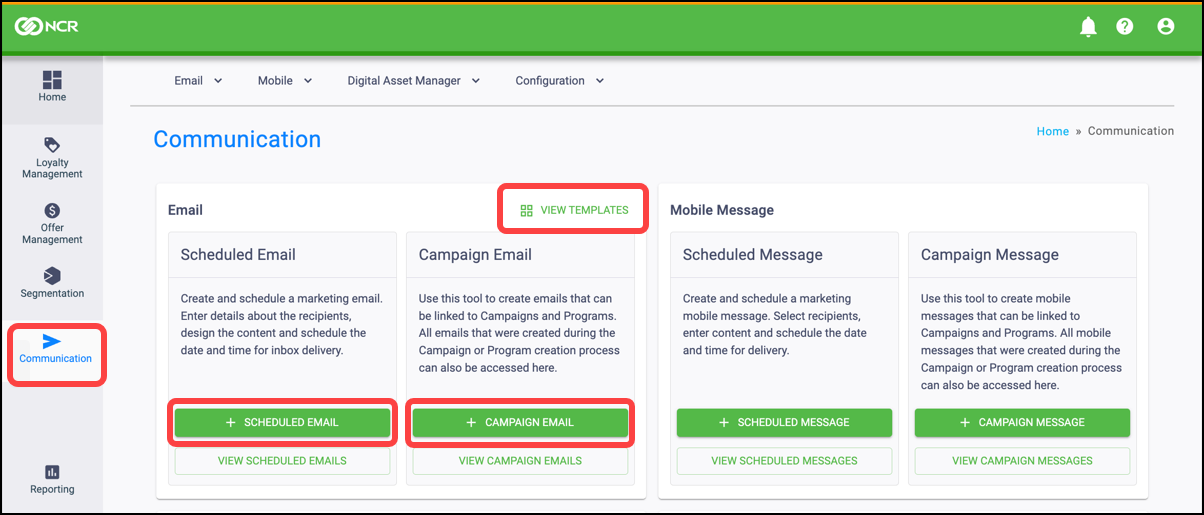
- Click VIEW TEMPLATES on the top right of the Email panel to view the Email Template Catalog. Continue to step 3.
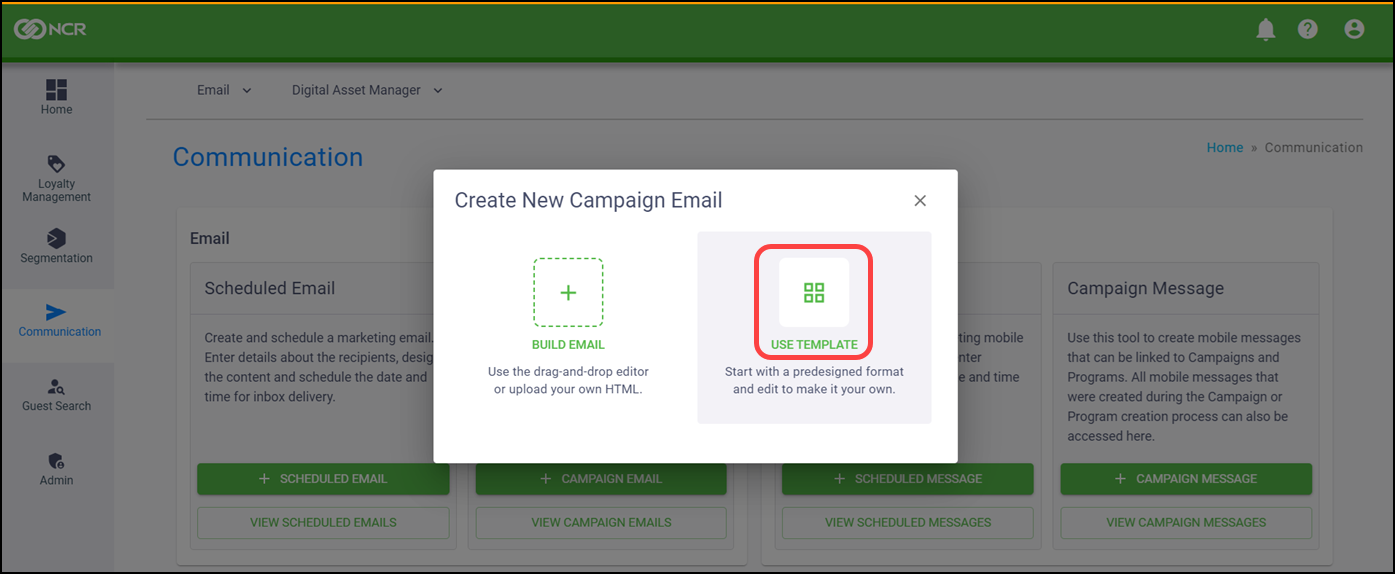
-OR- - Click + SCHEDULED EMAIL or + CAMPAIGN EMAIL to display a popup specific to your choice. The below image shows the popup for a Campaign Email.Click USE TEMPLATE to view the Email Template Catalog.

- Click USE TEMPLATE on the template of your choice.
Frequently asked questions
The sections below cover frequently asked questions regarding the editing of email templates. Click each topic to learn more.
- Editing or adding an image to the email
- Changing the text within a section
- Formatting text
- Editing text in a Link Block
- Copying or deleting a section
- Adding a URL to an image, button, or text
- Changing the color of a button
- Adding a border around a button
- Changing the color of the bottom panel of an email
Editing or adding an image to the email
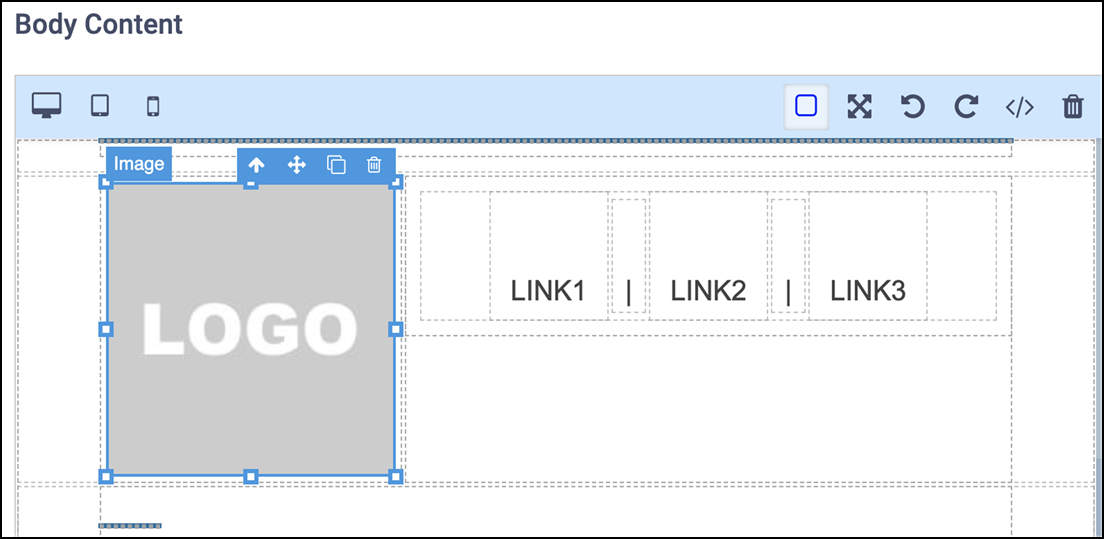
To edit or add an image to an email, double-click the existing image. If it is your first time editing the email, the image will be a placeholder.
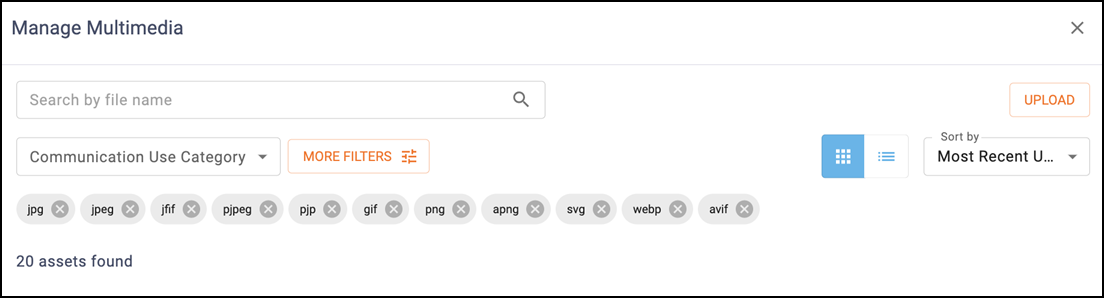
Click Replace on the popup menu that appears to access Digital Asset Manager, where you can select one of your existing images or upload a new image.
Changing the text within a section
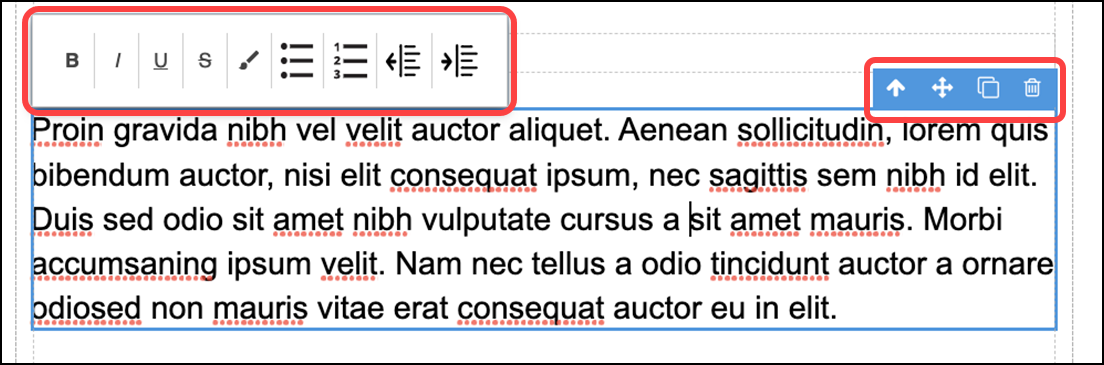
To change the text within a section, double-click in any text box to display a blinking cursor in the text box. Highlight the entire section to delete the current text and start writing your own email copy.
Formatting text
While in a text box, you are able to change the formatting, such as size, font, alignment, color, and more. There are two ways to format text.
- Use the Limited View options that appear above the text box while you are typing in it. See previous image.
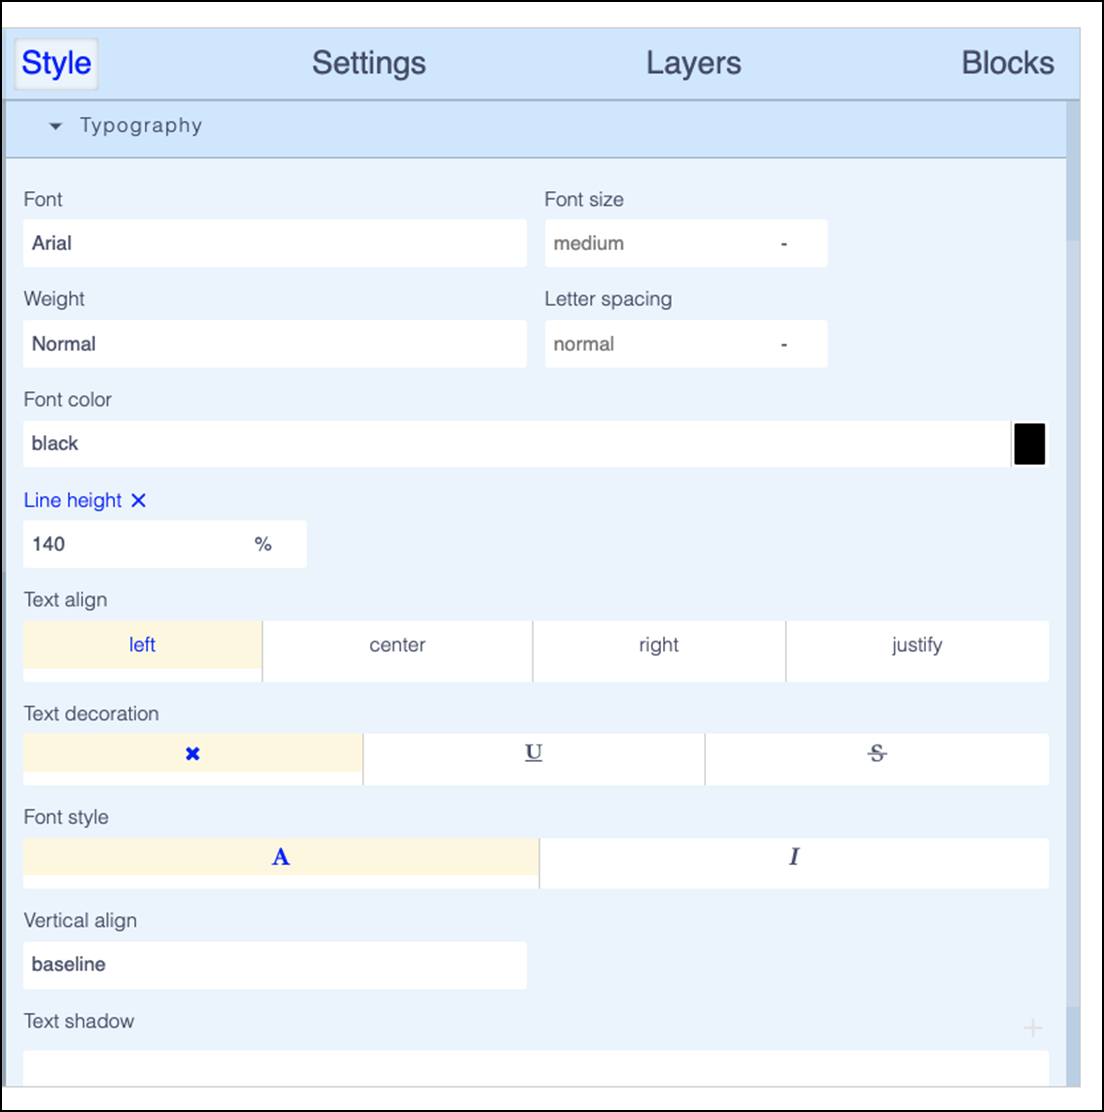
-OR- - Use the Full View options that are available when you navigate to the right to Style. Locate and expand the Typography section. A full range of editing options for your text appears, including font, size, color, alignment, and much more.
Editing text in a Link Block
To edit text within an existing Link Block, you must edit the text within the HTML code. To do this, select the Link Block, as shown below.
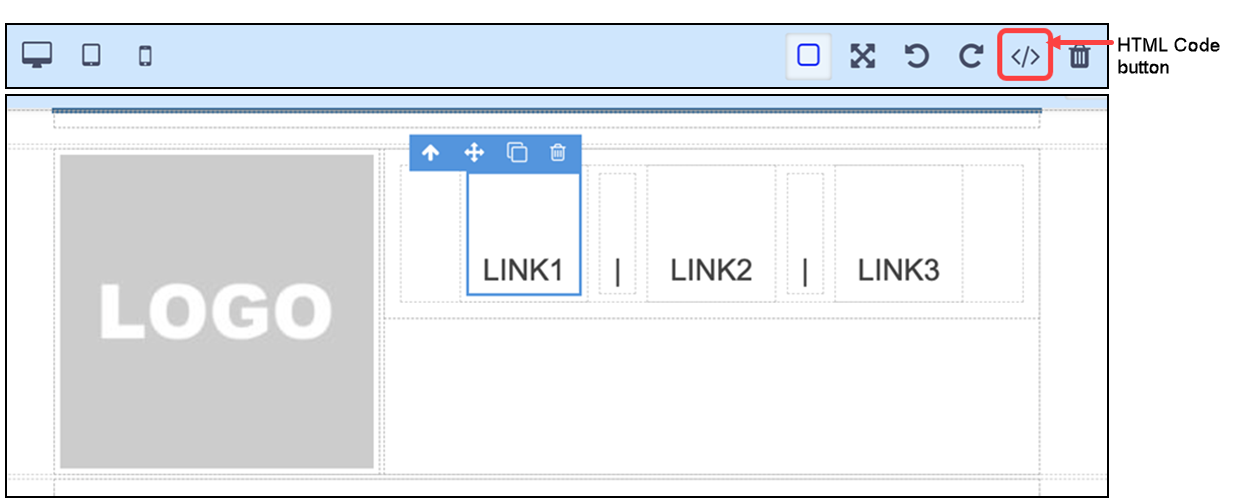
Click the HTML Code button located at the top of the Email Editor. An Edit HTML popup screen similar to the one below appears.

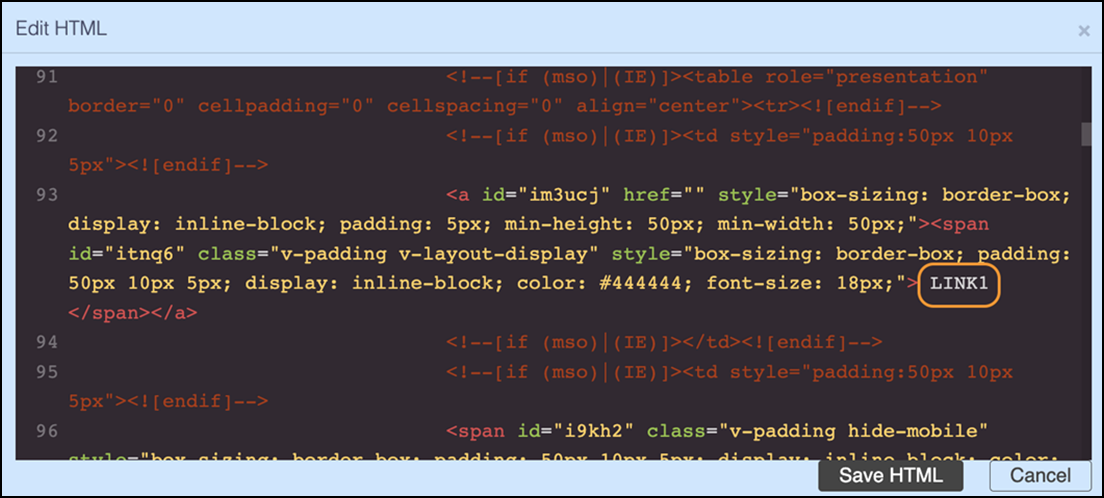
Note the gray numbers that appear on the left. Each number refers to a line of code within the HTML. To change LINK1, LINK2, or LINK3, use the legend below to navigate to a specific line of code based on the template you are using.
- Events, Newsletter, or Notification Template — Lines 93, 101, and 105
- General Template — Lines 95, 101, and 105
- Promotional Template — Lines 92, 98, and 104
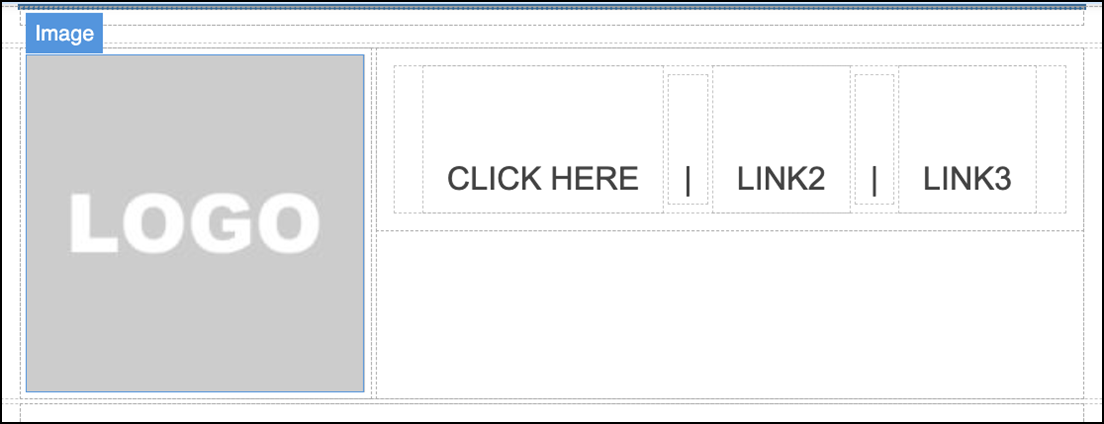
As you scroll down, notice that LINK1, LINK2, and LINK3 are represented in white text in the email body to make them stand out. In the example below, LINK1 appears in white text on line 93.
Edit this text directly in the HTML popup. In the following example, we changed the LINK1 text to CLICK HERE.
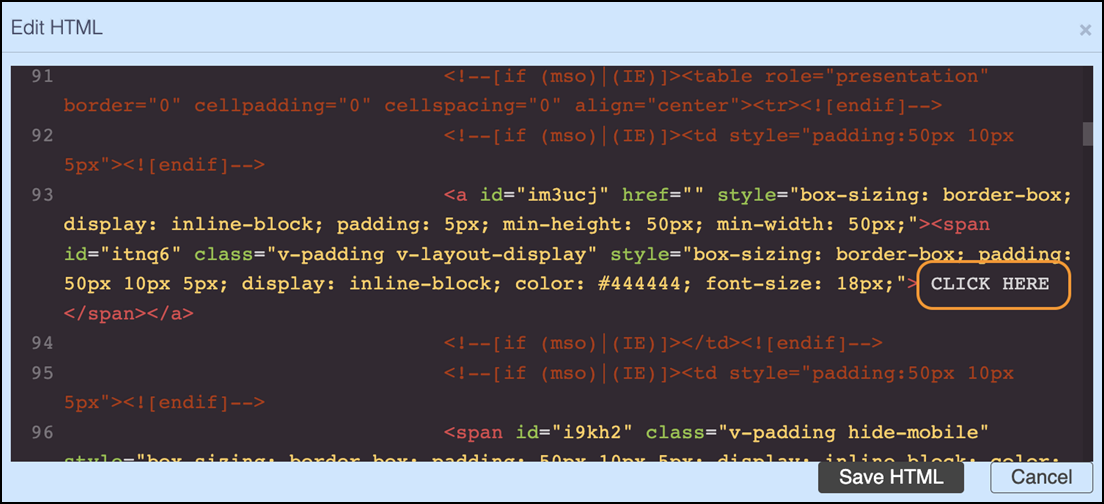
Click Save HTML in the bottom right corner to save the change to the email you are building. The updated text appears on the button, as shown below.
Copying or deleting a section
To copy or delete an entire section, click the section to display a blue outline box around the selected section. In the top right of that box choose to Copy or Delete the section.
Adding a URL to an image, button, or text
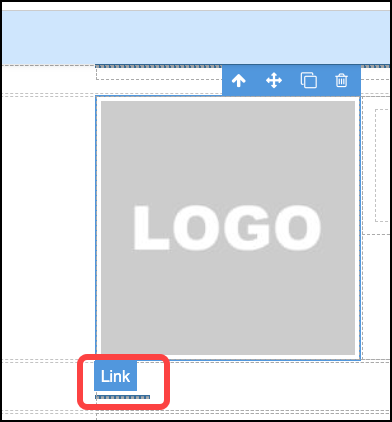
To add a URL to an image, button, or text, click the Link box, as shown below.
Navigate to the right to Settings.
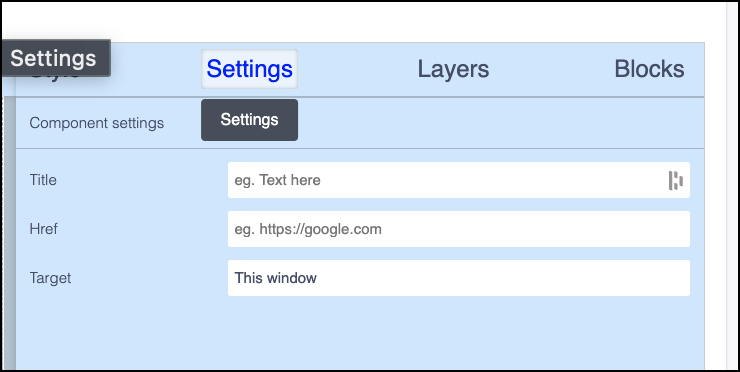
Insert the url to which to navigate when the item is selected in the 'Href' text box.
Changing the color of a button
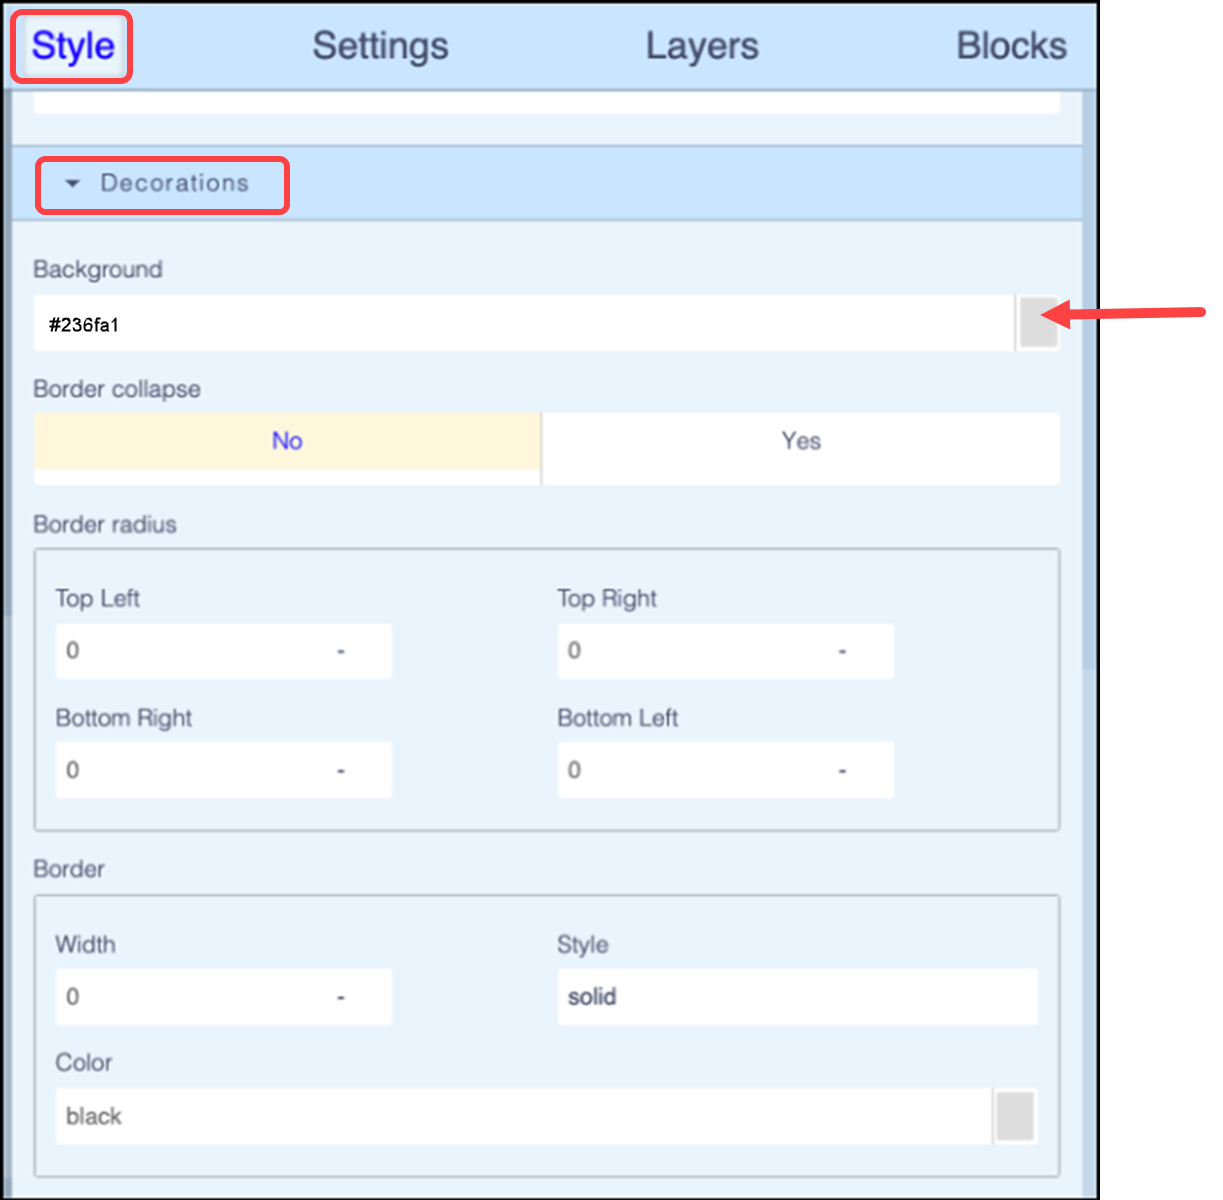
To change the color of a button, click the button and then navigate to the right to Style. Locate the Background group box under Decorations, and either type the CMYK color code in the text box or select the desired color to the right.
Adding a border around a button
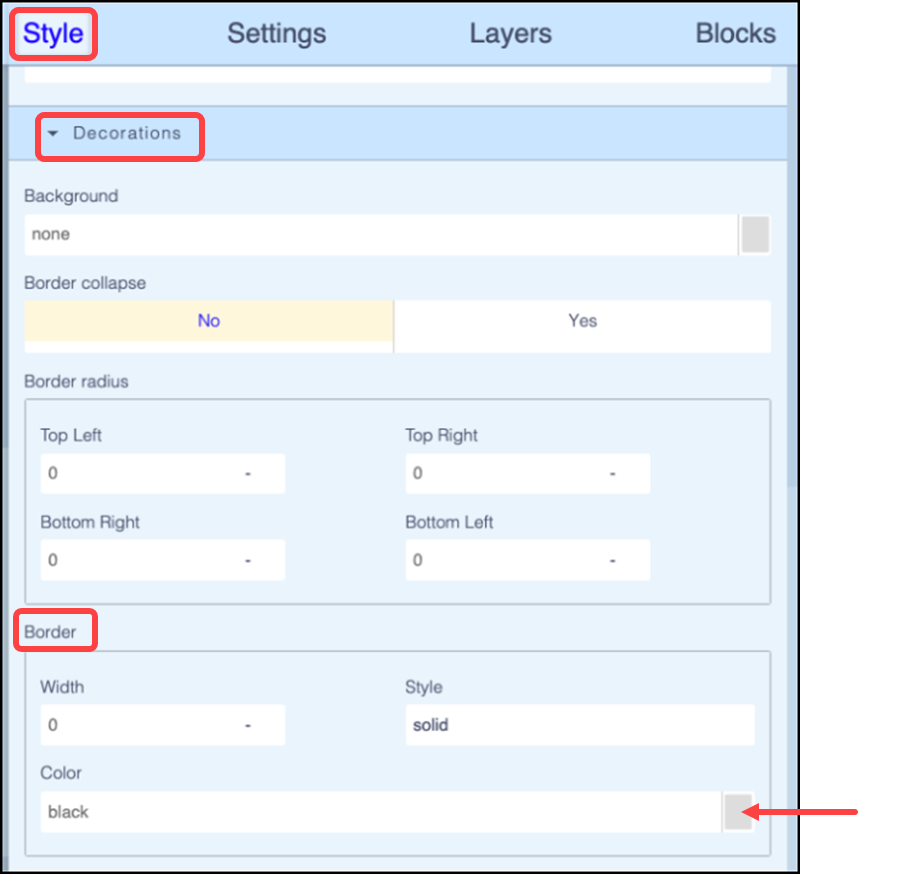
To change the border around a button, click the button and then navigate to the right to Style. Locate the Border group box under Decorations, and set the pixel width, style, and color of the border.
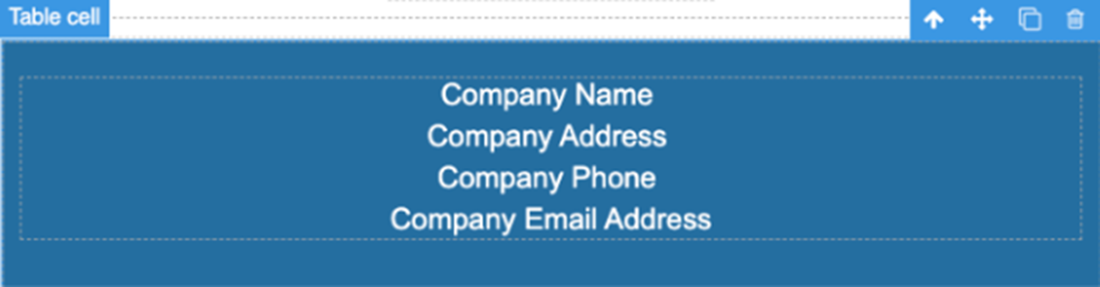
Changing the color of the bottom panel of an email
Changing the color of the bottom portion of the email is similar to changing the color of a button.
Click the bottom panel and navigate to the right to Style. Locate the Background group box under Decorations, and either type the CMYK color code in the text box or select the desired color to the right.