Customizing Images for Mobile Web
You can tailor the appearance of your online ordering site for consumers who access it on mobile devices. You can customize the various pages, such as the landing page, general pages, and the order entry pages. With each page, you can customize the look of your online ordering site for mobile devices so that it matches your branding.
Customizing the General Pages for Mobile Web
For the general pages of your mobile website, you can customize the background color of the site menu and popup window, the primary button (the button appearing on the right), and the secondary button (button appearing on the left).
You can customize the following:
- Site Menu – Set the background color.
- Primary Button – Set the gradient colors and borders for primary buttons.
- Primary Button Hover – Set the gradient colors for the primary hover buttons.
- Primary Button Active – Set the gradient colors for the primary active buttons.
- Secondary Button – Set the gradient colors and borders for secondary buttons.
- Secondary Button Hover – Set the gradient colors for secondary hover buttons.
- Secondary Button Active – Set the gradient colors for secondary active buttons.
- Popup Background – Set the background color for popup windows.
To customize the mobile web settings:
- In Web Admin, select Designs > Mobile Site Configuration.
- Make the desired changes.
- Click Save Changes.
- Click Refresh Ordering Site.
Customizing the Splash and Landing Page for Mobile Web
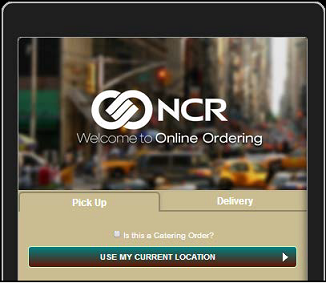
You can customize the splash and landing page for mobile web. A user arrives at the landing page when they launch the mobile application, and the image associated with the landing page is the first image they see. Most restaurants use an image consisting of their logo and some details regarding online ordering. To customize the colors of the landing page, refer to To customize the mobile web settings.
You can customize the following:
- Text and Background – Set the background and text color.
- Logo Image – Set the image to display on the splash page.The file name for the mobile web landing page is main-image.png. Upload an image with the pixel width and height of 664 x 350. You upload the image to Designs > Mobile Site Configuration.
- Pickup Tab Header – Sets the color for the pickup tab on the splash page.
- Delivery Tab Header – Sets the color for the delivery tab on the splash page.
- Tab Body – Sets the background color for tab body on the splash page.
To upload a logo image:
- In Web Admin, select Designs > Mobile Site Configuration.
- Click Upload Logo.
- Click Choose File.
- Navigate to and select the logo file.
- Click Open.
- Click Upload File.
- Click Save Changes.
- Click Refresh Ordering Site.
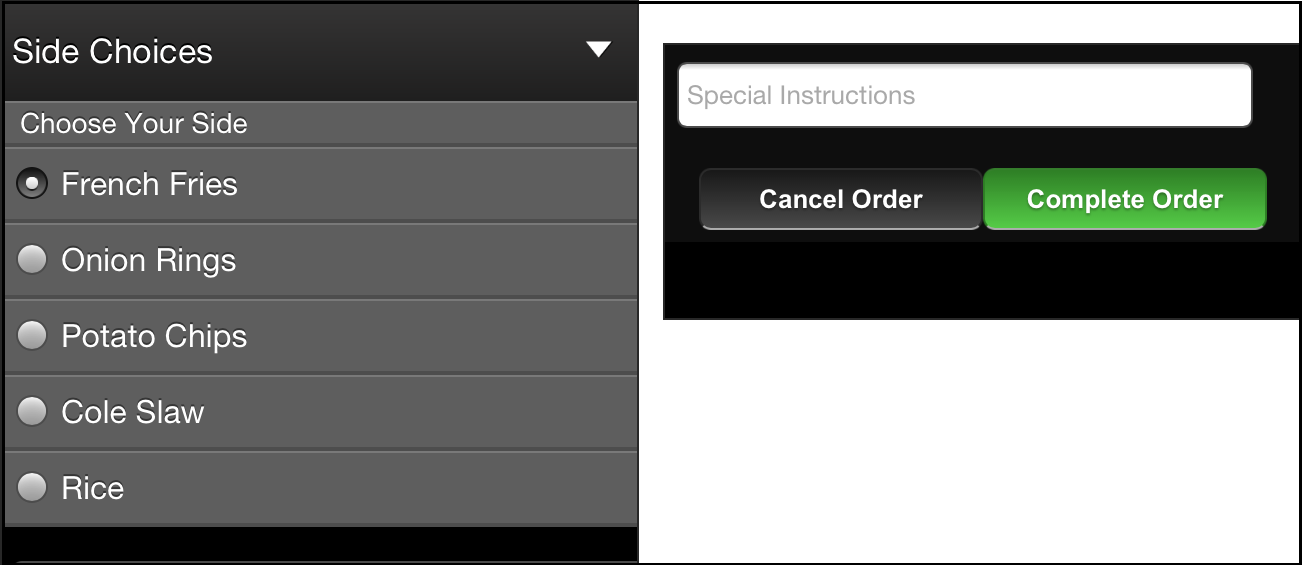
Customizing the Order Entry Page for Mobile Web
The order entry pages allows a consumer to enter the items to order and to view their subtotal. You can customize the colors for the order entry page.
List.png)
You can customize the following:
- Navigation Bar – Sets the background and text color for the navigation header on the order entry page.
- Cart Circle – Sets the background and text color the cart circle image on the order entry page.
- Sub-Menu List (Menu List) – Sets the gradient colors for menu categories on the order entry page.
- Order Entry Subtotal – Sets the background color for the item subtotal field on the order entry page.
Adding a Mobile Web Image for a Submenu
Each submenu can have a unique image to the left of the submenu title, which can assist consumers in making their selections. If you do not add an image for the submenu name, the system places a default icon in place of the image.
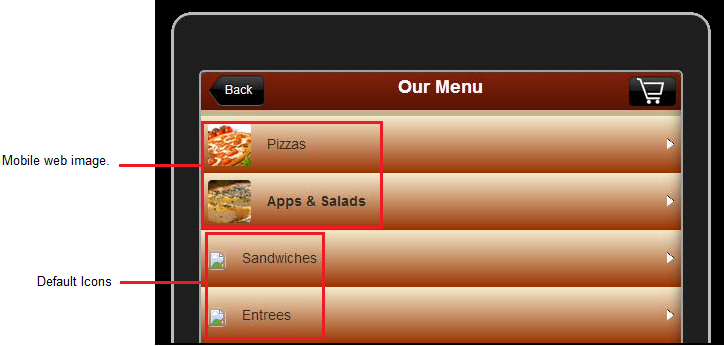
To add a mobile web image for a submenu you must:
- Set the MobileWebHasSubMenuPictures company setting to true. Refer to To add or edit a company setting for more information.
- Upload an image with a pixel width and height of 136 x 136 for the submenu to Designs > Graphic and Content. Recommendation: Name the file in a way to help you identify the submenu for which to use the image. Refer to To upload edited files to the Graphics and Content page for more information.
Adding a Mobile Web Image for a Menu Item
Each menu item can have a unique image to the left of the menu item title, which can assist consumers in making their selections. If you do not add an image for the menu item, the system places a default icon in place of the image.
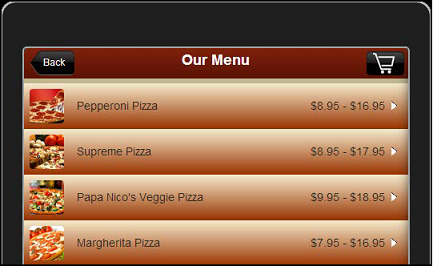
To add a mobile web image for a menu item you must:
- Set the MobileWebHasMenuItemPictures company setting to true. Refer to To add or edit a company setting for more information.
- Upload an image with a pixel width and height of 136 x 136 with a file name of mobile_{Web Menu List Image Name}. The ‘Web Menu List Image’ is the image item name used on desktop web. The file format for the mobile image must be the same as the desktop web, either JPG or PNG. Refer to To upload edited files to the Graphics and Content page for more information.