Working with Site settings
The 'Site settings' function allows you to view the site-specific settings for the currently selected site. You can also select the start date and frequency for your payroll calendar, and manage your days parts.
Viewing Site settings
Select Settings > Site settings > Site Settings to view the site-specific settings for the site selected when you logged in or from the site picker. The 'Site Settings' screen appears with the following details.
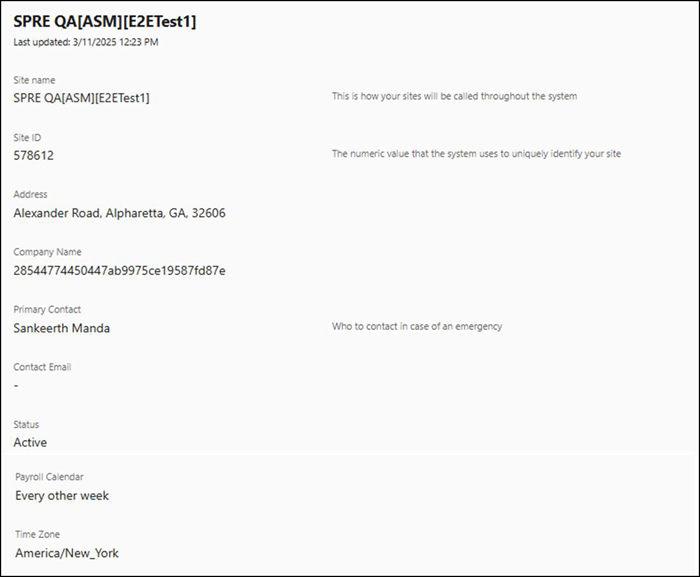
The 'Site Settings' screen is view-only and provides general information about the selected site. Additionally, the site name and date and time when the site details were recently updated appear.
| Column | Description |
|---|---|
| Site name | Unique name of the site. This name is used to represent your site at all occurrences. |
| Site ID | Unique ID of the site. This ID is used to represent your site at all occurrences. |
| Address | Full address of the selected site. |
| Company Name | Name of the company with which the selected site is associated. |
| Primary Contact | Name of the person for primary point of contact associated with the site. |
| Contact Email | Contact email of the primary person. |
| Status | Status of the site: Active or Inactive. |
| Payroll Calendar | Payroll calendar used for the selected site. |
| Time Zone | Time zone to which the selected site is mapped. |
Configuring the payroll calendar for a site
Select Settings > Site settings > Payroll calendar to establish the start date and frequency for your payroll calendar and preview the results. A payroll calendar is a schedule that outlines the pay periods and pay dates to ensure employees are paid accurately and on time. You can set up the payroll calendar for weekly or bi-weekly. By using a payroll calendar, the organization can ensure compliance with applicable rules and regulations.
Important: You must be an Admin to edit the settings available in the ‘Payroll calendar’ function; otherwise, the information is read only.
To configure the payroll calendar:
-
Select Settings > Site settings > Payroll calendar. The Payroll Calendar screen appears.
-
Select the start date of your first payroll period.
-
Select the frequency to determine how often to process the payroll. The available options are:
Every other week — Used for bi-weekly payrolls.
Every week — Used for weekly payrolls.
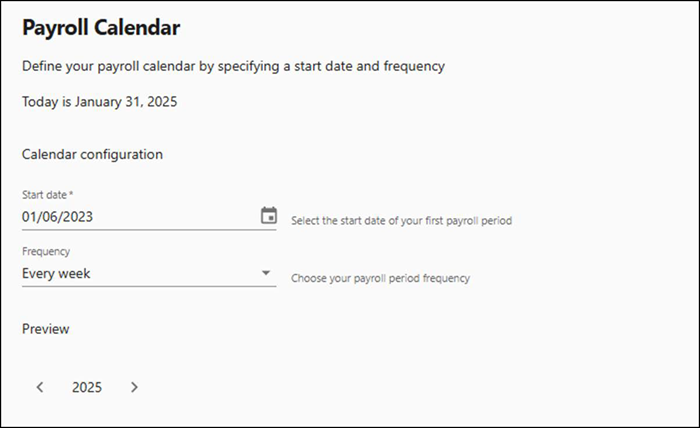
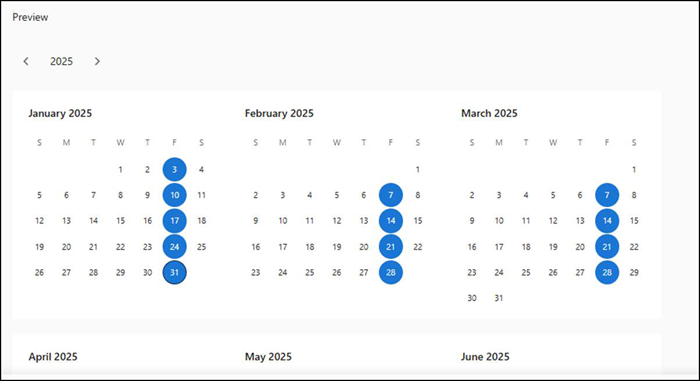
In the Preview section, the first day of each payroll week is highlighted. This helps you easily view the payment dates and plan accordingly.
Every week — Used for weekly payrolls.
-
Click Save.
Configuring a day part
Select Settings > Site settings > Day parts to manage your days parts, including adding, editing, and deleting a day part. Day parts are defined to divide a day into parts, such as breakfast, lunch, dinner, happy hour, and others. They allow you to organize business data for reporting purposes and coincide with other Aloha features that rely on day parts, such as event scheduling, surveys, and tip sharing. The event scheduler triggers period changes using the start time and the subsequent period start time serves as an end time for the previous period.
To configure a day part:
- Select Settings > Site settings > Day parts. The Day Parts screen appears.
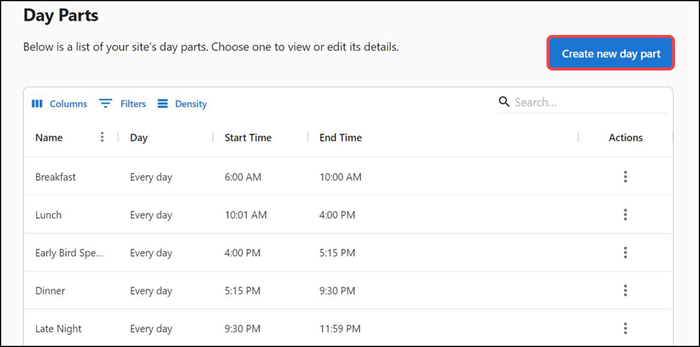
- Click Create new day part. The Creating New Day Part screen appears from the right side of the screen.
- Type a name to identify the part of a day, such as breakfast.
- Type any additional information about the day part in 'Description,' such as 'Breakfast timings.'
- Select the days for which the day part is active. For example, if you want to configure a day part for happy hour, between 2 p.m. and 6 p.m. on Wednesdays, select 'Wednesday' from the 'Days' drop-down list.
- Select the start time of the day part.
- Select the end time of the day part.
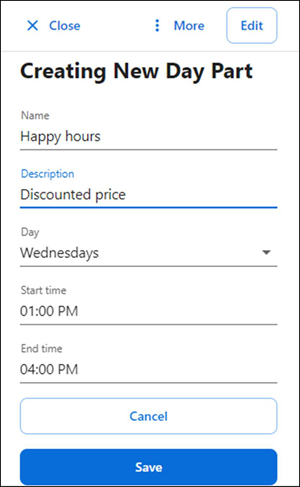
- Click Save or click Cancel to cancel the procedure.
To edit a day part:
- Select Settings > Site settings > Day parts. The Day Parts screen appears.
- Click the three dots menu under Actions for the day part to edit, and select Edit from the menu that appears. The drawer for the selected day part appears on the right side of the screen.
- Modify the day part, as needed.
- Click Save.
To delete a day part:
- Select Settings > Site settings > Day parts. The Day Parts screen appears.
- Click the three dots menu for the day part to delete and select Delete from the menu that appears. A warning message appears.
- Click Delete to confirm the deletion.
Return to "About Settings" or continue to "Working with Labor settings."