Working with Labor settings
Use 'Labor settings' to configure the labor rules and jobs. Job data is required when hiring, maintaining pay rates, scheduling, and reporting. Use Jobs to schedule employees to work certain jobs and to pay those employees correctly.
Setting the Workday and Workweek
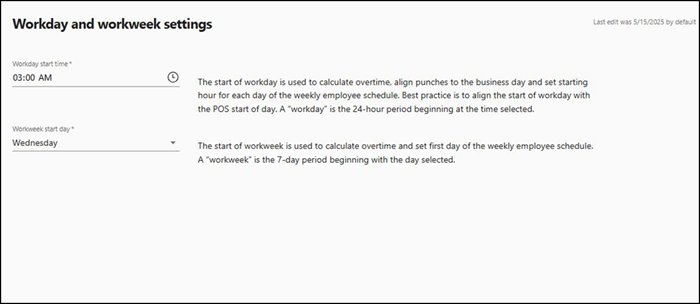
A workday is the 24-hour period beginning at the time selected and a workweek is the 7-day period beginning with the day selected. You can set the start of the workweek or workday for the organization or site, enabling labor and scheduling functions, such as overtime calculation and schedule management, to utilize this configuration.
To set the workweek/workday for a schedule:
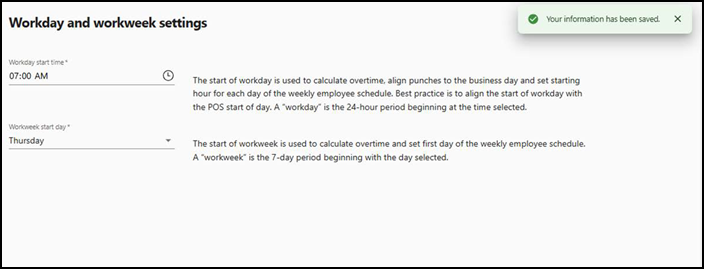
- Select Settings > Labor settings > Workday and Workweek. The 'Workday and workweek' screen appears.
- Click the Workday start time.
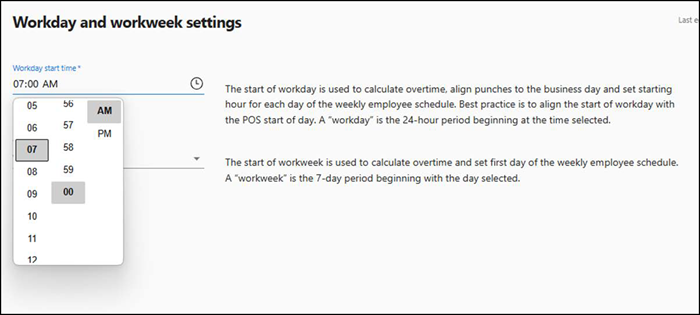
- Type the time or click the clock icon to select from the drop-down list. The start of workday is used to calculate overtime, align punches to the business day and set starting hour for each day of the weekly employee schedule.
- Click the Workweek start day.
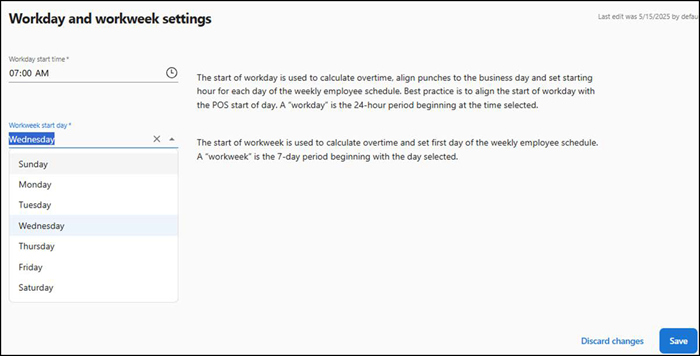
- Type to enter a day or click to select from the drop-down list. The start of workweek is used to calculate overtime and set first day of the weekly employee schedule.
- Click Save. A confirmation window appears asking to confirm the start of the workday and workweek.
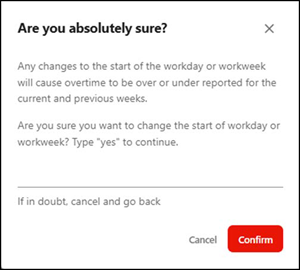
- Type yes to continue and click Confirm. A confirmation message appears on the screen with changed workday and workweek settings.
Configuring labor rules
The labor rules configuration section enables you to abide by specific rules in the United States (US) in accordance with the US Department of Labor. The rules are enforced by state and jurisdiction laws and the site or company could incur penalties and lawsuits if they are not followed.
Important: We strongly recommend you consult the labor regulations in your area to ensure you are in compliance. Aloha Smart Manager provides the tools to abide by the labor rules; however, it is your responsibility to follow and enforce them.
Viewing and accepting the user agreement
Before you can configure labor rules, you must accept the user agreement that explains the liability and responsibility to configure the rules. Each admin is required to sign the agreement.
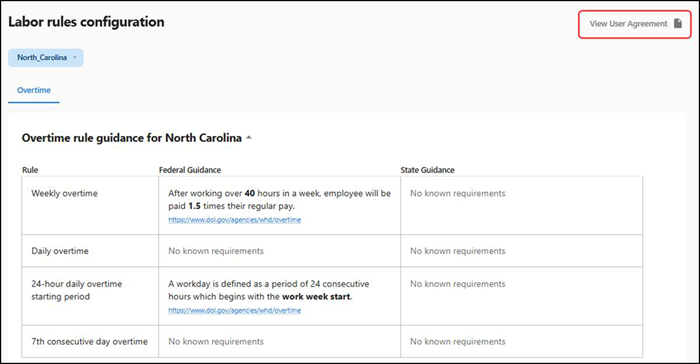
- Select Settings > Labor settings > Labor rules. The 'Labor rules configuration' screen appears.
- Click View User Agreement. The Labor Rules User Agreement screen appears.
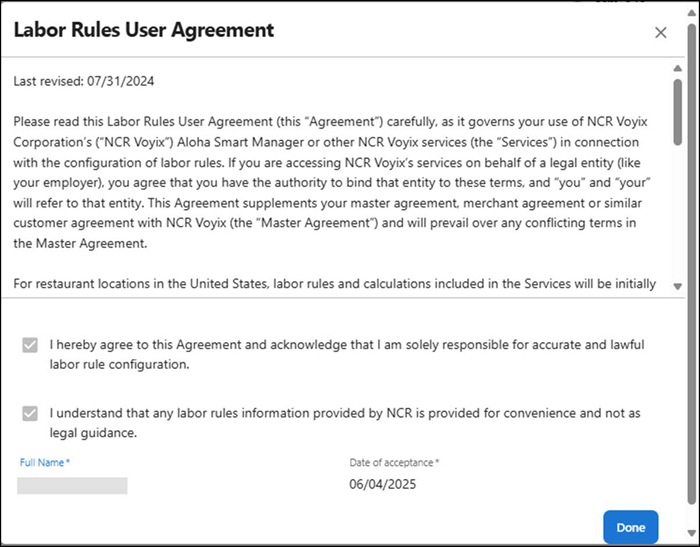
- Select the acknowledgments.
- Type your name in 'Full Name.'
- Click Done to indicate your acceptance of the agreement and exit.
Viewing your labor rules
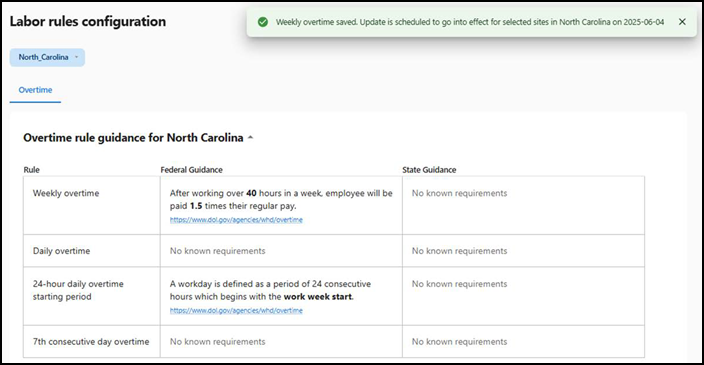
- Select Settings > Labor settings > Labor rules. The 'Labor rules configuration' screen appears with the Overtime tab as the active tab. Use this tab to view the extra wage payout rule that includes Weekly overtime, Daily overtime, Workday definition, and 7th consecutive day overtime.
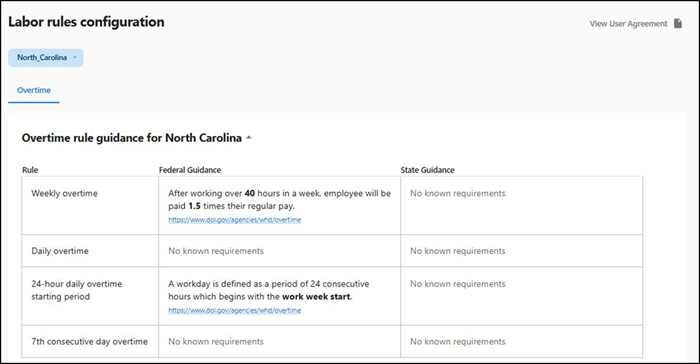
- Select your state from the drop-down list that appears in the top left corner to display the Jurisdiction pop up window. The states in which your sites reside appear in the menu.
- Select the state to which this overtime rule applies.
- If you also need to view the overtime rules for a county, select the Other tab, click the arrow next to the applicable state, and select the county from the list that appears.
- Scroll down the page to view the labor rules applicable to your selection.
Editing a labor rule
Some labor rules change or are implemented quickly on a yearly basis. You can edit a rule to stay compliant with the law; however, you must digitally sign a legal agreement of acknowledgment of the change.
Warning: Before you change a labor rule ensure you are in compliance with those labor laws.
-
Scroll down the Labor rules configuration page to locate the labor rule type to change.
-
To deactivate an active rule, select the check box next to the labor rule type. A prompt appears requiring you to digitally sign an agreement to deactivate the rule. Select the two acknowledgments, the reason for the change, and click Deactivate.
-
To edit a rule, click Edit labor rule. If the rule is currently inactive, you must first select the check boxnext to the labor rule type to enable 'Edit labor rule.' The 'Edit labor rule' screen appears. The currently defined labor rule appears as a reference.
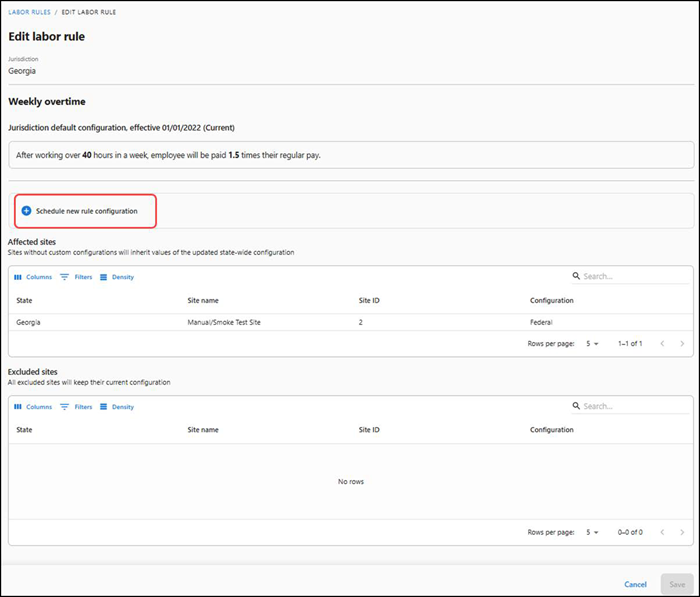
-
Click Schedule new rule configuration to add the customized rule to your site.
-
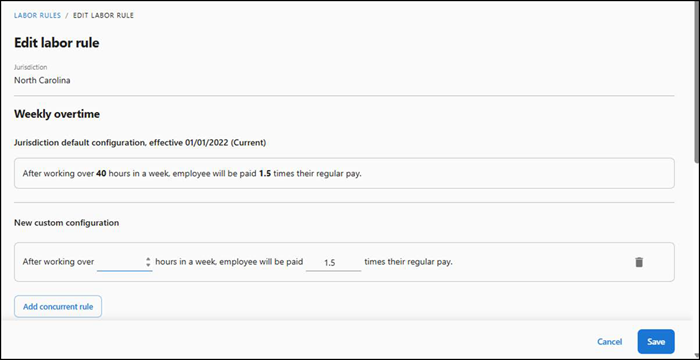
Edit the labor rule, as needed.
-
Click Add concurrent rule to add more parameters to the rule, if required.
-
Verify the affected and excluded sites receiving the change are correct.
-
Click Save to save the changes. A confirmation screen appears.
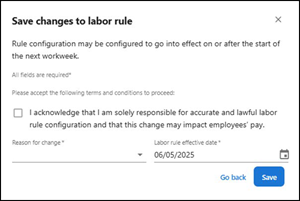
-
Choose a reason for the change to the labor rule.
-
Select the date on which to start the labor rule.
-
Click Save to save the changes or click Go back to cancel the changes and return to the labor rules screen. A confirmation message appears on the screen with the updated changes.
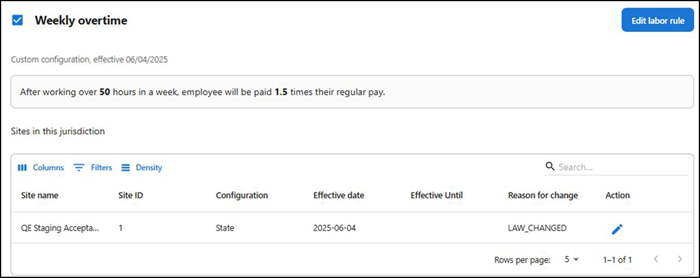
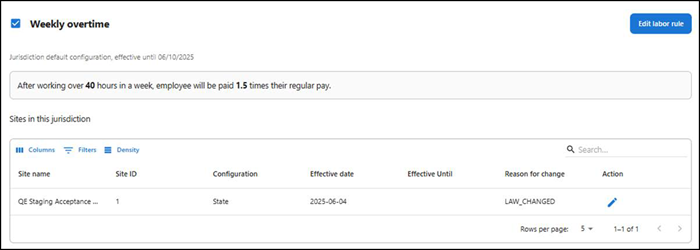
The 'Sites in this jurisdiction' table under the labor rule type is updated with the level of enforcement in 'Configuration,' the effective date the law begins, the effective date the law ends, and the reason for the change.
-
Click the pencil icon at the right end of the column to edit or change the rule.
-
If you need to edit 'Daily overtime,' '24-hour daily overtime starting period,' '7th consecutive day overtime,' repeat steps 3 through 12.

-
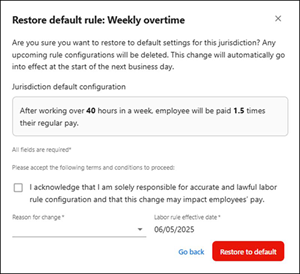
If you need to restore previous settings, click Restore default on the right side of the screen.
Note: The 'Restore default' button appears when you start editing a rule.
-
Select the Reason for change from the drop-down list and click Restore default. The rule resets to the default.
Editing labor rules for Tips & Wages
Employers must pay the highest minimum wage set by federal, state, or local laws. Some jurisdictions allow you to use a tip credit to pay tipped employees a lower wage if tips make up the difference. If not, they must cover the shortfall. You can adjust tips and wages to remain compliant with the law.
Tip credits allow employers to count a portion of an employee’s earned tips toward meeting minimum wage requirements. This means the employer pays less in direct wages, as tips contribute to the total compensation. Tip credits are not wage deductions but a method of calculating wages that includes tips.
- Select Settings > Labor settings > Labor rules.
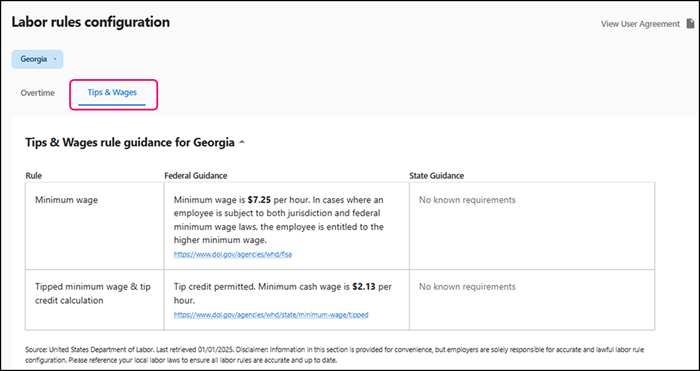
- Click the Tips & Wages tab to edit the labor rule.
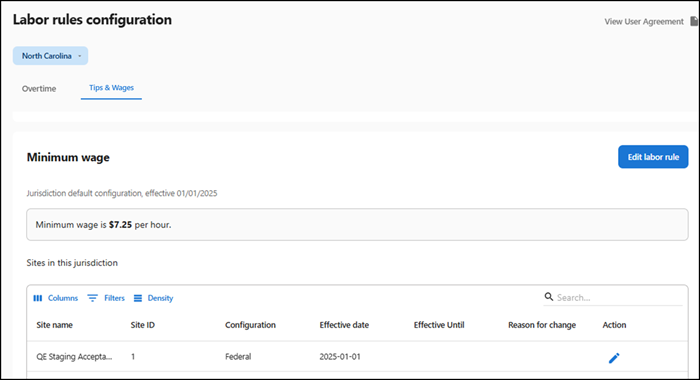
- Click Edit labor rule. The 'Edit labor rule' screen appears for minimum wage.
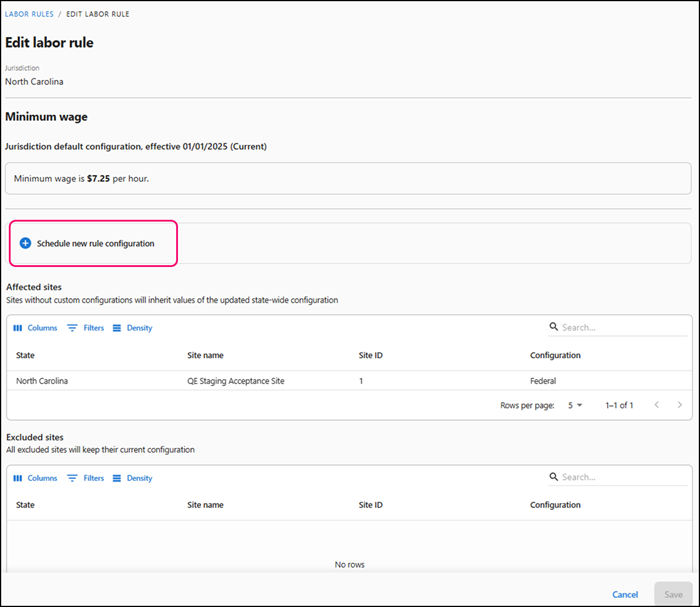
- Click Schedule new rule configuration to add the customized rule to your site.
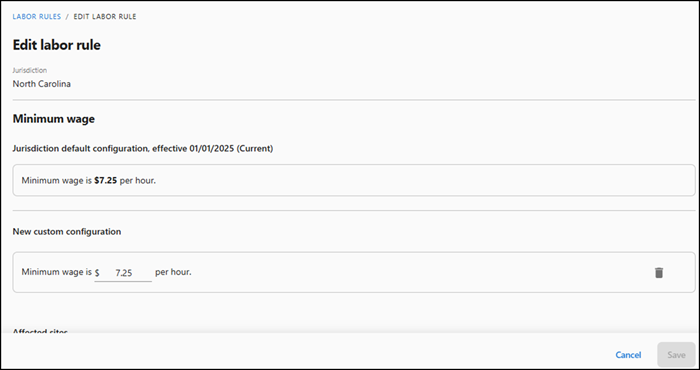
- Edit the labor rule, as needed. You can view the affected and excluded sites receiving the change in the displayed sections.
- Click Save to save the changes. A confirmation screen appears.
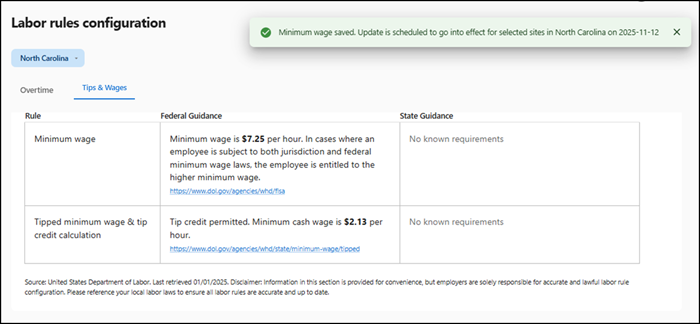
- Choose a reason for the change to the labor rule.
- Select the date on which to start the labor rule. The earliest date available is the first day of the next schedule week. You can schedule a rule to take effect as far into the future as needed. A confirmation message appears on the screen with the updated changes.
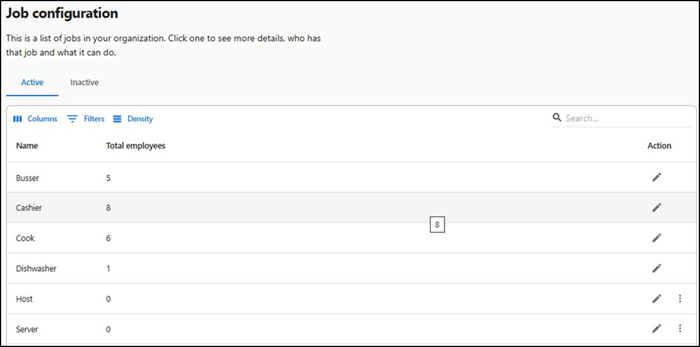
Configuring jobs
The 'Jobs' function provides a job description for the role an employee performs when they are clocked in. Jobs control whether an employee can enter orders, the parameters under which they can take breaks, whether they can operate a cash drawer, and more.
In Aloha Smart Manager, there are 14 seeded jobs available by default; however, administrators can modify job properties, such as:
- Changing a job name.
- Selecting the labor group under which the job reports.
- Configuring the POS ID and access level.
- Activating or deactivating a job.
To modify job properties:
-
Select Settings > Labor settings > Job configuration. The 'Job configuration' screen appears.
-
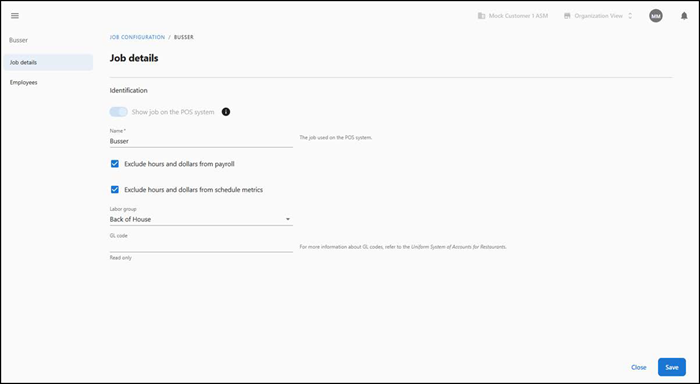
Click the pencil next to the job to modify. The 'Job details' tab appears as the active tab.
-
Select Show job on the POS system to make the job available for selection when logging in to the Front-of-House. The Show job on the POS system' option is available for selection only when no employees are assigned to the selected job. Toggle this option to the off position to hide it from selection when logging in to the POS.
-
Type a descriptive name to appear in the FOH to assist the employee in job selection.
-
Select Exclude hours and dollars from payroll to exclude the hours and dollar amounts worked and earned under the selected job code from the payroll report for any specified employee.
-
Select Exclude hours and dollars from schedule metrics to hide/exclude labor hours and dollars from the schedule metrics. This allows you to include only time and dollars you want to report for direct labor expense in your schedule.
-
Select a labor group to which to assign the job. Your choices are Front of House, Back of House, Management, and Maintenance.
-
Disregard GL code as this is currently not supported.
-
Click Save.
-
Select the Employees tab to view a list of employees currently assigned to the job.
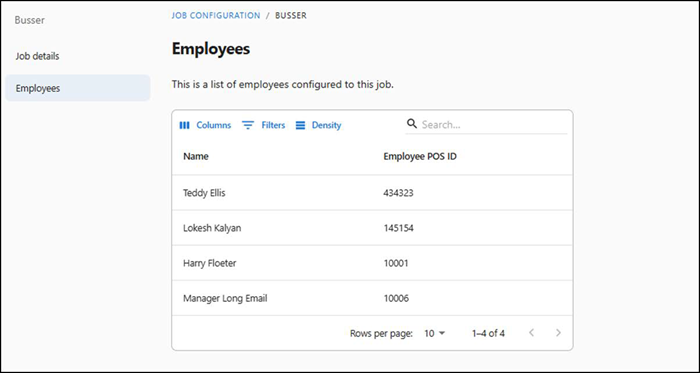
Tip: When you select an employee in the list, ASM navigates you to the Employees function, allowing you to assign additional jobs to the employee. Refer to "Step 3: Assigning a job to a new employee" for more information.
Making a job inactive
An administrator can make a job that is no longer in use inactive using two methods. Once inactive, the job no longer appears in the POS system.
Warning: Ensure no employees are assigned to the job before making it inactive.
To deactivate a job:
-
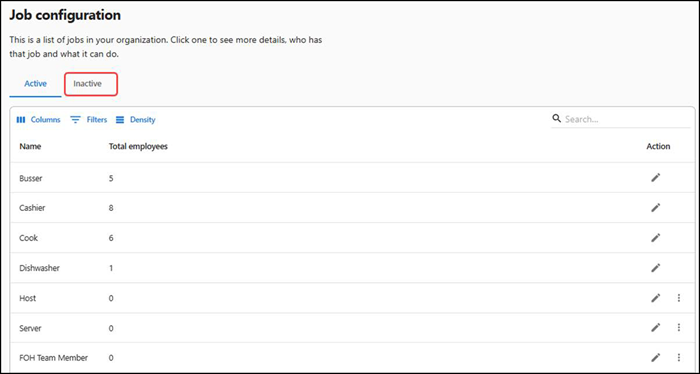
Select Settings > Labor Settings > Job configuration. The 'Job configuration' screen appears.
-
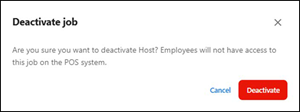
Click the three dots menu under Actions and select Deactivate from the menu that appears. A confirmation message appears.
-
Click Deactivate to confirm the deactivation.
Tip: Select the Inactive tab to view a list of jobs that are deactivated or hidden.
To activate a job currently set as inactive:
- Select Settings > Labor Settings > Job configuration.
- Select the Inactive tab to view the jobs currently set as inactive.

- Click the three dots menu under Action and select Activate from the menu that appears. The job is now active and available to assign to employees.