Configuring multiple cash drawers
You can now attach more than one cash drawer to the POS system. This allows each employee to have their own drawer and be responsible for their own cash reconciliations.
Connecting a cash drawer
Cash Drawer 1:
Plug the DK cable from the terminal to the cash drawer.
Cash Drawer 2:
- Plug the DK cable from the printer to the cash drawer.
- Perform the printer setup.
- Enable Multiple Cash Drawers in POS Settings (instructions below).
Note: You cannot have a shift open when you enable this feature.
To enable multiple cash drawers:
-
Tap the Home icon.
-
Tap Settings.
-
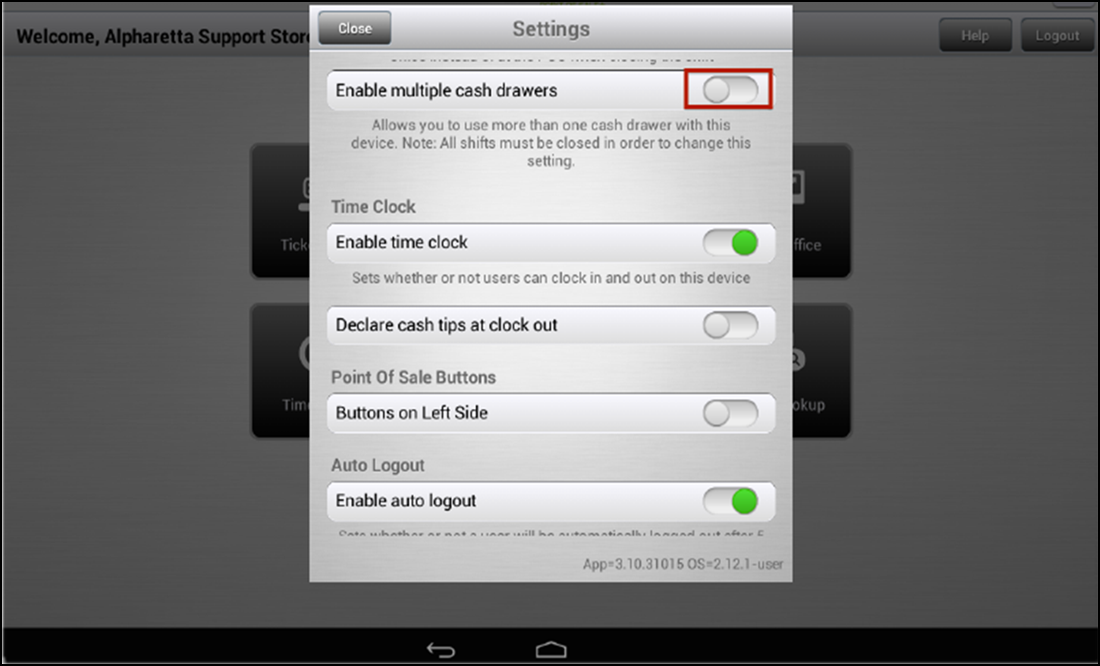
Scroll down to Enable multiple cash drawers. This is disabled by default.
-
Toggle the switch to enable this setting.
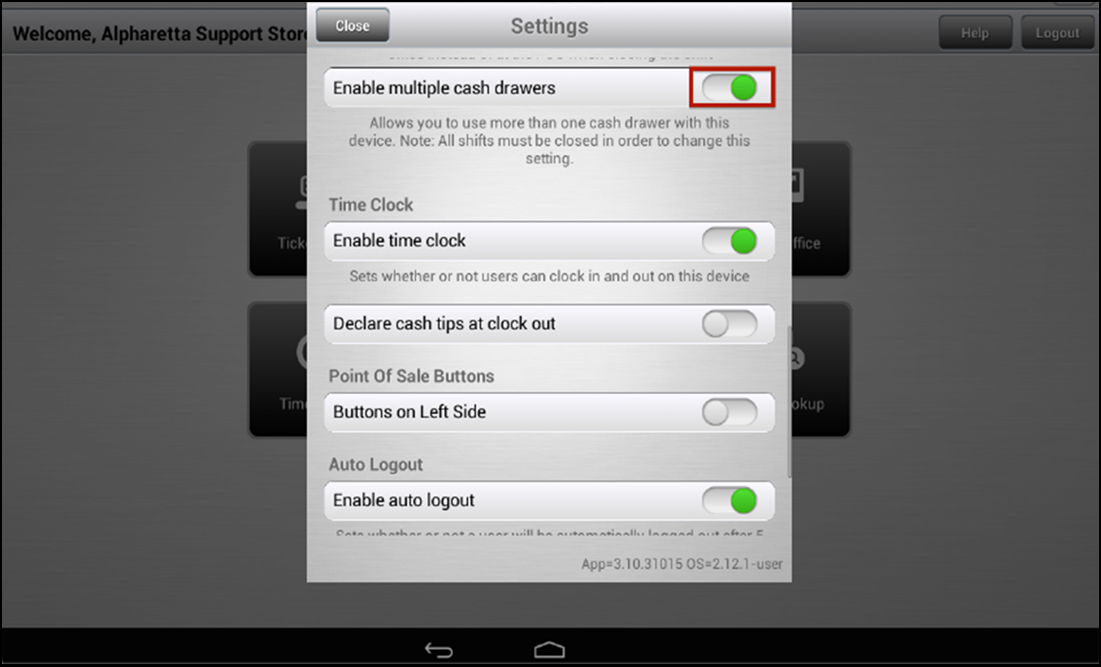
Note: Once you enable this setting, it auto-enables the Prompt for PIN setting. A new setting to enter a unique cash drawer name appears. You cannot change the name in an open shift.
-
Click Close to exit the Settings function.
Configuring a cash drawer
To access cash drawer settings, tap the Home icon, tap Settings, then navigate to Checkout Options > Cash Drawer Configuration.
To name a cash drawer:
On the My Hardware screen, each cash drawer that is connected (whether directly or via a printer) appears on its own line.
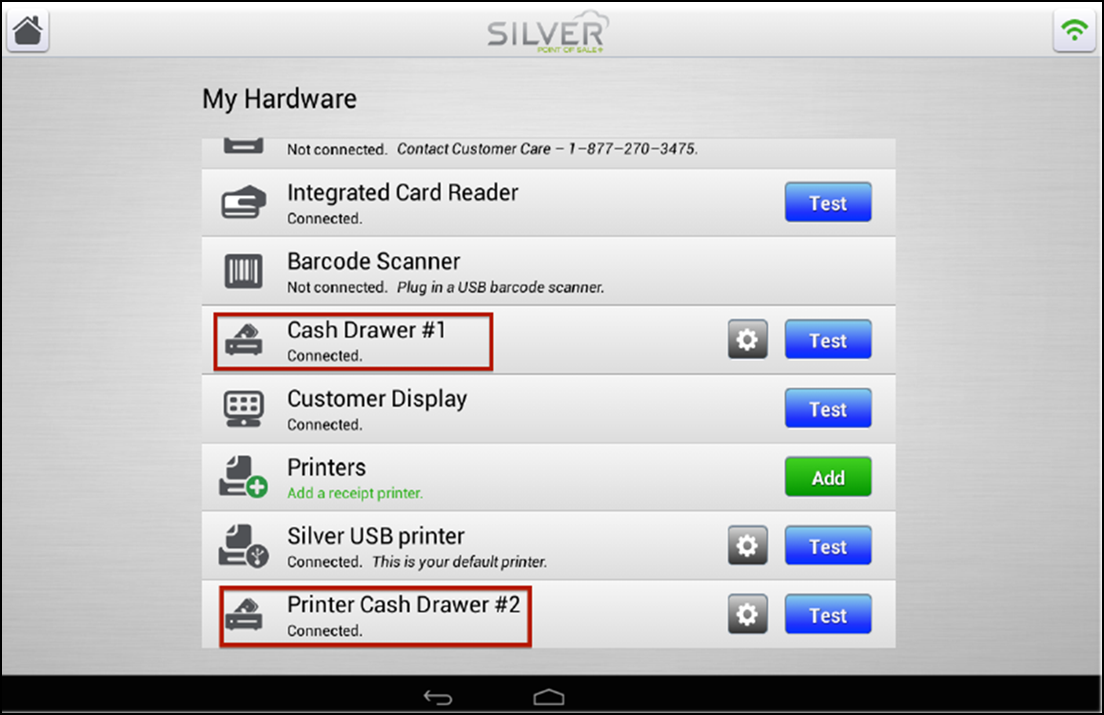
Tap the Settings icon for a cash drawer to change the default cash drawer name. Each drawer must have a unique name.
Starting a shift when using multiple cash drawers
When you enter your PIN and start a new shift, you must enter your starting cash amount. A popup screen appears:
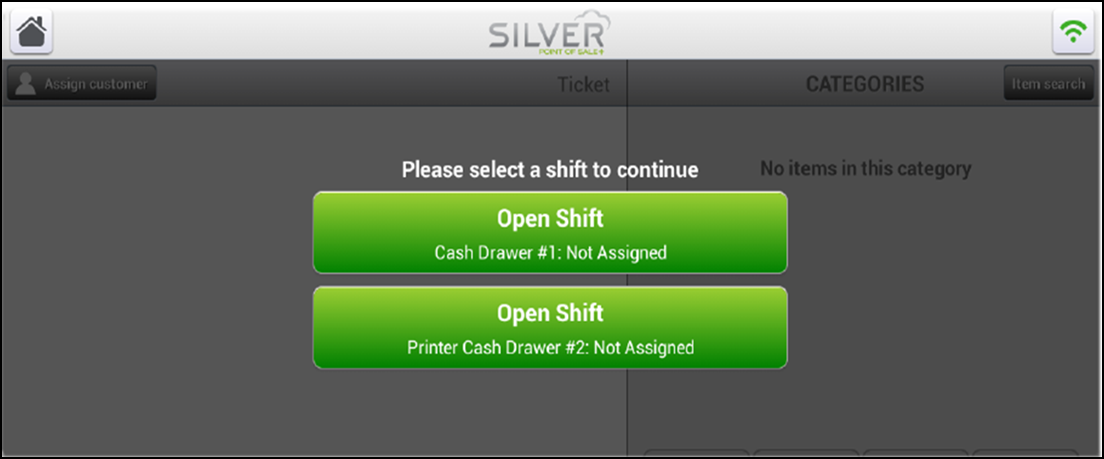
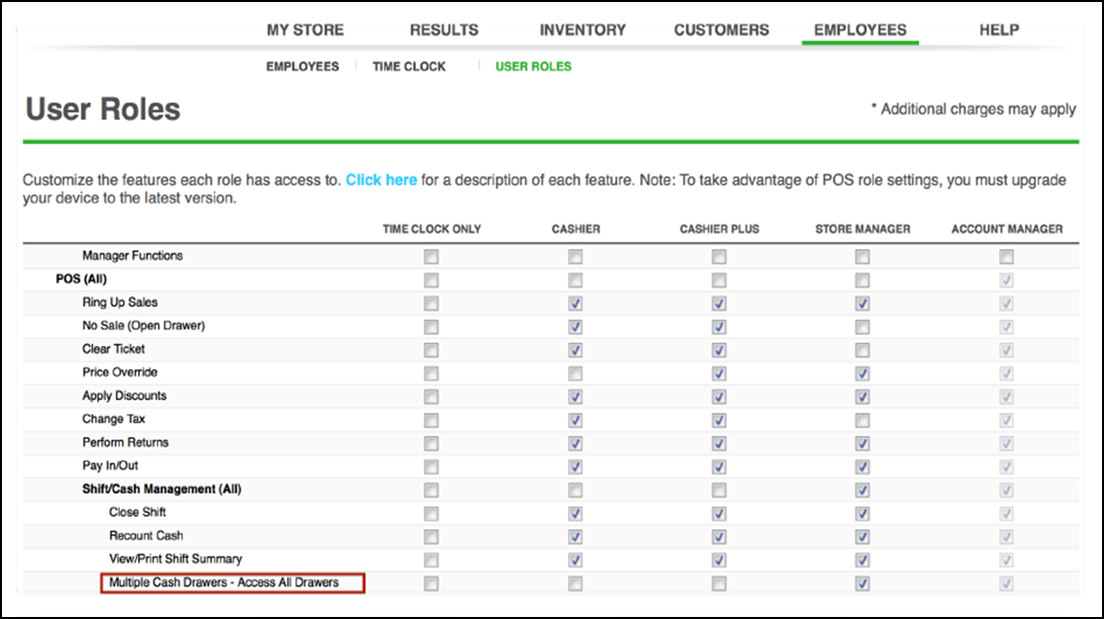
Note: If 'Multiple Cash Drawers - Access All Drawers' is selected for your user role in Back Office > User Roles, you can choose any drawer to use even if there is already an employee assigned to it.
