Working with customers
Use Customers > Customers to track the customer's sales and maintain their records. This improves customers service. This also allows you to take advantages of the system's integrated email marketing features.
Viewing customers
To view the customers list:
-
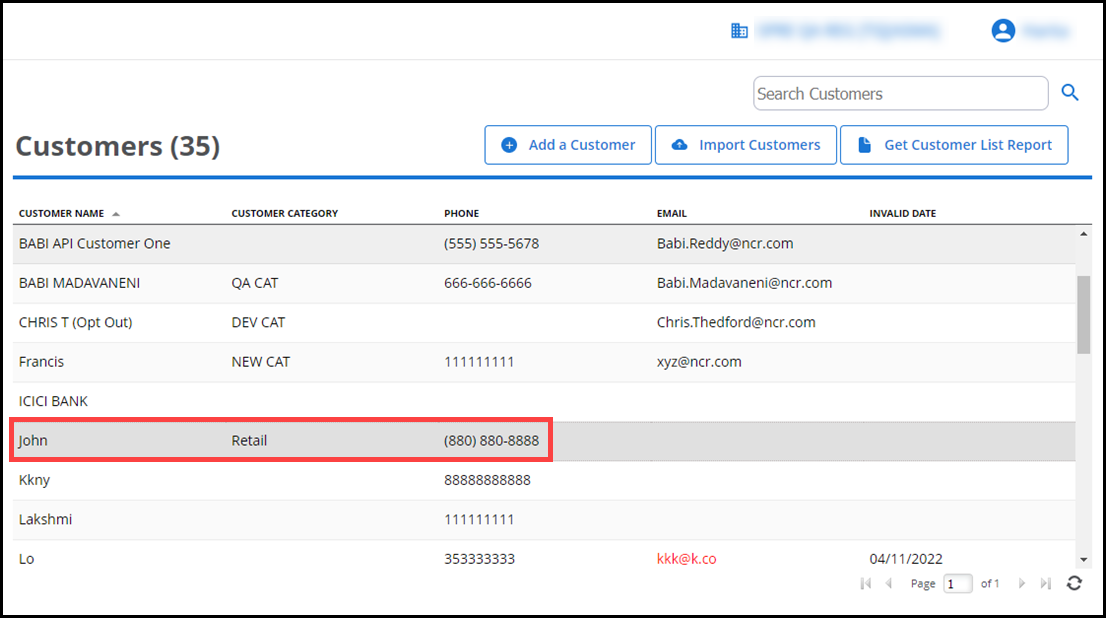
Log in to Back Office using Company View (All Stores).
-
Select Customers > Customers to view a list of your customers. Each customer record contains contact information including their email address and phone number. You can also record detailed notes, such as special shipping instructions, a birthday, or another important date reminder. You can also assign customers to the specific categories, to make them as a group, this helps in easy tracking and reporting.
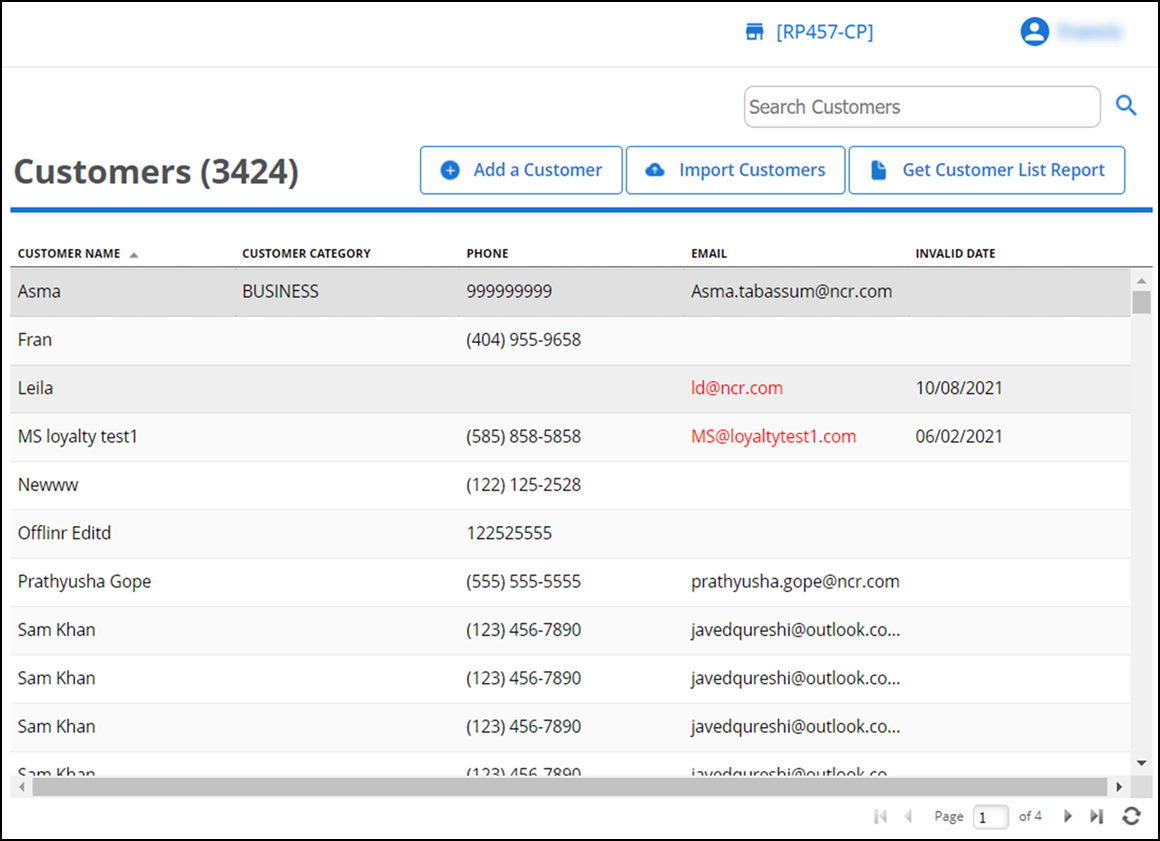
Note: When the customer's email address appears highlighted in red, it is an invalid email address. You can find the date the system last attempted to send an email to that email address in the Invalid Date column. Verify the email address, for the required format. For example: janedoe@email.com.
Adding a customer
To add a customer:
-
Log in to Back Office using Company View (All Stores) or using a specifc store.
-
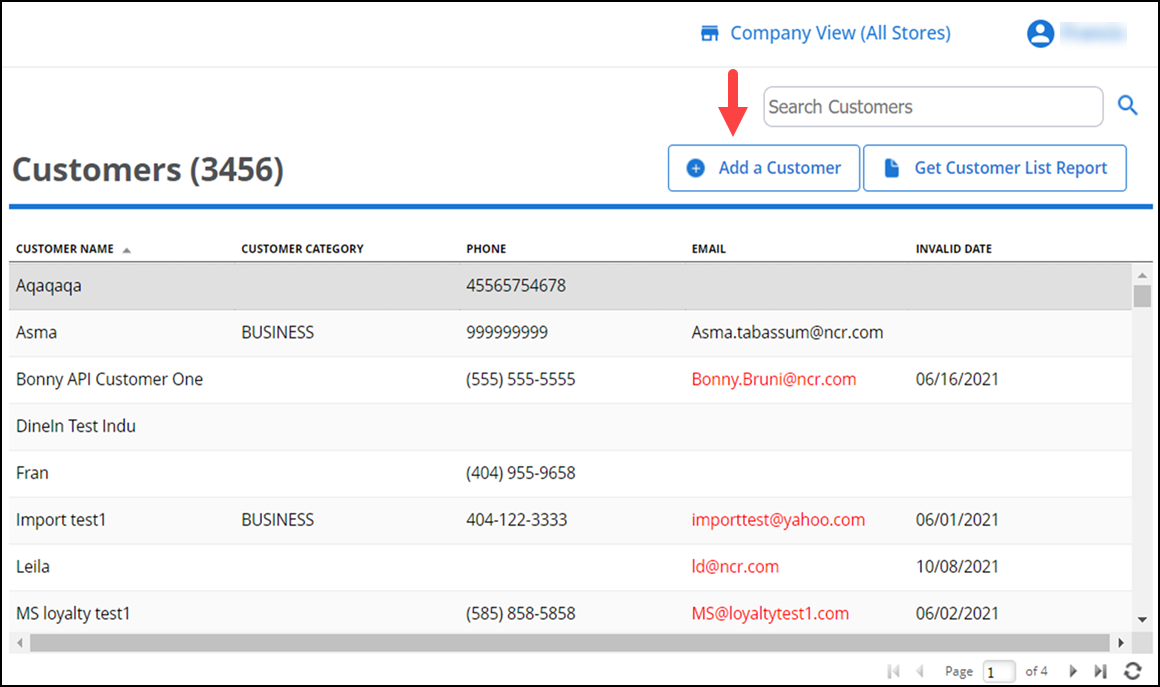
Select Customers > Customers.
-
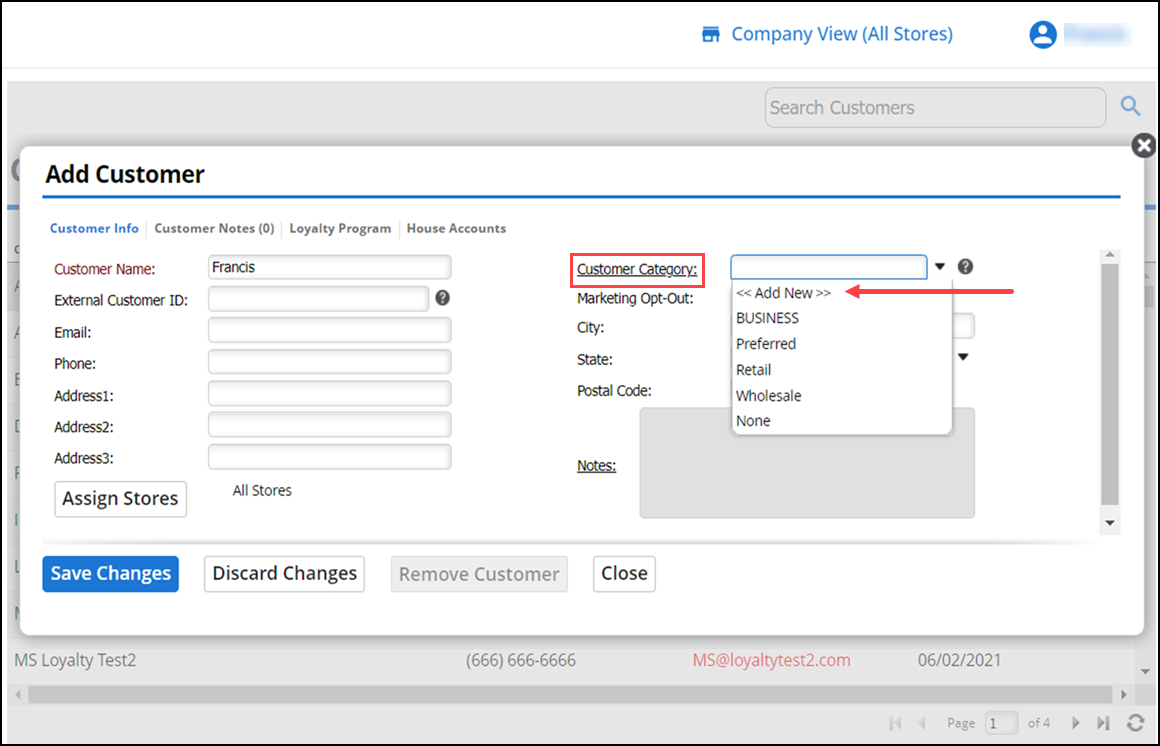
Click Add a Customer to create a new customer record.
-
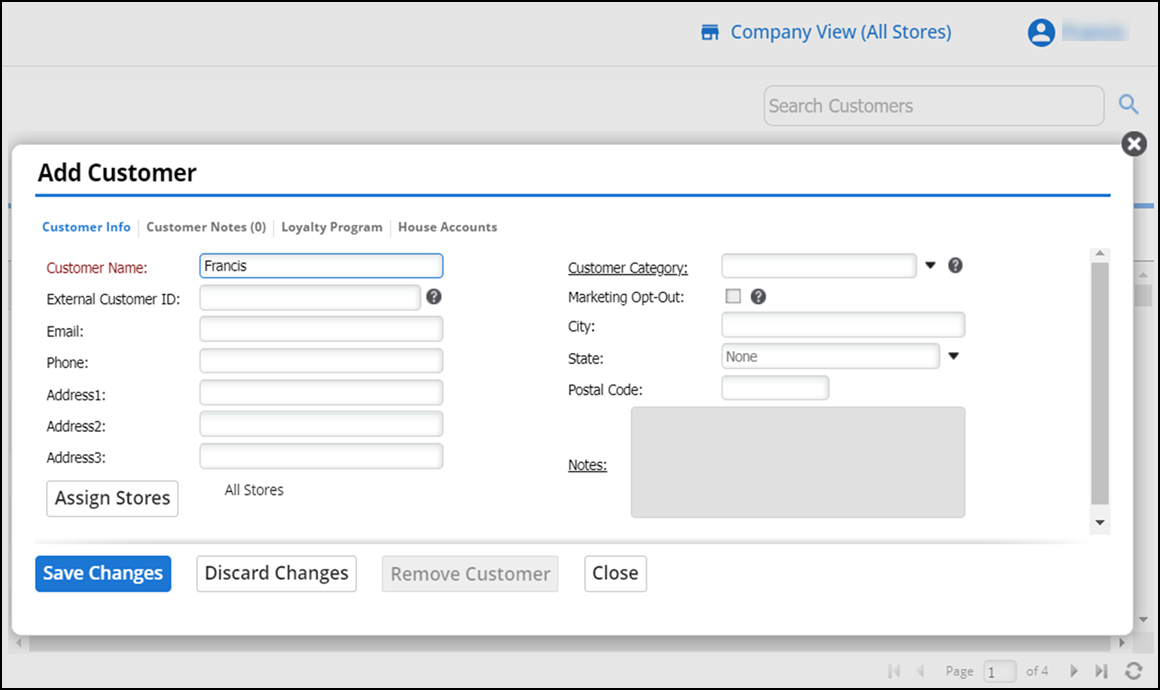
Enter the Customer Name.
-
(Optional): Enter the Email address, Phone number, Address, City, State and Postal Code.
-
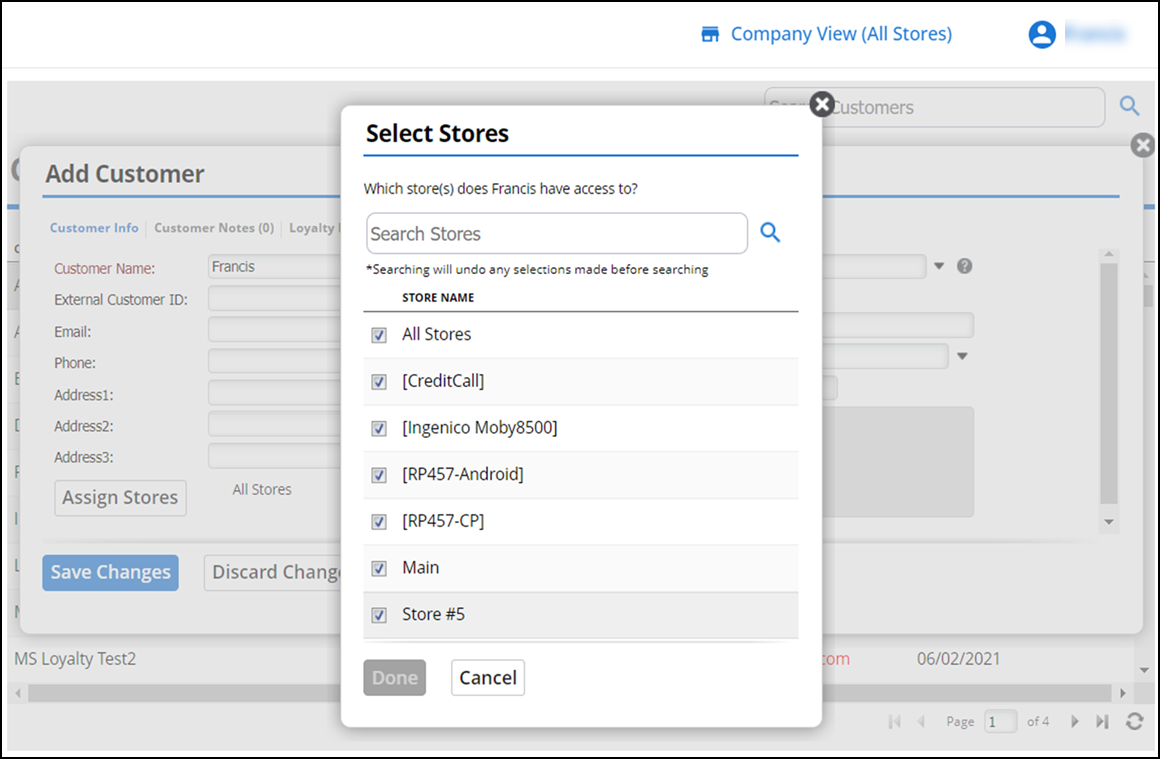
(Optional): Click Assign Stores (viewable only when logged in using Company View), to select the required store(s). By default, all stores are selected for a new customer.
-
(Optional): Select a Customer Category to assign to the customer.
-
To add a new Customer Category, select Add a Category << Add New >> from the Customer Category drop-down list -OR-Click the Customer Category link.
-
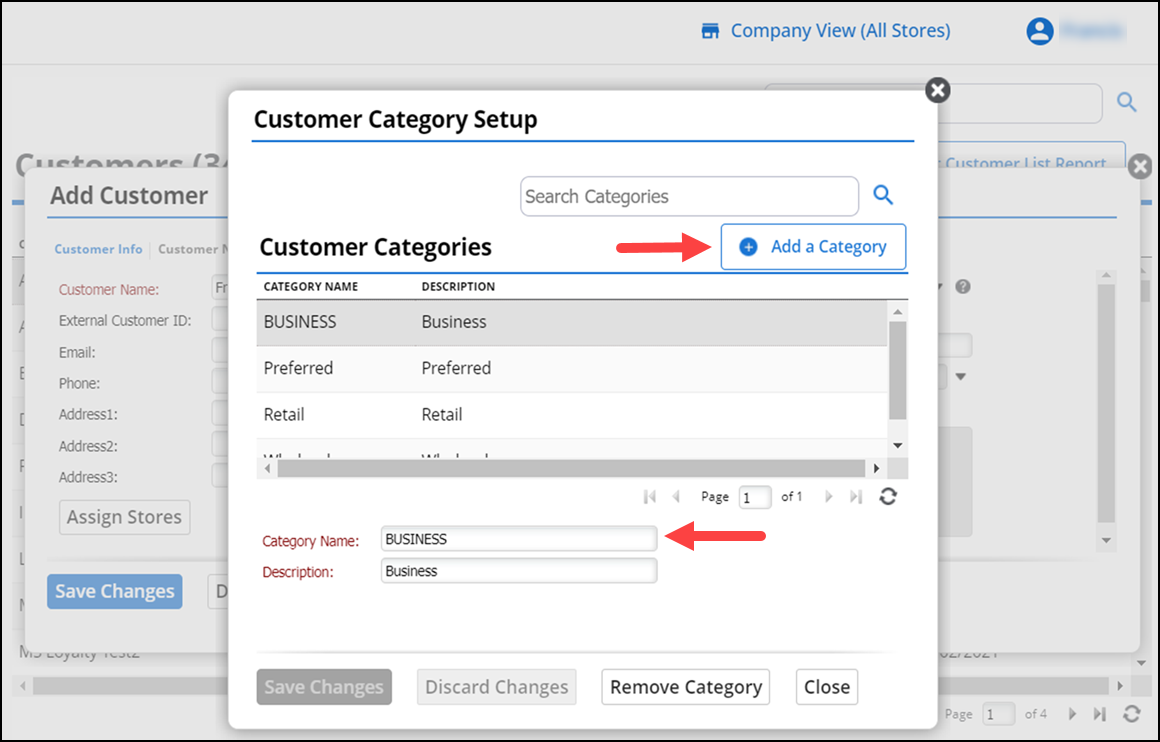
Click Add a Category.
-
Enter a Category Name and Description for the new category.
-
Click Save Changes to close the Add Category dialog. The new category is assigned to the customer.
Note: You can add a new category only using company view (All stores) selection. To edit/delete a customer category, refer Editing customer categories.
-
Select Marketing Opt-Out only if the customer does NOT want to receive email marketing messages from your store.
-
Click Save Changes to save the new customer record.
-
Repeat these steps for each customer to add to the system.
Deleting a customer
Account Managers can delete a customer from the database, perhaps if they are no longer a member of a preferred status, belong to a promotion that has ended, or no longer patrons the business.
Removing a customer is a "soft delete". Though the customer is removed from your database, all the data and activity related to the customer is still shown in reports, transactions, etc.
To delete a customer:
- Log in to Back Office using Company View (All Stores) or using a specifc store.
- Select Customers > Customers.
- Select a customer from the list. A pop-up screen appears listing the customer's information.
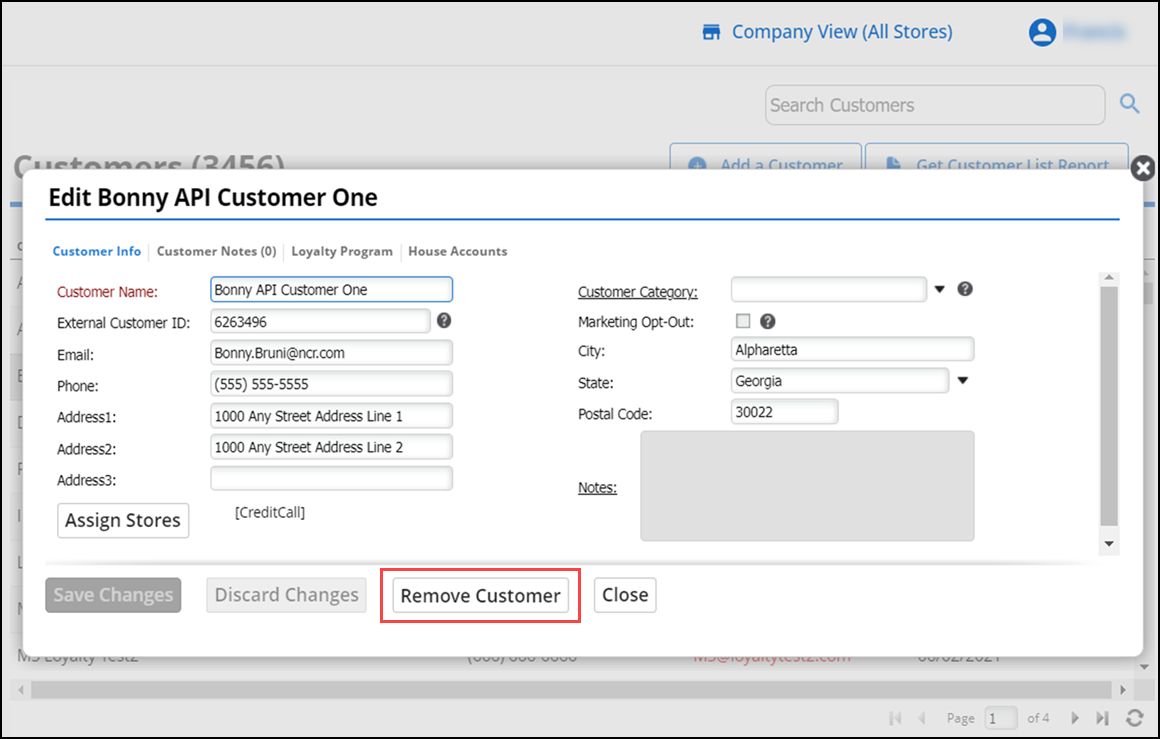
- Click Remove Customer. A prompt appears allowing you to confirm or cancel the deletion of the customer from the Back Office system.
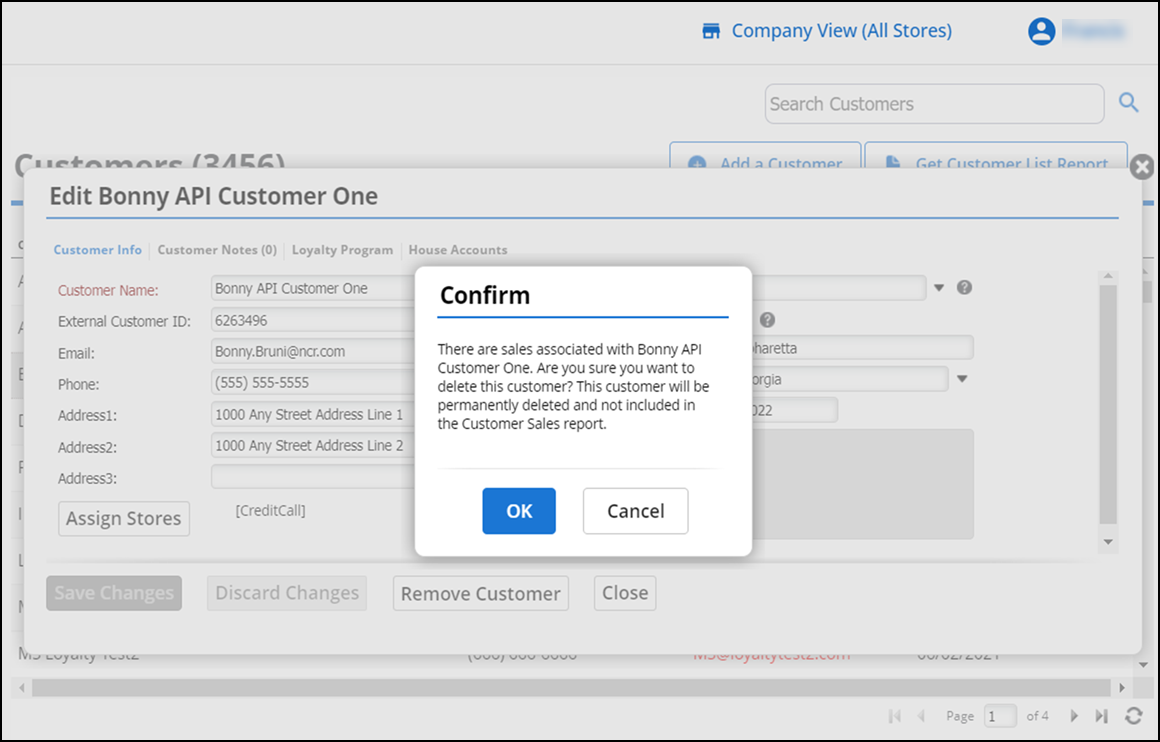
- Click OK to continue with the deletion of the customer.
Editing customer categories
- Log in to Back Office using Company View (All Stores).
- Select Customers > Customers.
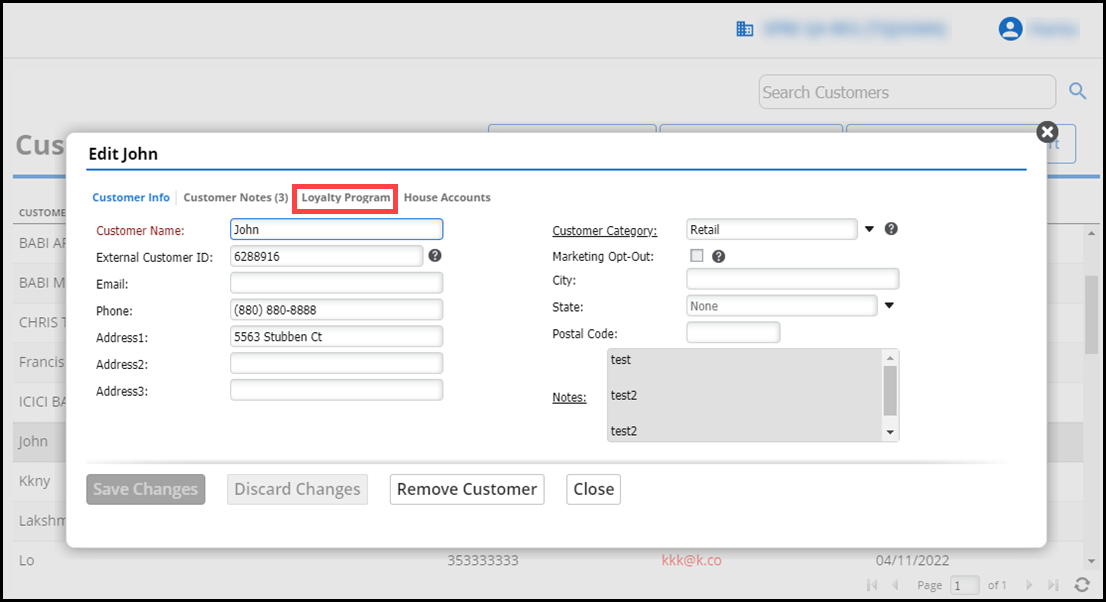
- Select any customer's name to open the customer's detail screen.
- Click the Customer Category option as shown below to open the Customer Category Setup screen.
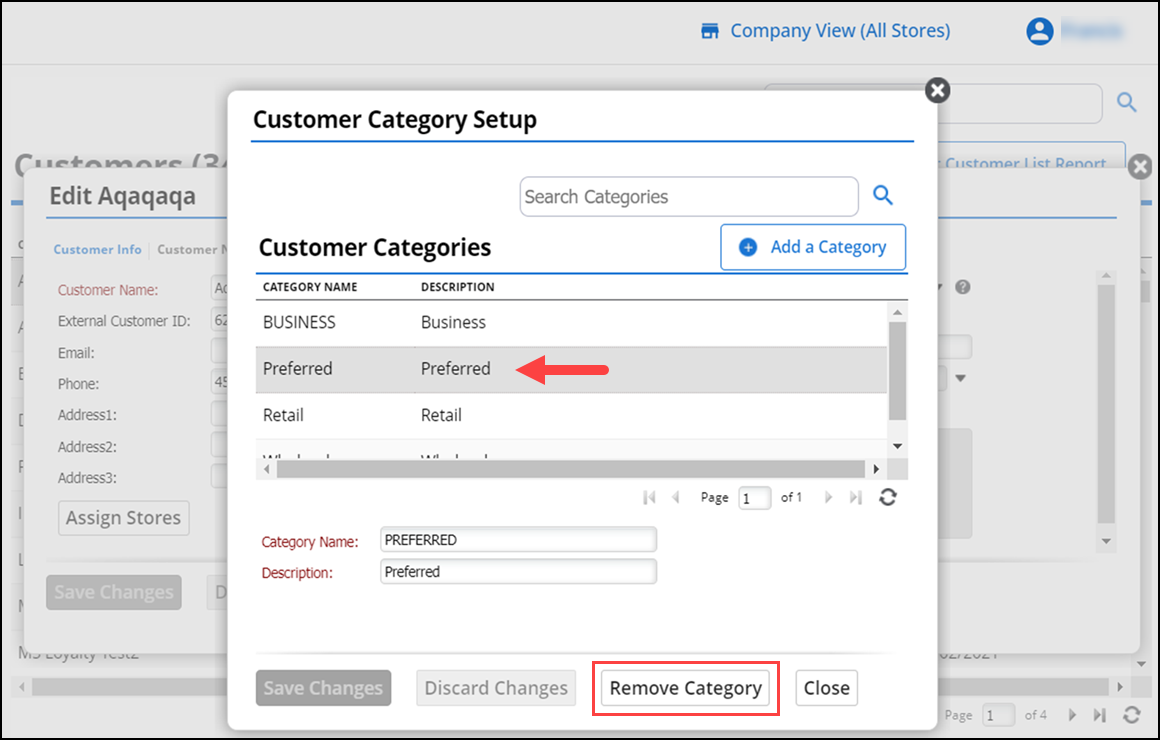
- Select a category from the list and then make the necessary changes:
- Click inside the Category Name and or Description fields to update this information, and/or
- Click Remove Category to remove the selected category.
Importing customers
If your existing customer data is stored in another file or format, such as Microsoft® Excel, you can easily transfer/import the information to your account.
To import customers:
- Log in to Back Office using a specific store.
- Select Customers > Customers.
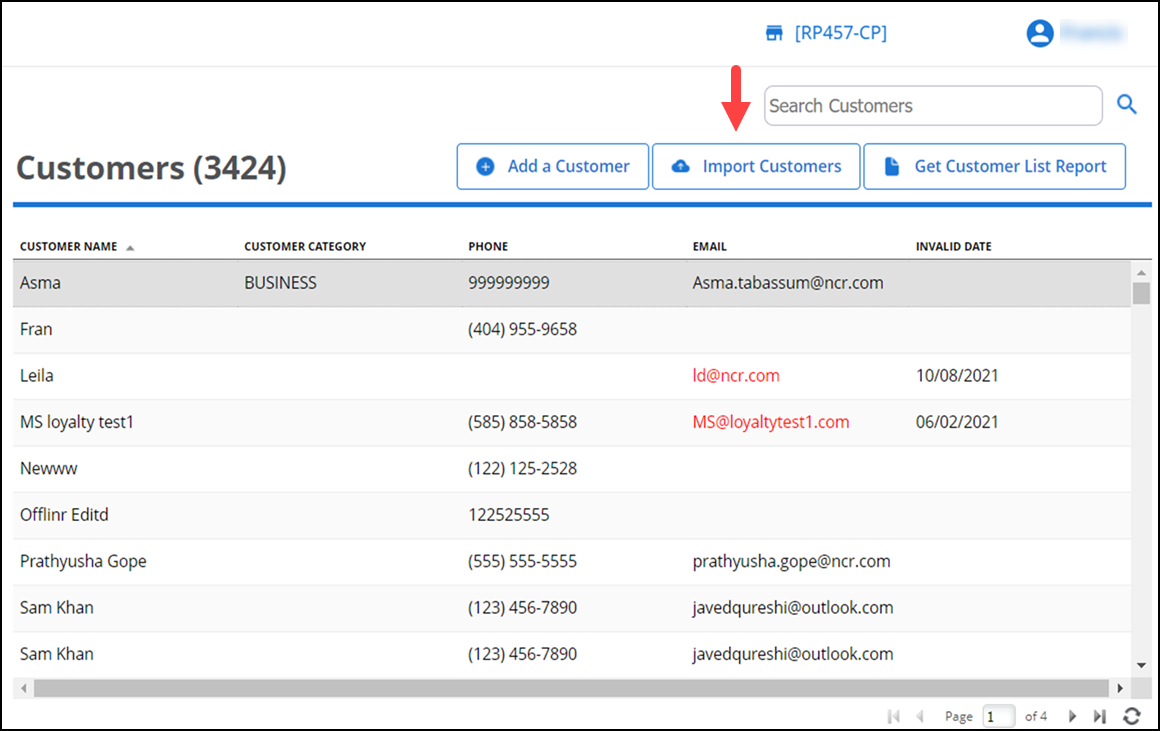
- Click Import Customers. The Import Customers screen appears.

- Do one of the following:
- If you have no customers in your system — Click the image to download the sample file titled Customers.csv to your computer. Copy your customer data into the sample file or modify an existing customer list to match the format of the sample file. Save the file to your local computer.
- If you have existing customers in your system — Export you customer list and any new customers. You can also edit existing data to update customers in your system. Be careful that you do not erase any fields, data or information that should not be changed or deleted from the original customer list, because once the new list is imported, the edits will override the existing data.
- Click Browse to Select File and select your customer data file.
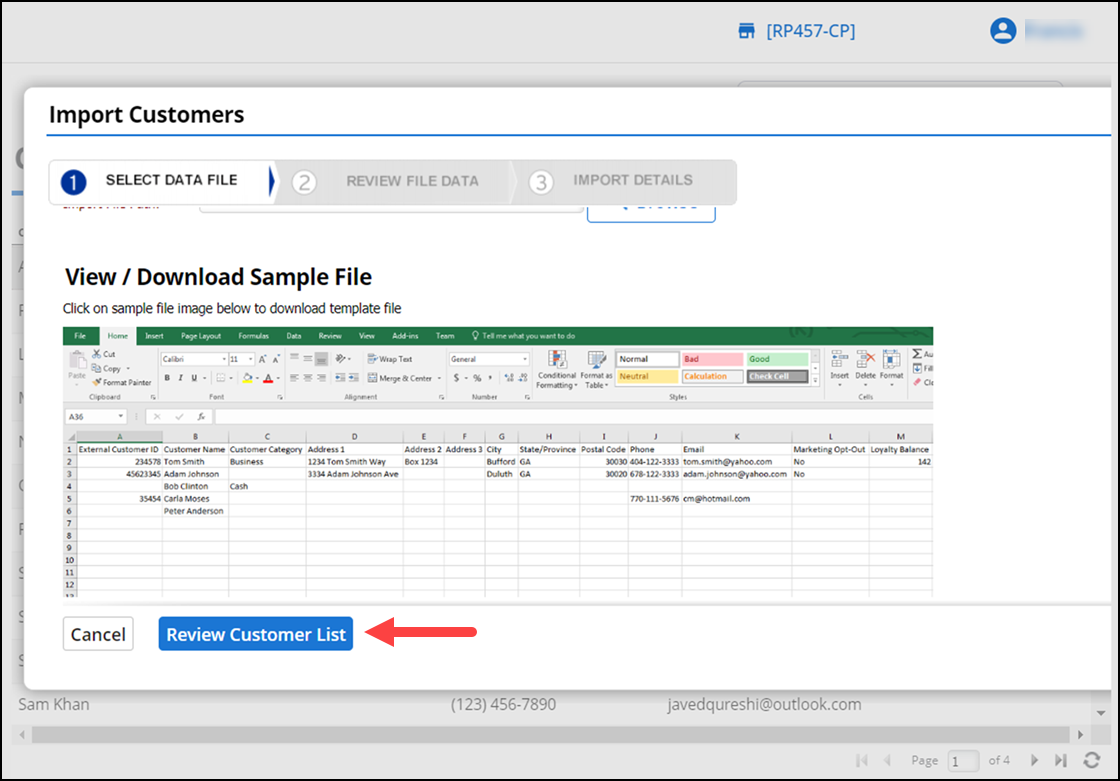
- Click Review Customer List at the bottom of the screen and review the data in your customer file when it appears on the screen.
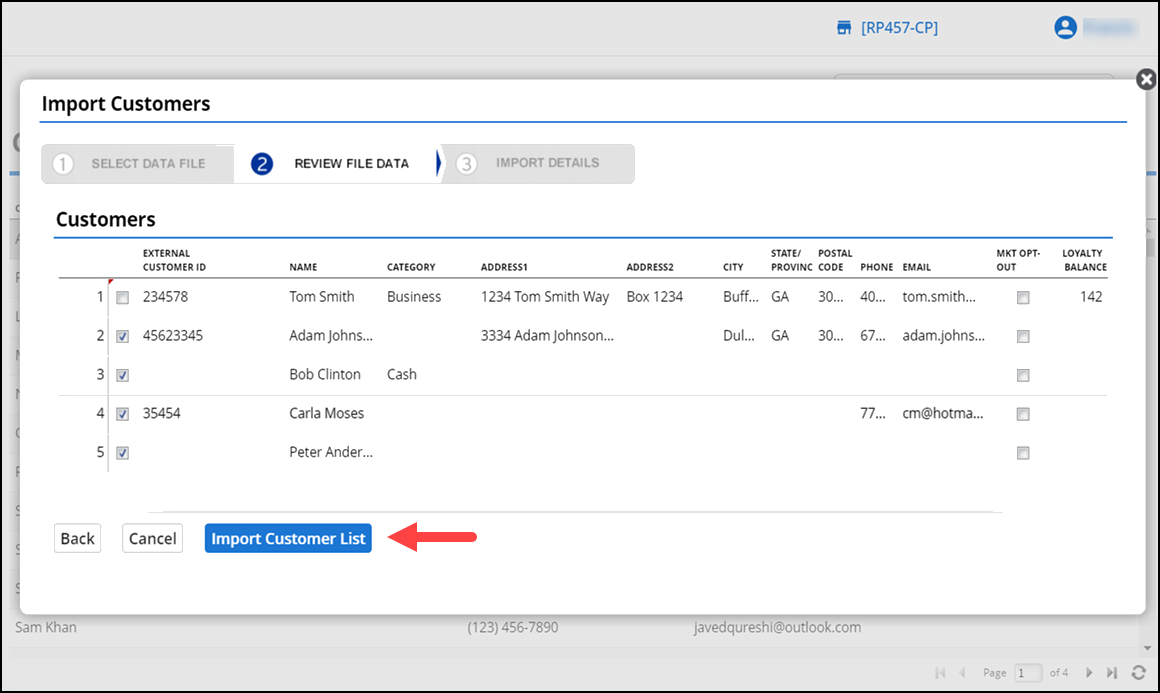
- Perform the required edits, and when you are satisfied with your customer data, click Import Customer List at the bottom of the screen. The system displays the customers list for importing.
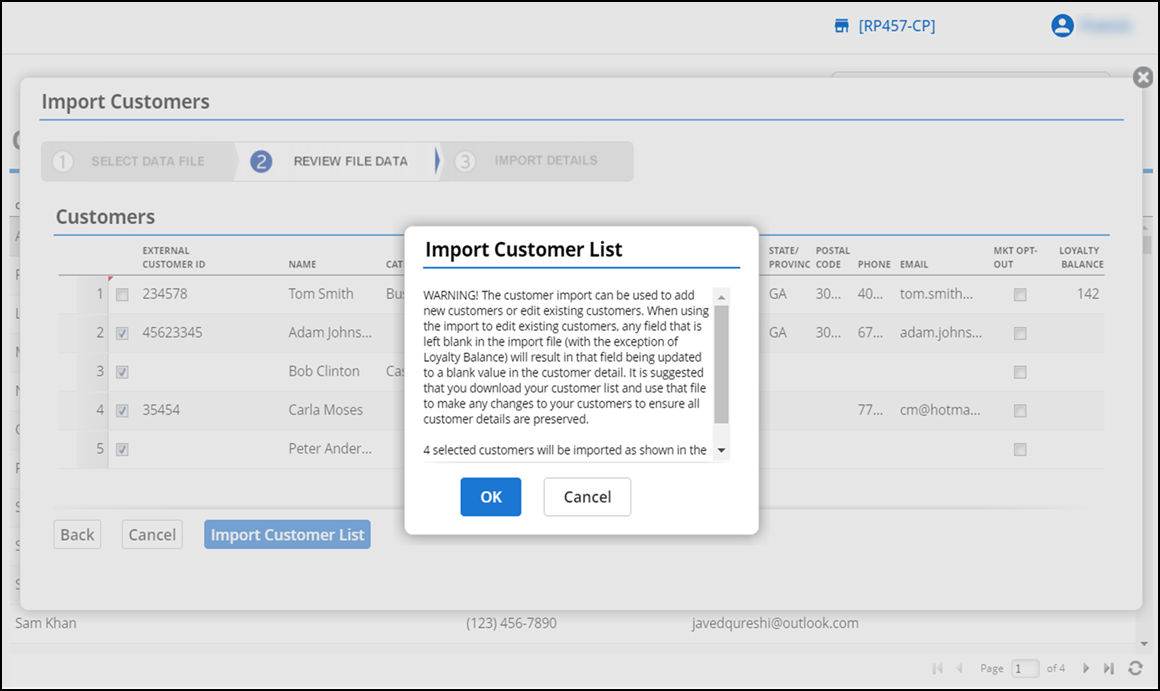
- Click OK to start the import.
- When the import is finished, the Import Details screen displays the results of the import, including the number of customers successfully imported and the number of customers that could not be imported. Review the customer records that were not imported, you can do the necessary corrections to your customer data file and Re-Import Customer(s) again.
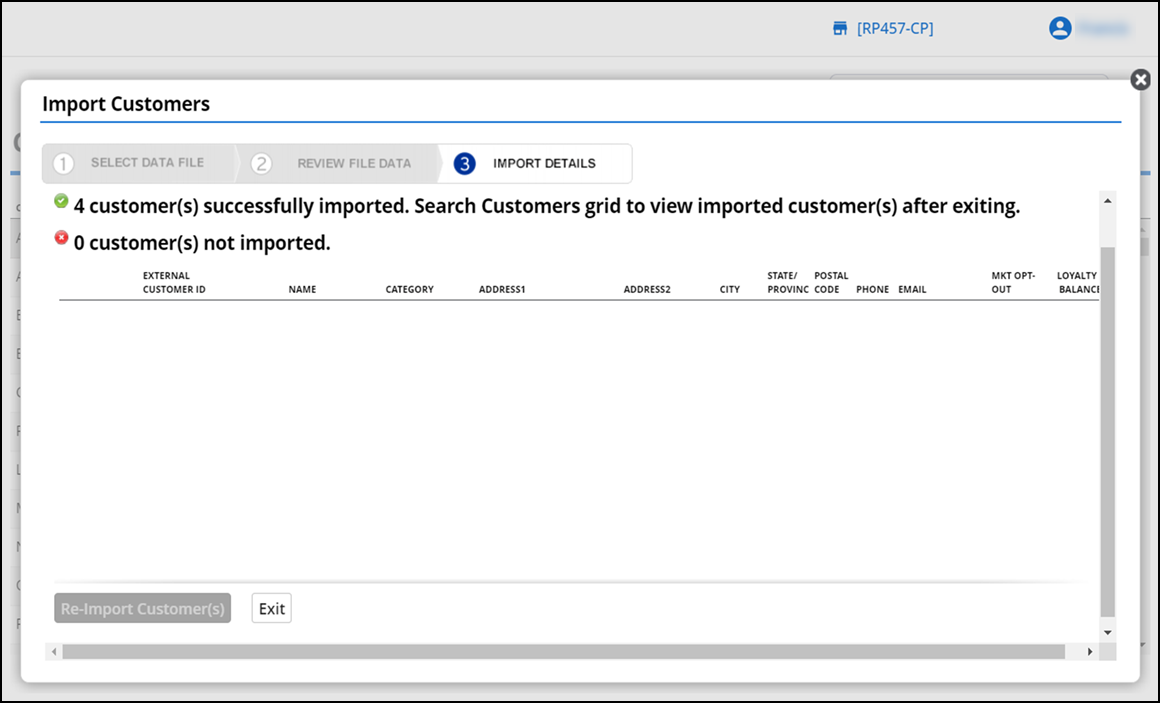
- Click the Exit button at the bottom of the screen to close the Import Customers page.
- Click the refresh icon at the bottom of the screen to display the newly-imported customers in the Customers list.
Working with customer notes
You can provide the specific information using the notes, for example special shipping instructions, a birthday, or another important date reminder to build a stronger relationship with your customers.
To add customer notes:
-
Log in to Back Office using Company View (All Stores) or using a specifc store.
-
Select Customers > Customers to view the list of your customers.
-
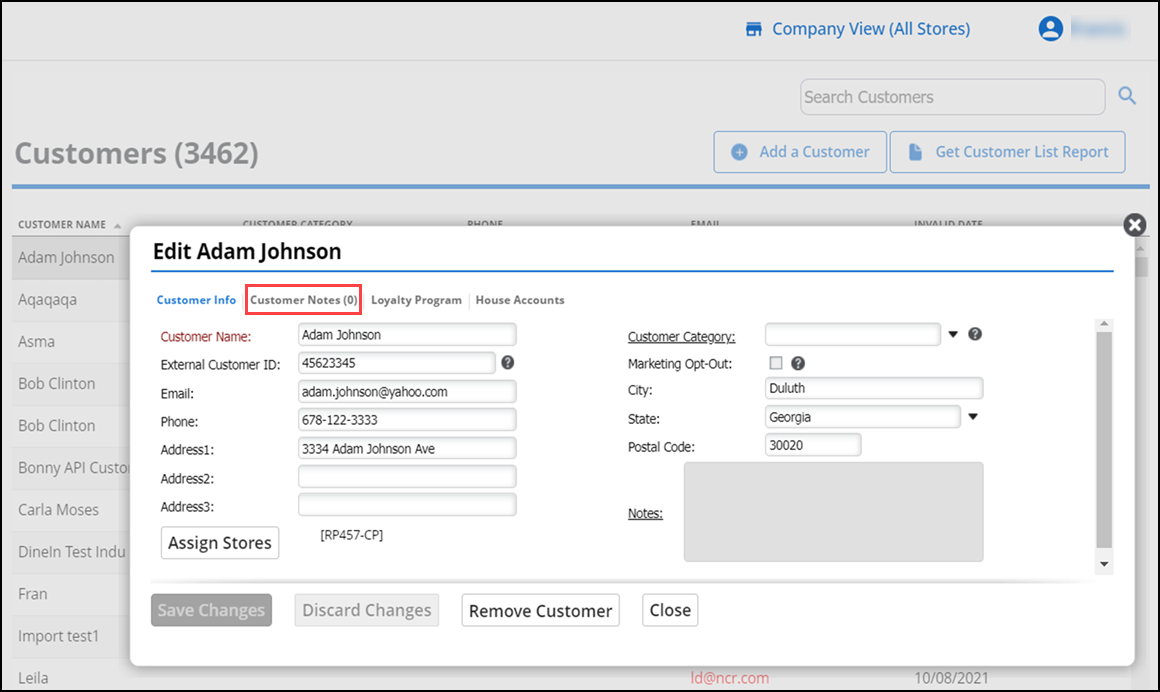
Click a row for a customer to open the Customer Detail screen.
Note: You can add notes to the existing customers and also to new customers.
-
Click Customer Notes link.
-
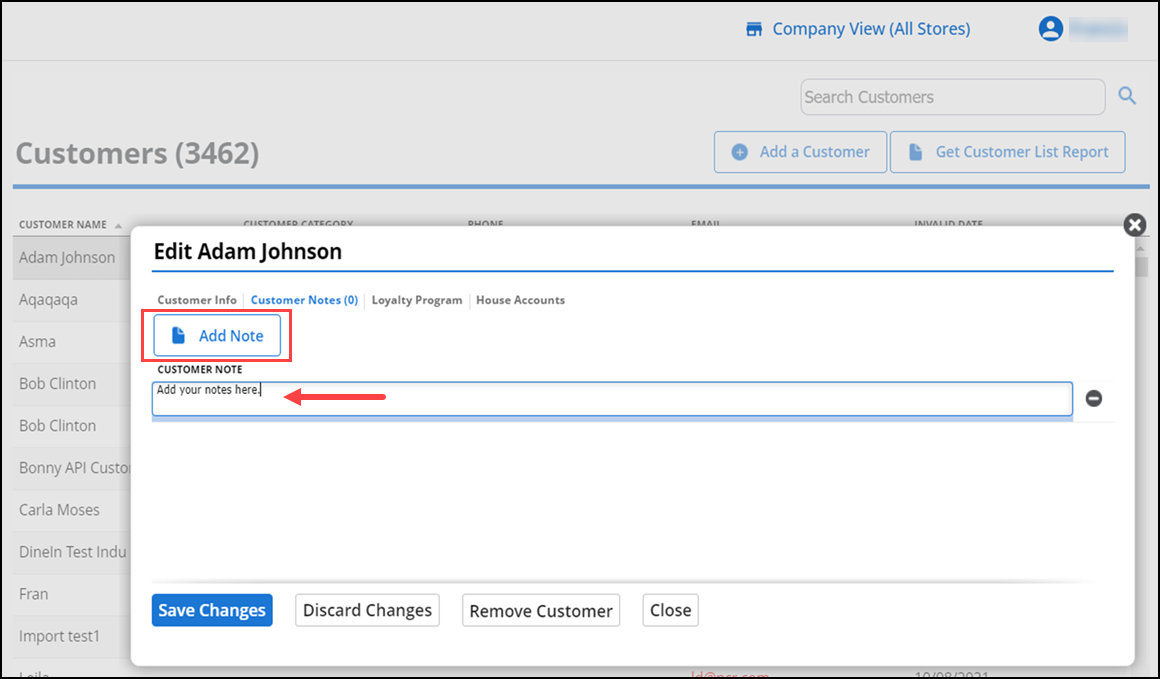
Click Add Note. Enter your comment about the customer in the Customer Note field.
-
Click Save Changes to save the new note.
To edit customer notes:
-
Log in to Back Office using Company View (All Stores) or using a specifc store.
-
Select Customers > Customers to view the list of your customers.
-
Click a row for a customer to open the Customer Detail screen.
-
Click Customer Notes link to view the list of notes for the selected customer (scrolling as necessary). The customer notes appear in the order they were entered; if a customer has multiple notes, the most recent note appears at the bottom of the list.
-
Do one of the following:
- To make changes to an existing note, select the note and edit the information. Then, click Save Changes.
- To delete a note, select (highlight) the note and click the remove icon and then confirm you want to delete the note.
- If you do not need to make any changes, click Close to close the screen.
Assigning a loyalty program
You can manually add loyalty points/punches to the customer's reward balance.
- Log in to Back Office using Company View (All Stores) or using a specifc store.
- Select Customers > Customers.
- Click the customer for whom you want to view loyalty information. Select Loyalty Program. You can view the earned and redeemed rewards for the customer.
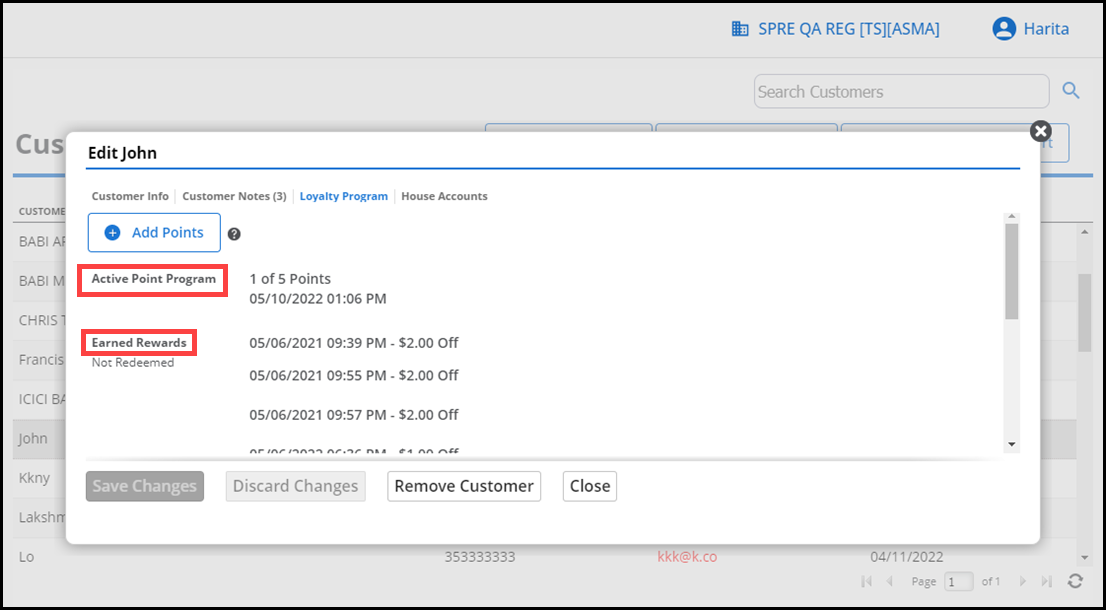
- Click Add Points to add points to the customer.
- Click Close to return to the Customers screen.
Assigning house accounts to a customer
- Log in to Back Office using Company View (All Stores) or using a specifc store.
- Select Customers > Customers to view the list of your customers.
- Select a customer to open the Customer Detail screen.
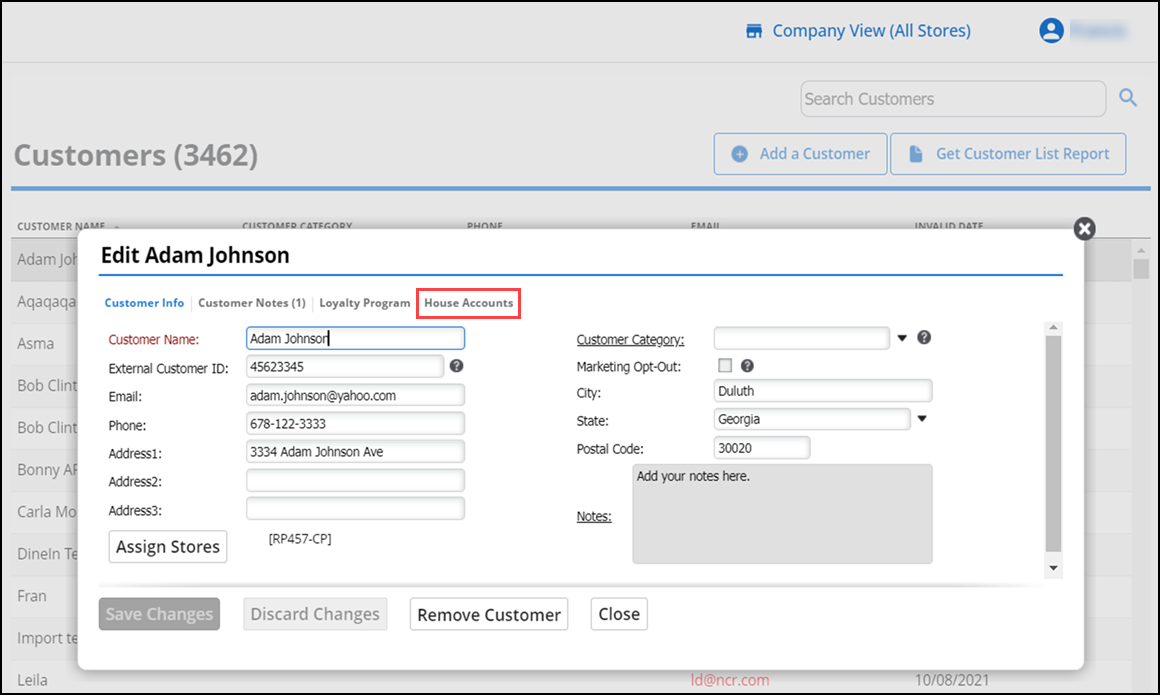
- Click House Accounts.
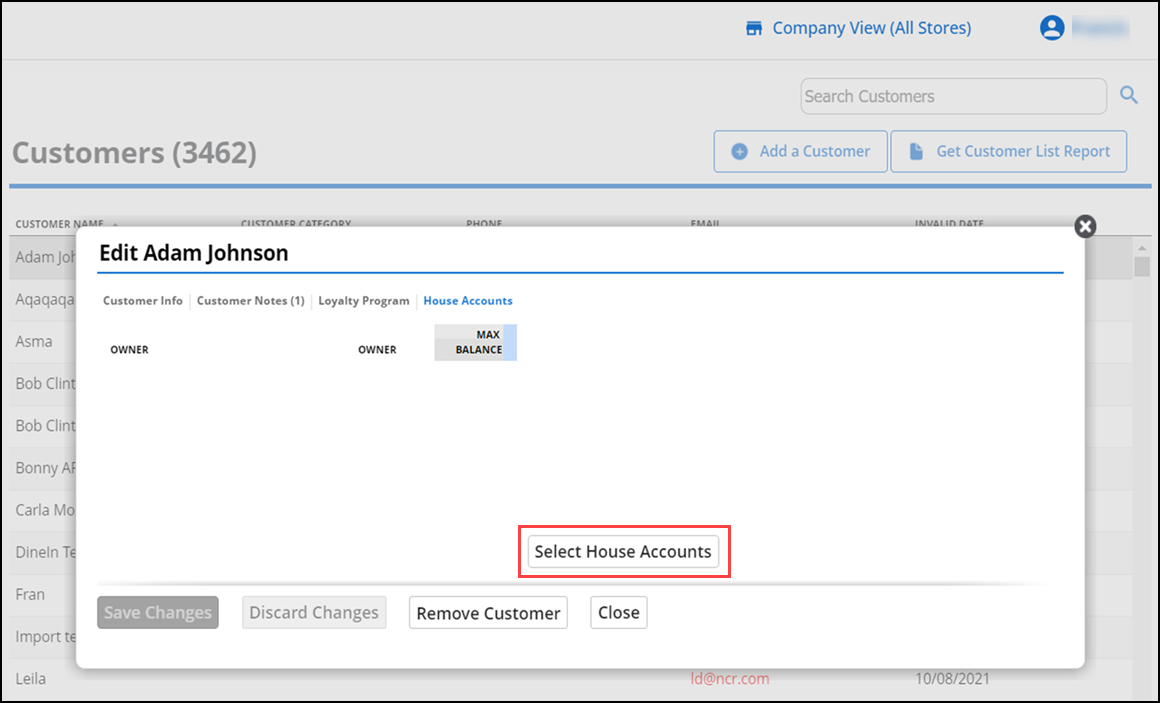
- Click Select House Accounts. The Select House Account screen appears with the list of house accounts in the system.
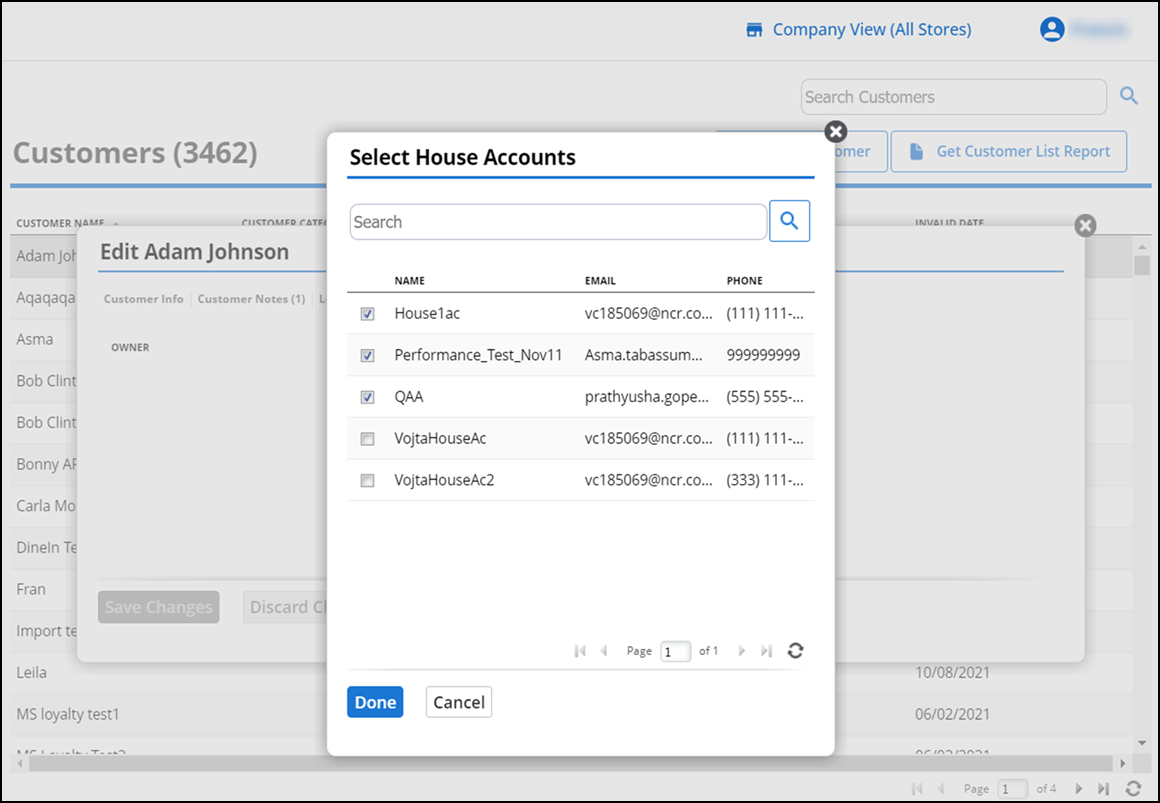
- Select the required house account(s), click Done to assign to the customer.
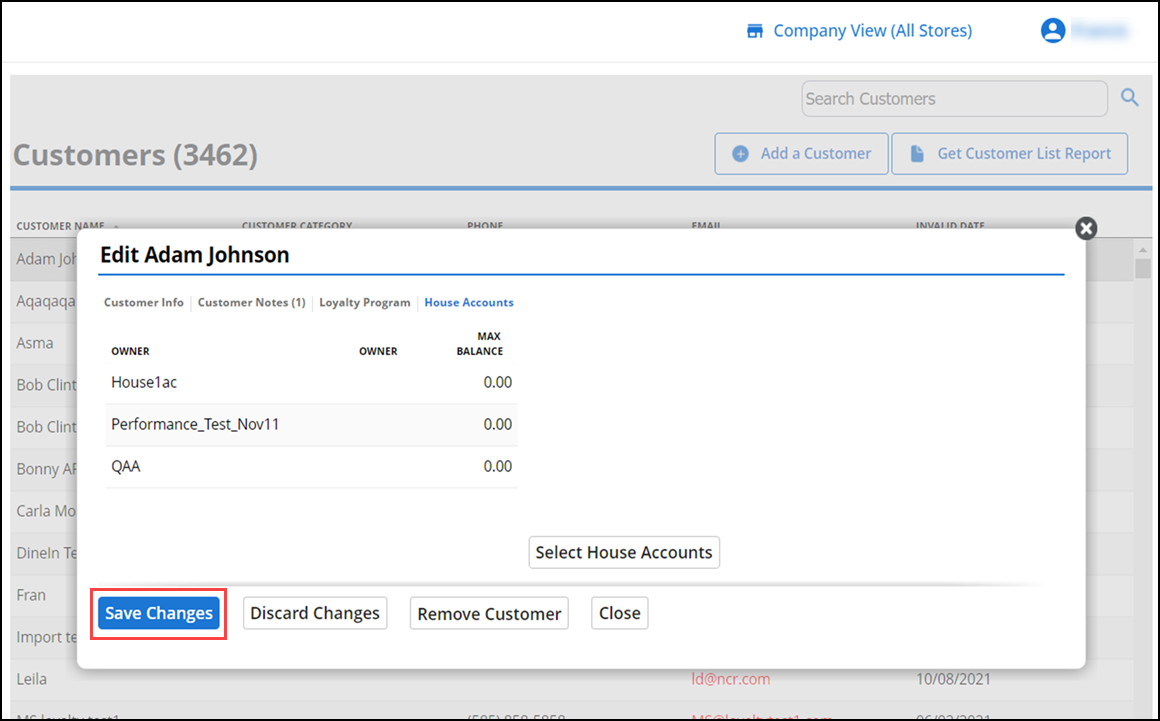
- Click Save Changes.
- Click Close to return to the customer list.