This document discuss the following:
- Logging in to the POS
- Viewing settings
- Changing your store
- Changing your default location
- Updating the POS app
- Installing payment gateways
Logging in to the POS
It is necessary for you to log in with your four-digit PIN each time you access your POS device. Once you log in, you can clock in and clock out, start and end a shift, if necessary, enter customer orders, and accept payments.
Pre-requisites:
To ensure things go smoothly, we advise you to take a few minutes to make sure that you have everything you need in front of you. Make sure you have your NCR Silver new account message handy. You should have received this via email when you signed up. This message includes your Back Office User Name and Password that you will use to activate your POS app device(s). For resetting employee password and PIN, refer to Working with employees.
- Make sure your POS device is running Android 5.8 or later.
- Make sure you're connected to Wi-Fi or that your device is connected to the Internet via your carrier's data plan.
- If you plan to use a Wi-Fi connection with multiple devices be sure to make note of your network's login and password as this will be the same for every device. We recommend that if you plan to use Wi-Fi that you use a connection dedicated only for business purposes.
- Where do you plan to interact with your customers? If your POS device needs to be in a specific location, make sure you have room for your equipment, consistent Internet connectivity, and sufficient electrical outlets to power and charge your equipment.
- If your plan is to be more mobile, be sure to test that you have good connectivity from any area in and around your store or where you plan to use the POS device.
- For accessing the Back Office, we recommend that you use a laptop or desktop computer separate from your POS device, that it also has consistent Internet connectivity, and that you have disabled popup blockers. It also helps to ensure you are using the most current version of your Internet browser of choice. We recommend using Chrome.
To log in to the POS:
- Access the PIN entry screen on the POS device.
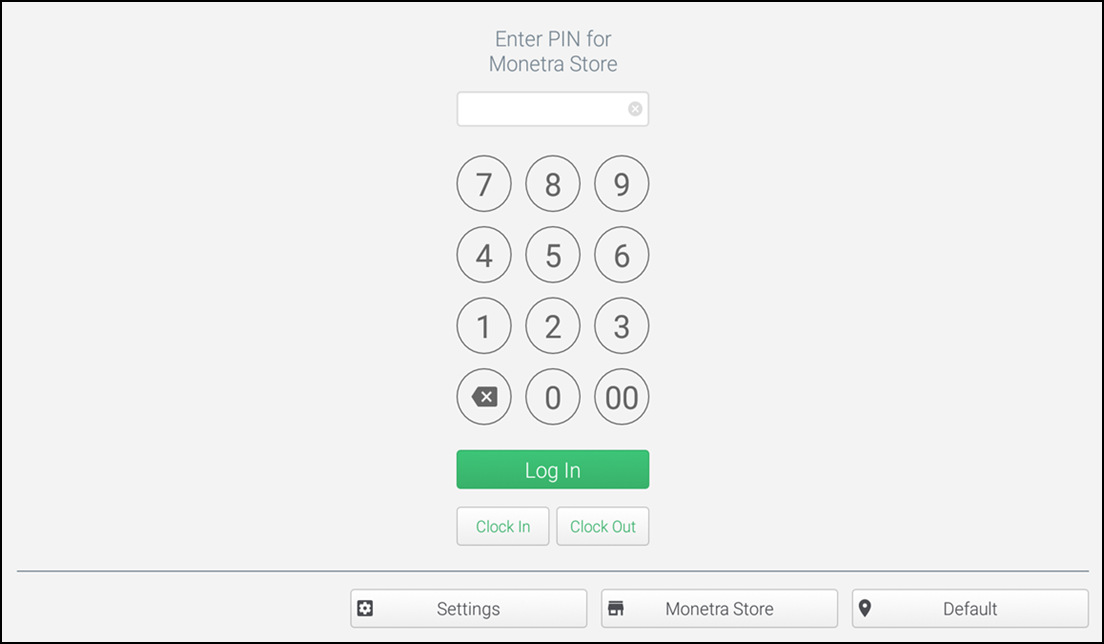
- Type your four-digit PIN and tap Clock In at the login screen.
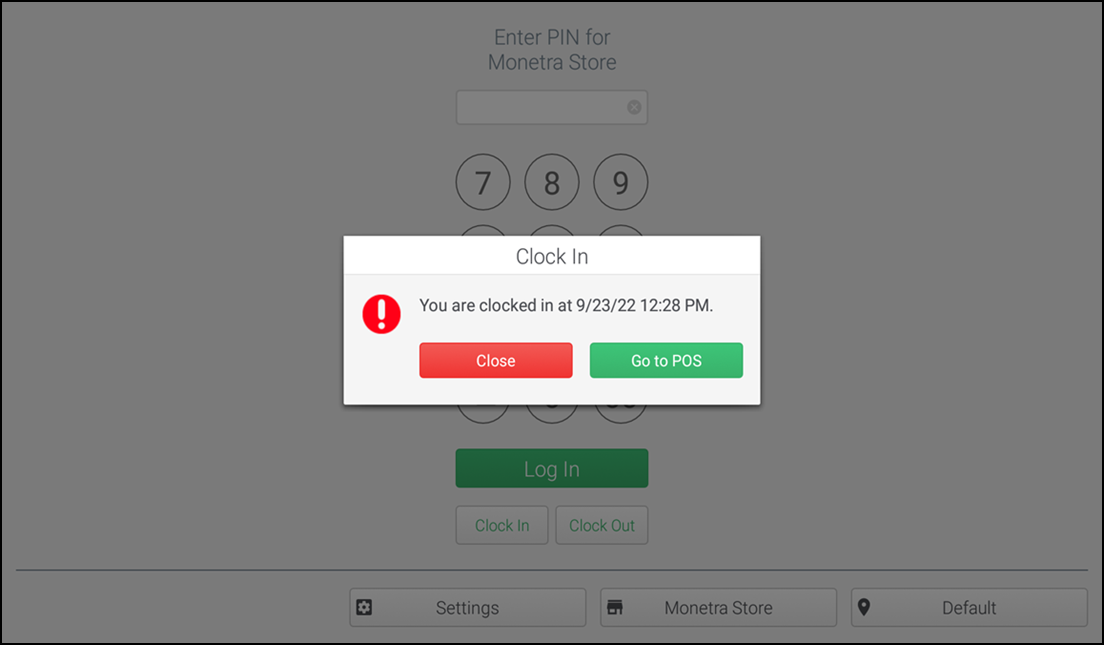
- Tap Go to POS. The Open Shift screen appears.
- Type your four-digit PIN and tap Log In at the login screen. The Open Shift screen appears.
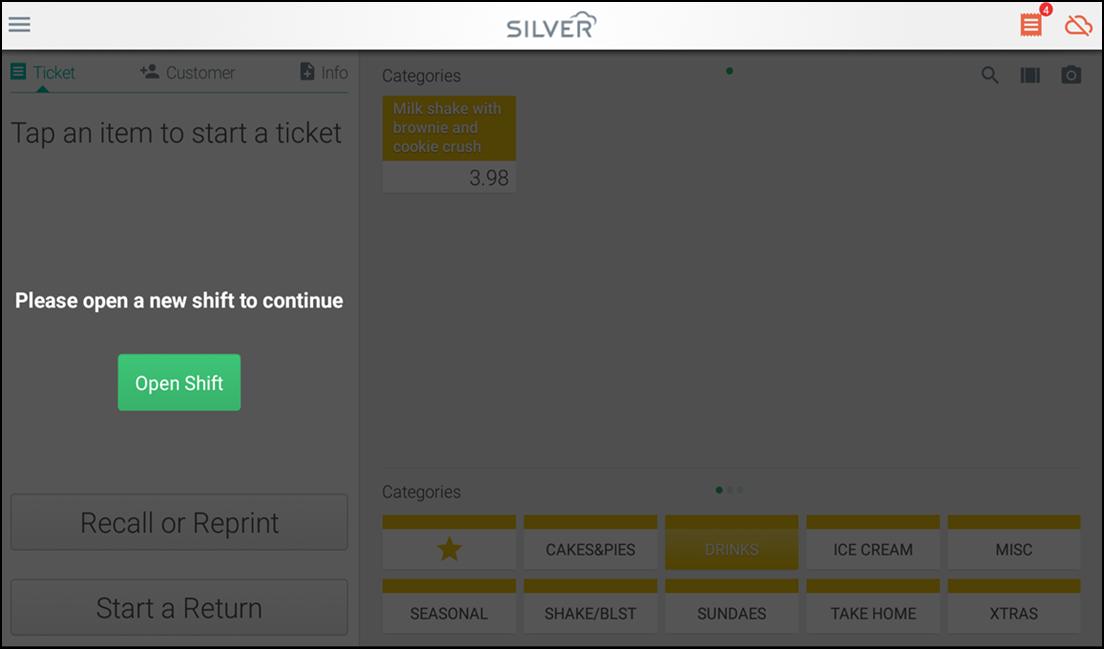
- Tap Open Shift and perform all the ticket entry and payment related operations.
Viewing settings
Using this option you can sync the system data and run the necessary diagnostic tests to debug and possibly solve the problem. Also, you can upload the logs to Back Office, and if required, view the logs by downloading them.
To view settings:
- Log in to the POS.
- Tap Settings. The Settings screen appears.
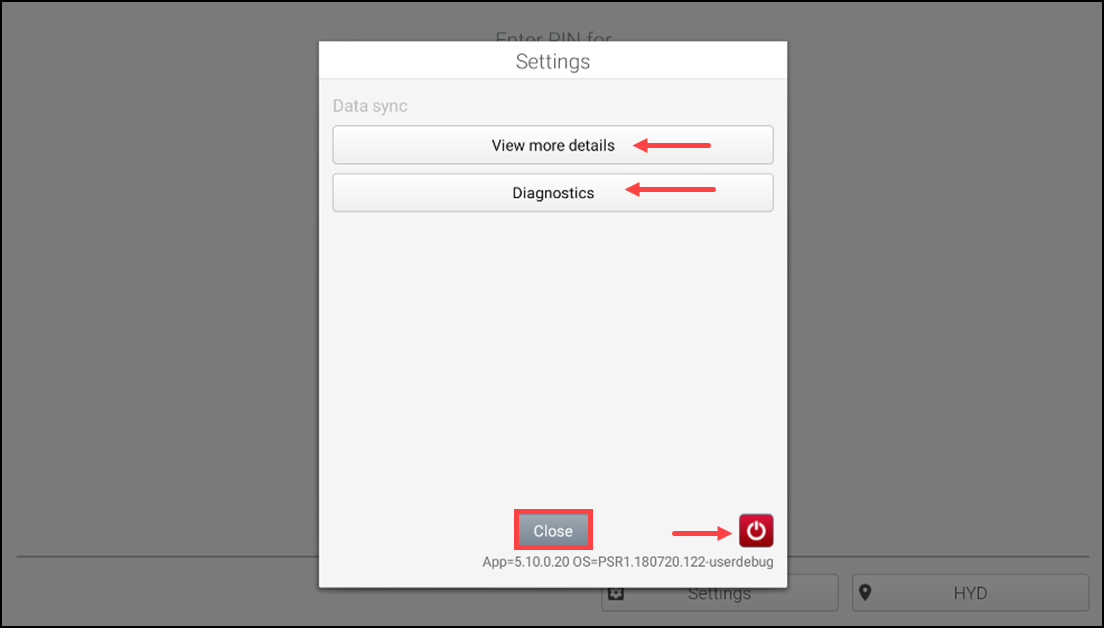
- Tap View more details. The Data Sync screen appears.
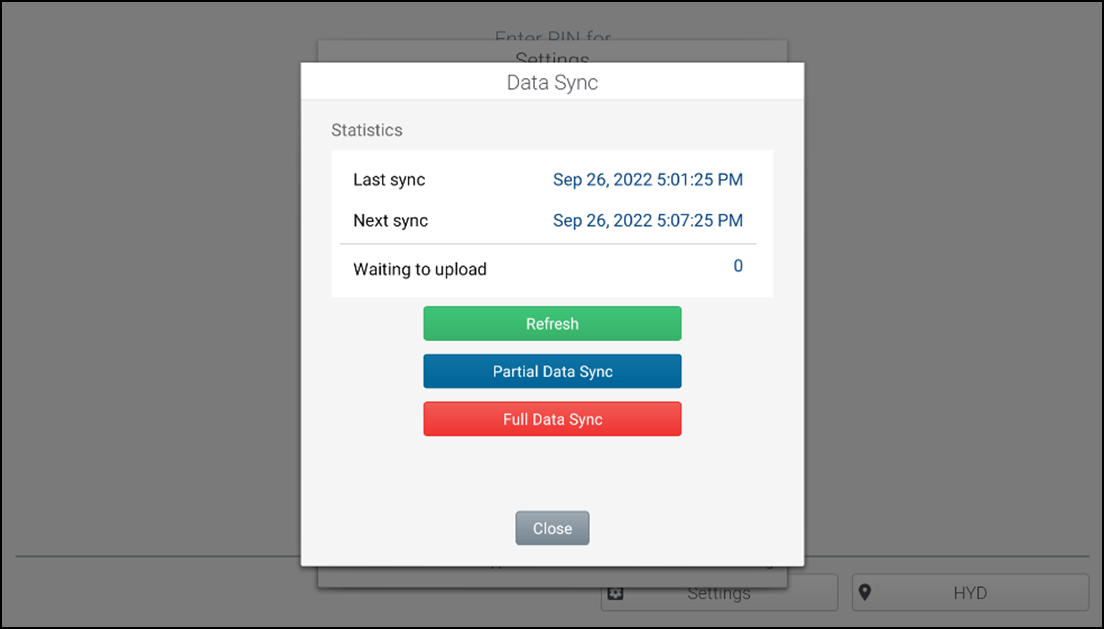
- Tap Refresh to refresh the application.
- Tap Partial Data Sync to sync the application data with back office partially.
- Tap Full Data Sync to sync the application data with back office.
- Tap Close to return to the Settings screen.
- Tap Diagnostics to debug or run the system diagnostics. For more information refer to Running Diagnostics
- Tap power icon. A Restart dialog appears.
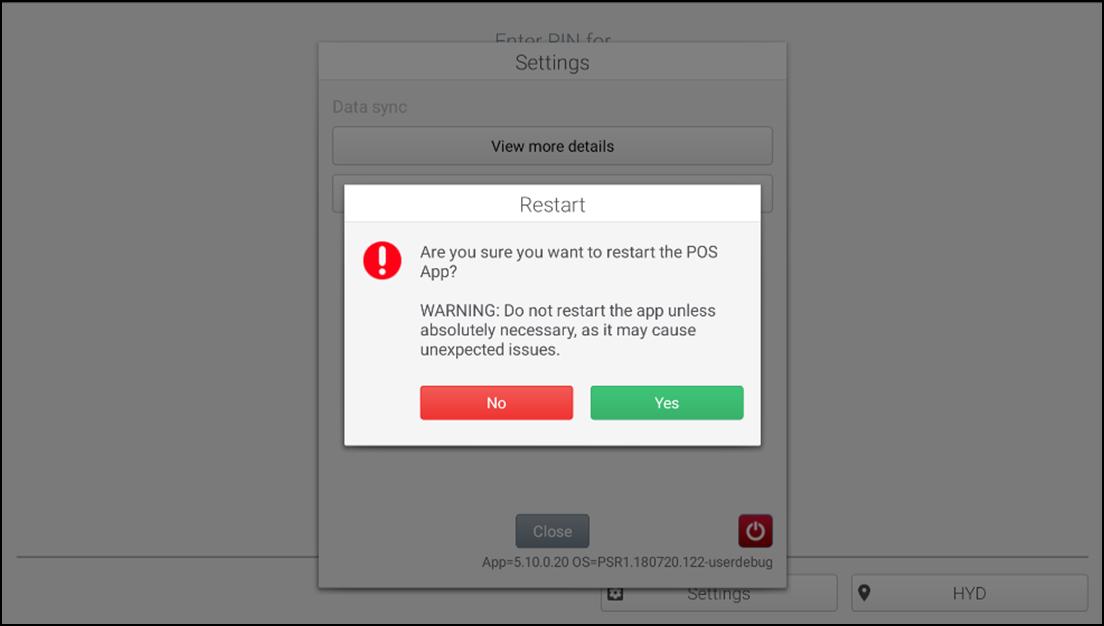
- Tap Yes to restart the application.
- Tap No to cancel the restart and to go back to the settings screen.
- Tap Close to close the settings window.
Changing your store
Note: This only applies to a multi-store environment.
Use this feature to change between company stores.
To change your store:
- Log in to the POS.
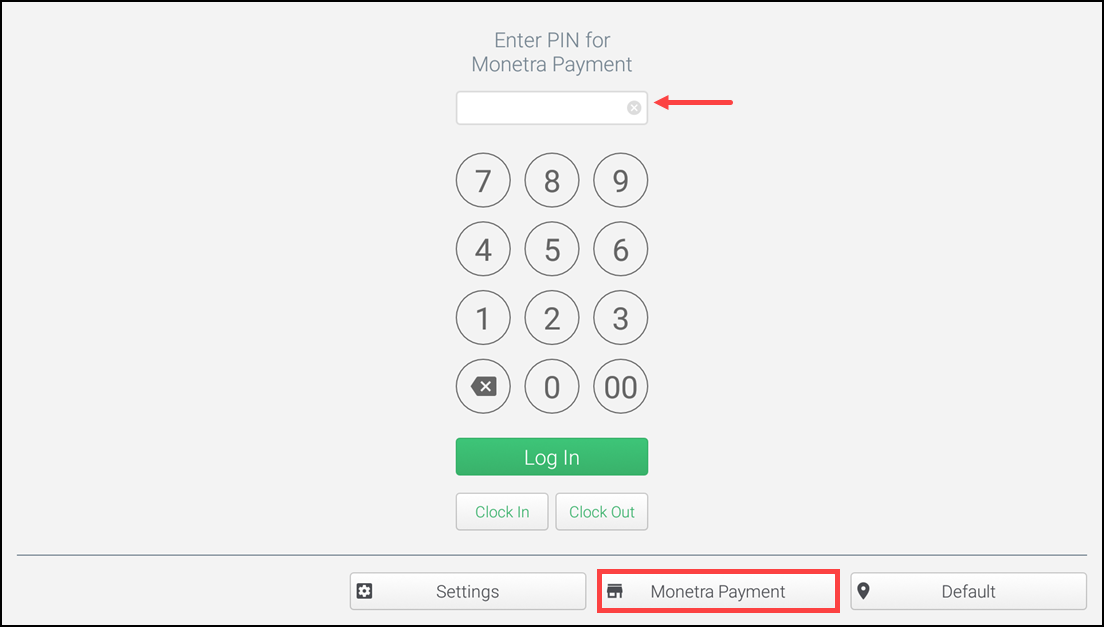
- Enter the application login PIN.
- Tap the current store you need to change. The Select a Store screen appears.
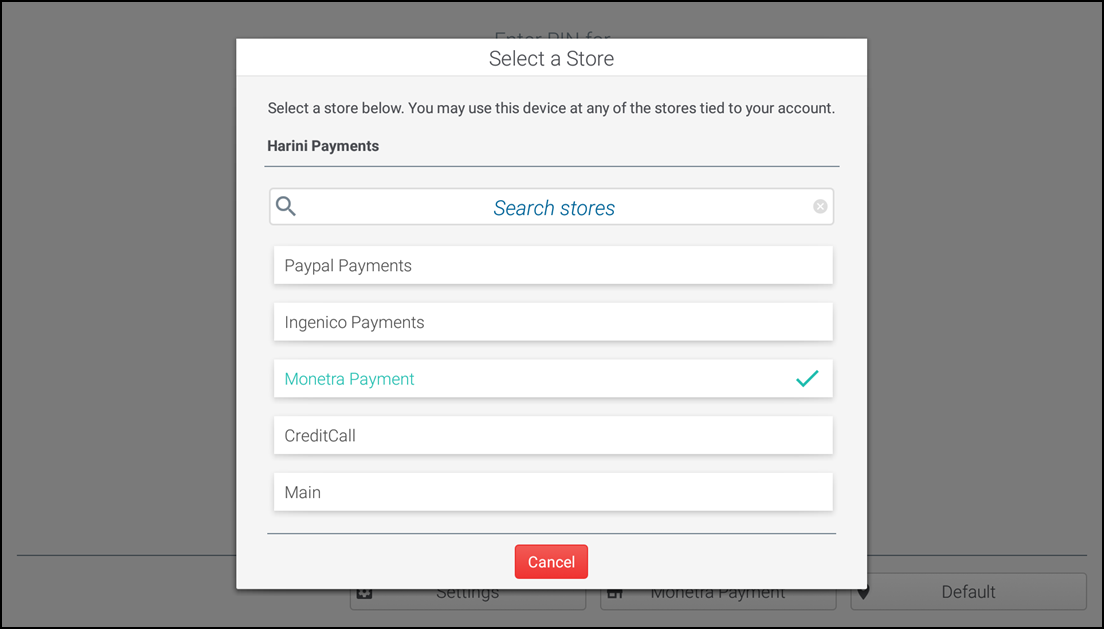
- Tap the desired store. The Device Registration screen appears.
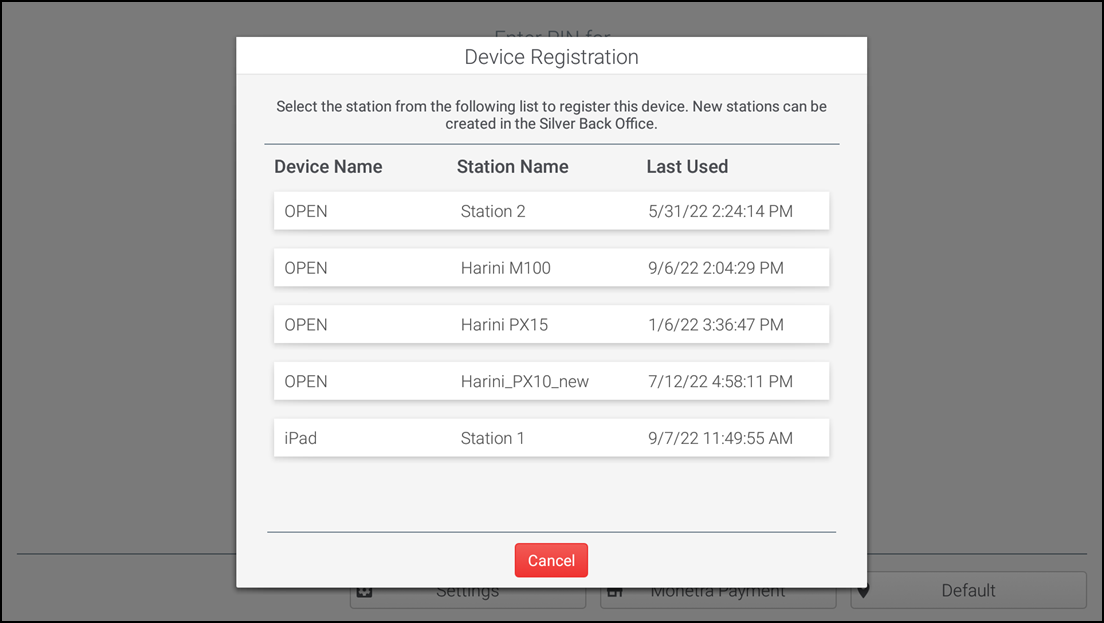
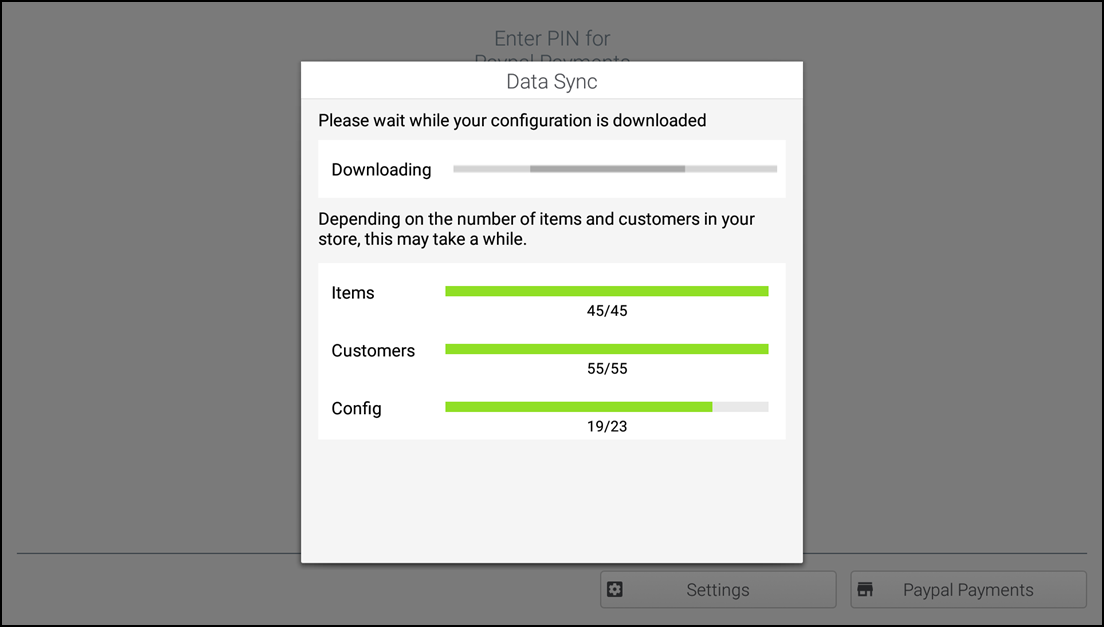
- Choose a station for the desired store. The Data Sync screen appears, and the application opens in the selected store.
Changing your default location
Use this feature to toggle between store selling locations.
- Log in to the POS.
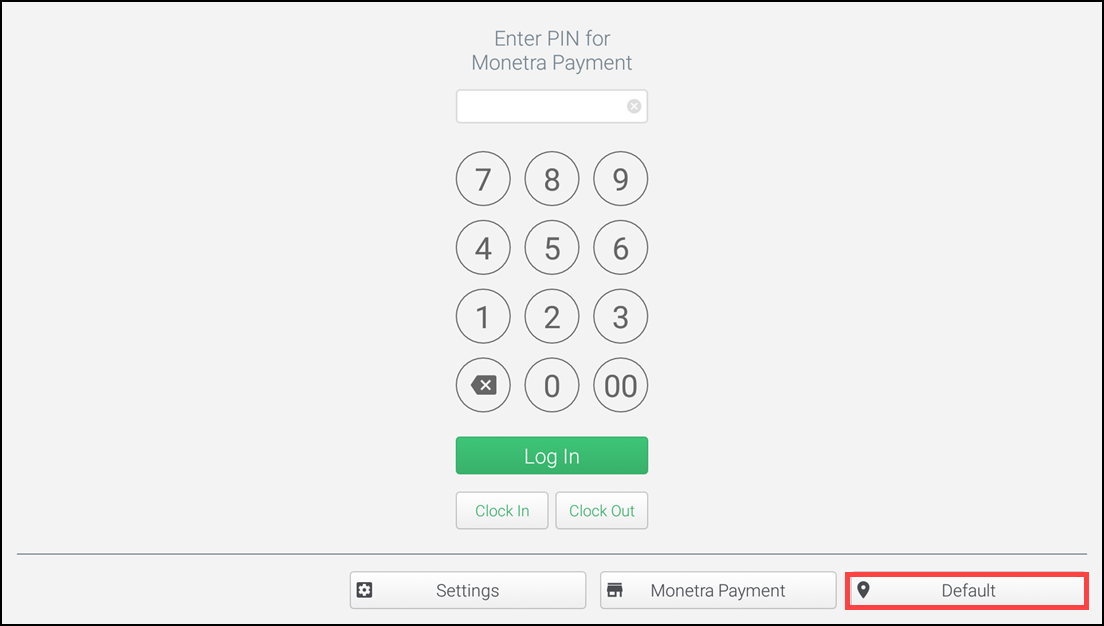
- Tap the location icon. The Selling Locations screen appears.
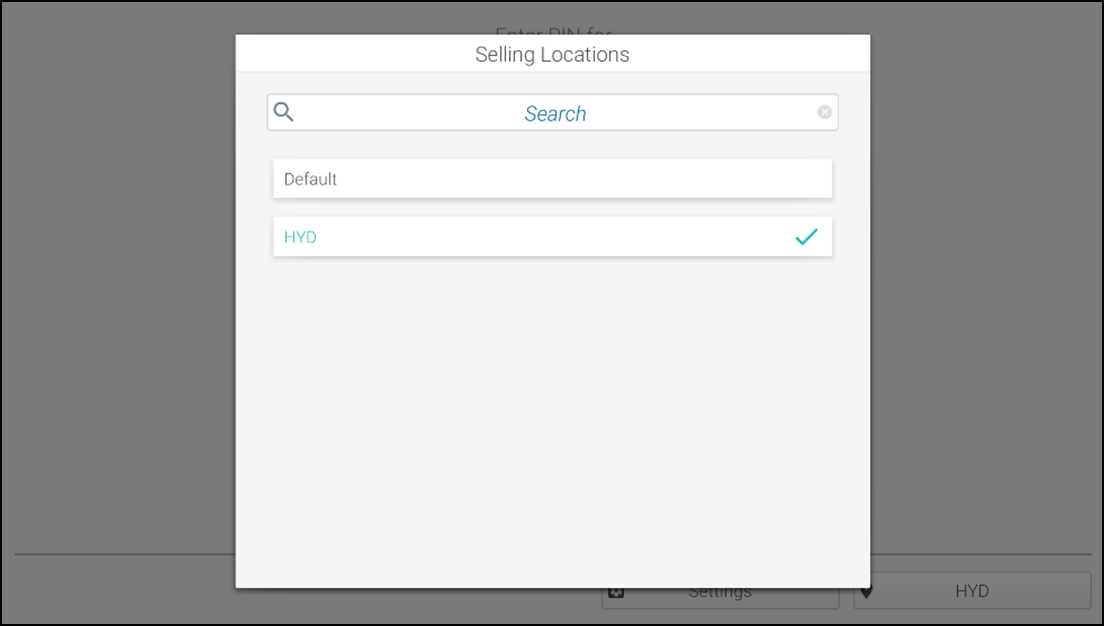
- Tap the desired location.
Updating the POS app
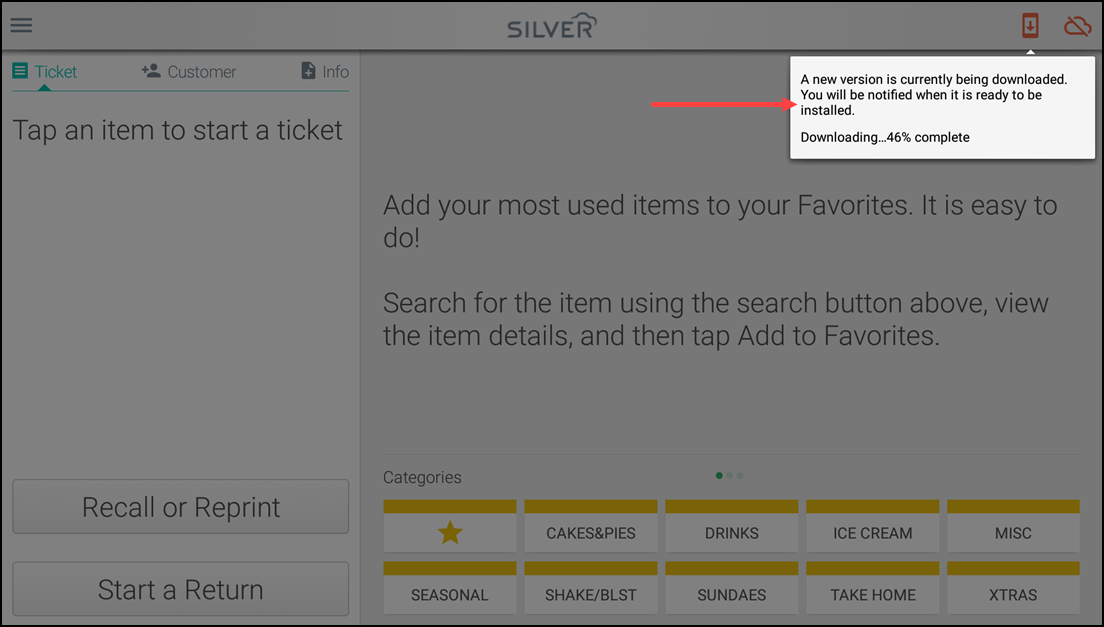
When a new release is available, a download icon appears on the top right conrner of the screen, informing you about the automatic download of the new app update. Tap the download icon to view the update process.
Installing payment gateways
When a version upgrade (Andriod 6.x) is available, the POS automatically detects the configured payment gateway service and downloads the required files to complete the payment processing setup. For more information, refer to Enabling dynamic delivery.
To install payment gateways:
-
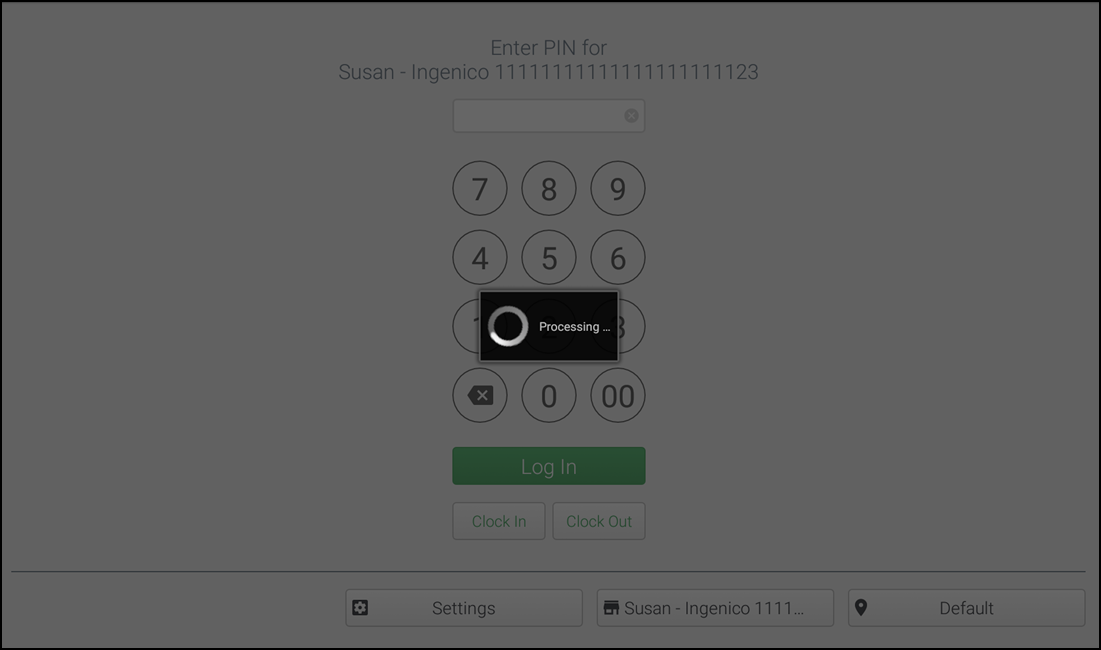
Download and install the latest version. POS application automatically detects and downloads the respective payment gateway services. The download processing screen appears.
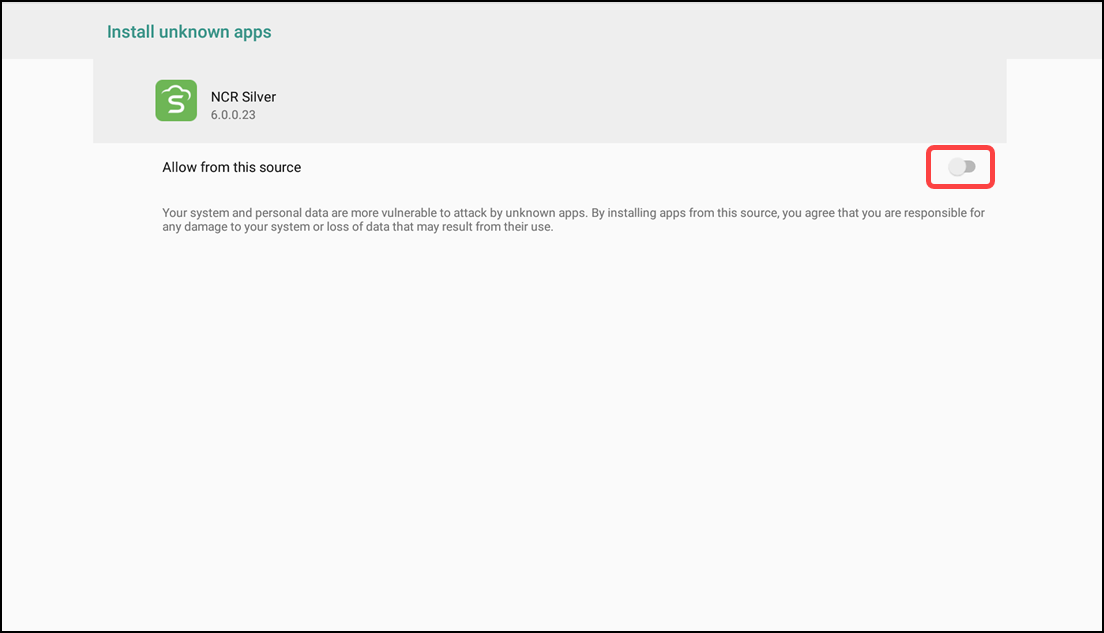
After a successful download, the systems prompts for permission to allow the installation.
-
Select the toggle button to allow the permission.
Tip: If your store is configured for multiple payment gateways (such as Ingenico and Monetra), then the system prompts you twice for the permission. However, Monetra gateway download is not supported for the Connected Payment (CP) store, hence system prompts you only once for permission.
Note: The Silver Payment Interface (SPI) gateway installation is not supported for the Monetra store.
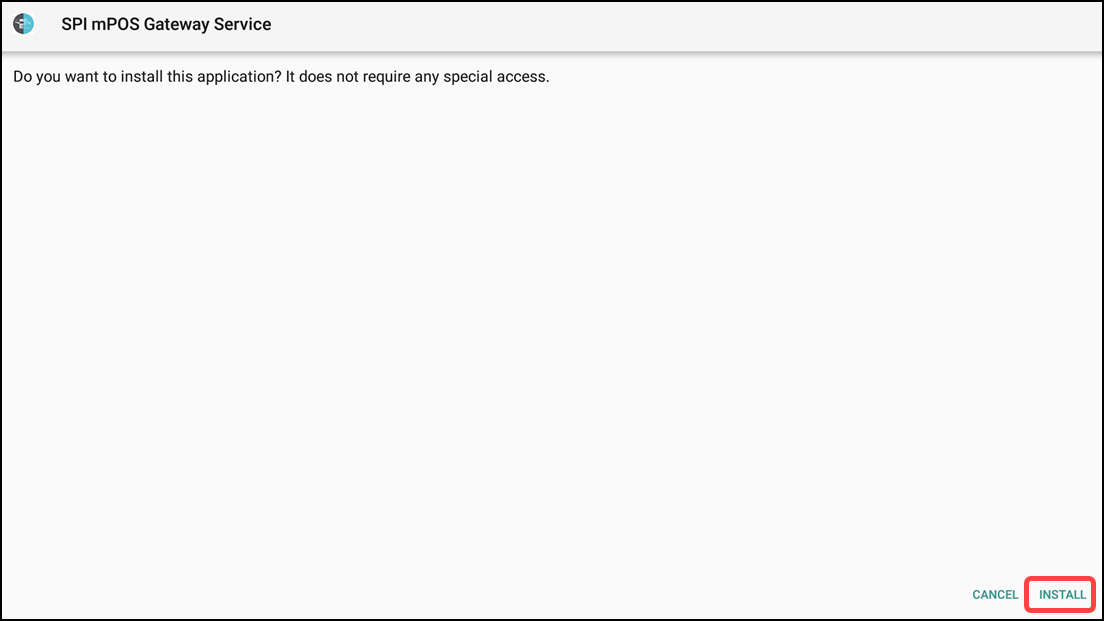
Note: If toggle button is already enabled, the following error message appears.
Tap **Yes** to toggle and continue installing the gateway services.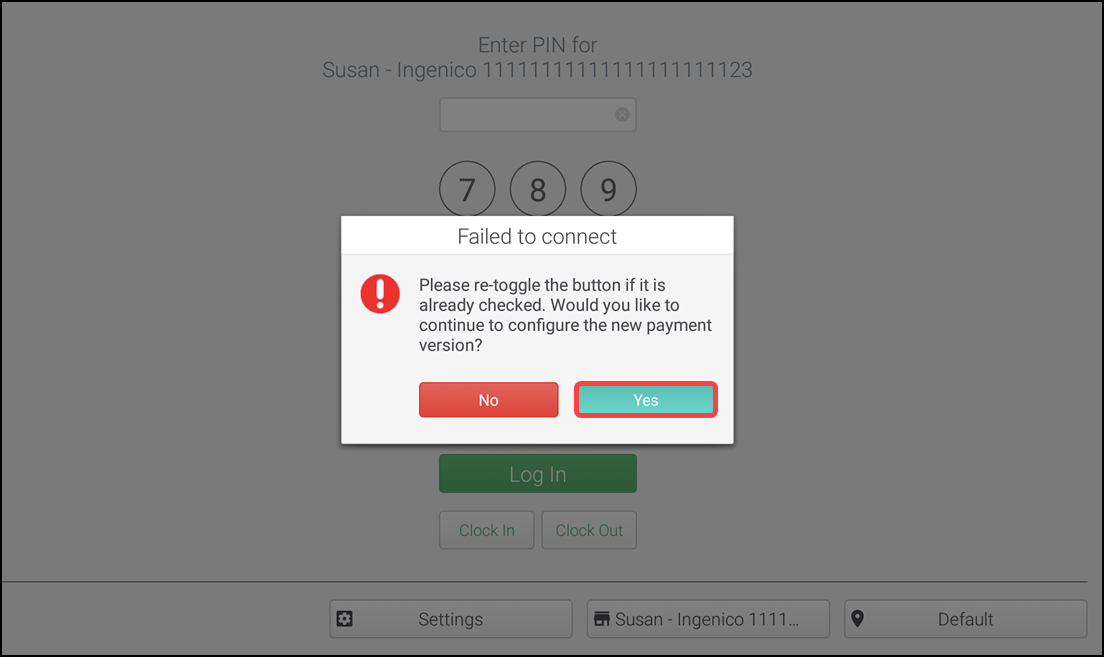
Looking for resources or help with Silver? Click here.