Store groups
Store group is a collection of individual stores. The primary purpose of a store group is to execute promotions delivered to all stores within that group. Follow the steps to create and manage store groups and make offers available to stores in a specific group:
-
Expand Location management on the left navigation panel and click Store Groups. The following screen appears:
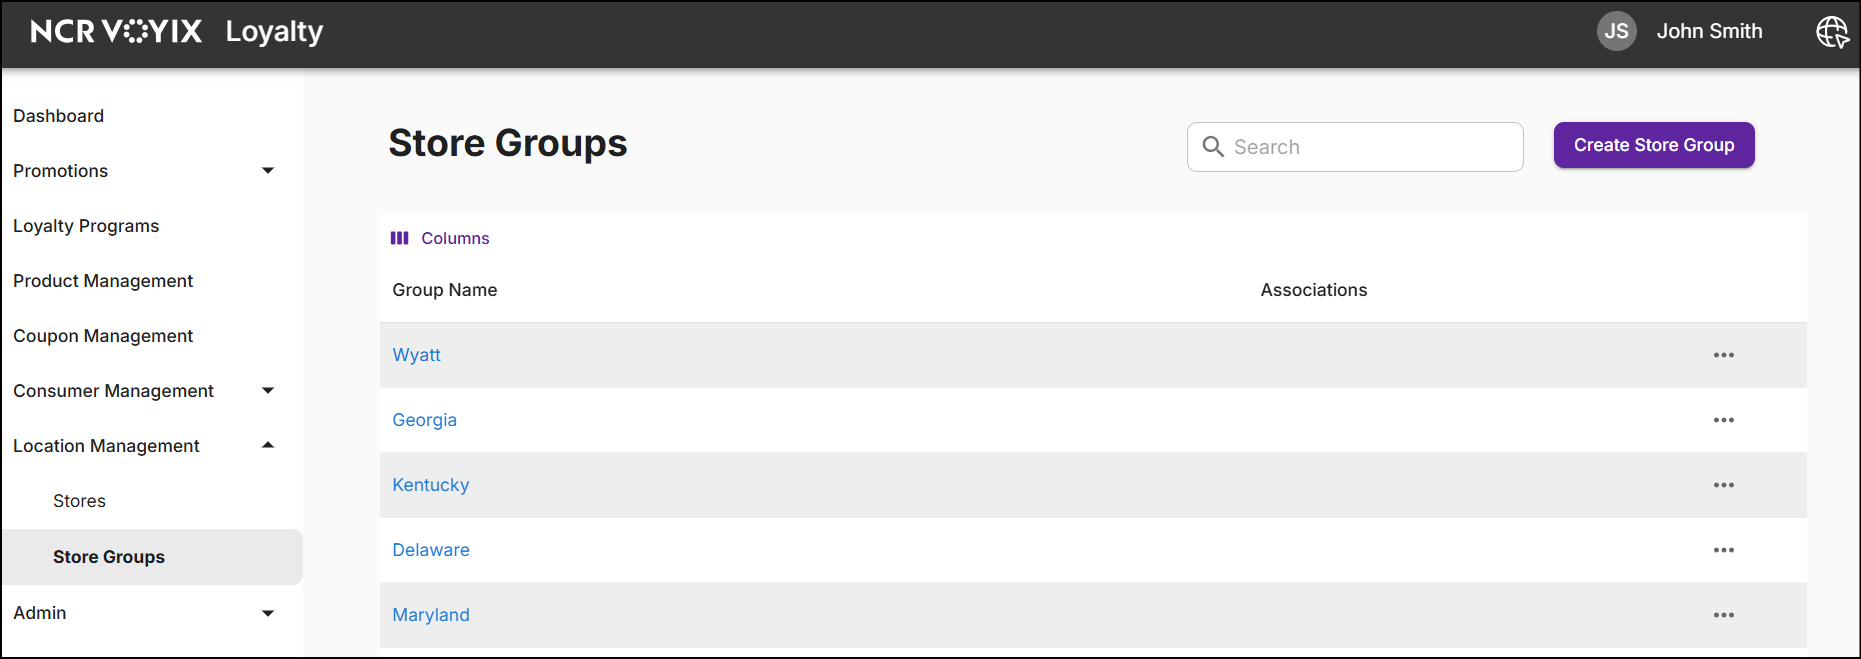
The Store Groups screen displays Group Name, Associations, and Ellipsis to edit and delete the store group.
- Group Name: The designated name for the store group.
- Associations: Promotions that are associated to the store group.
-
Click the Columns icon to customize, reorder, or adjust the columns. Click here to learn more.
-
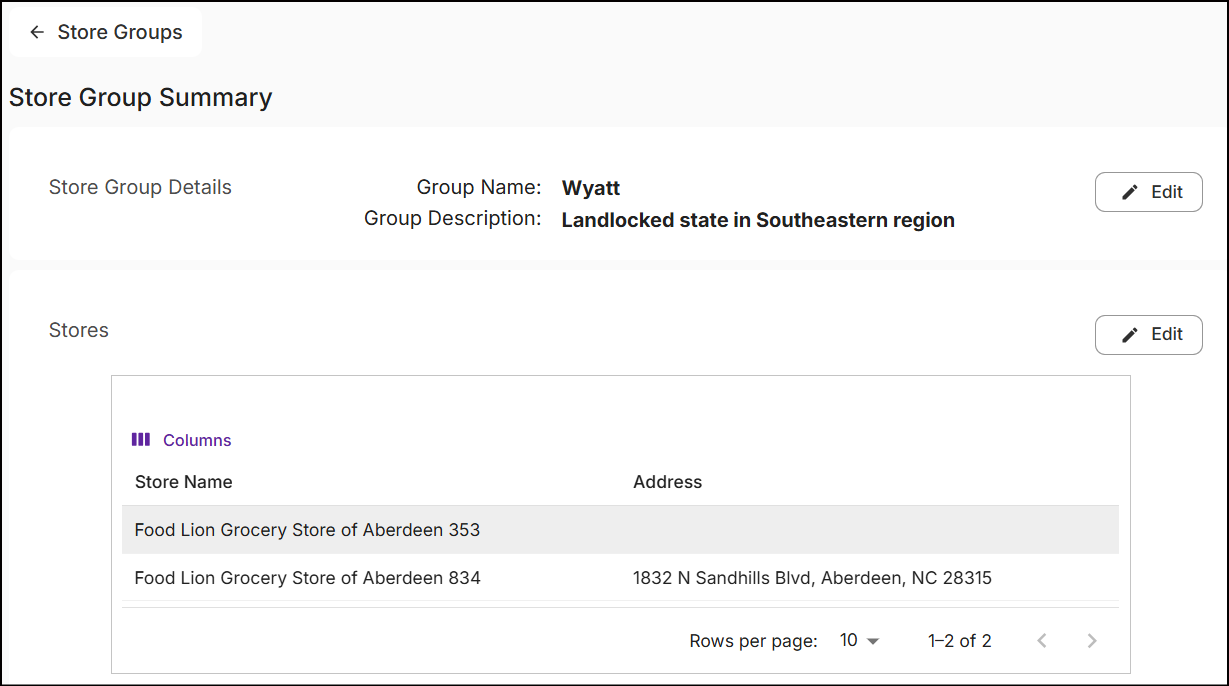
Click on the Group Name to view the Store Group Summary:
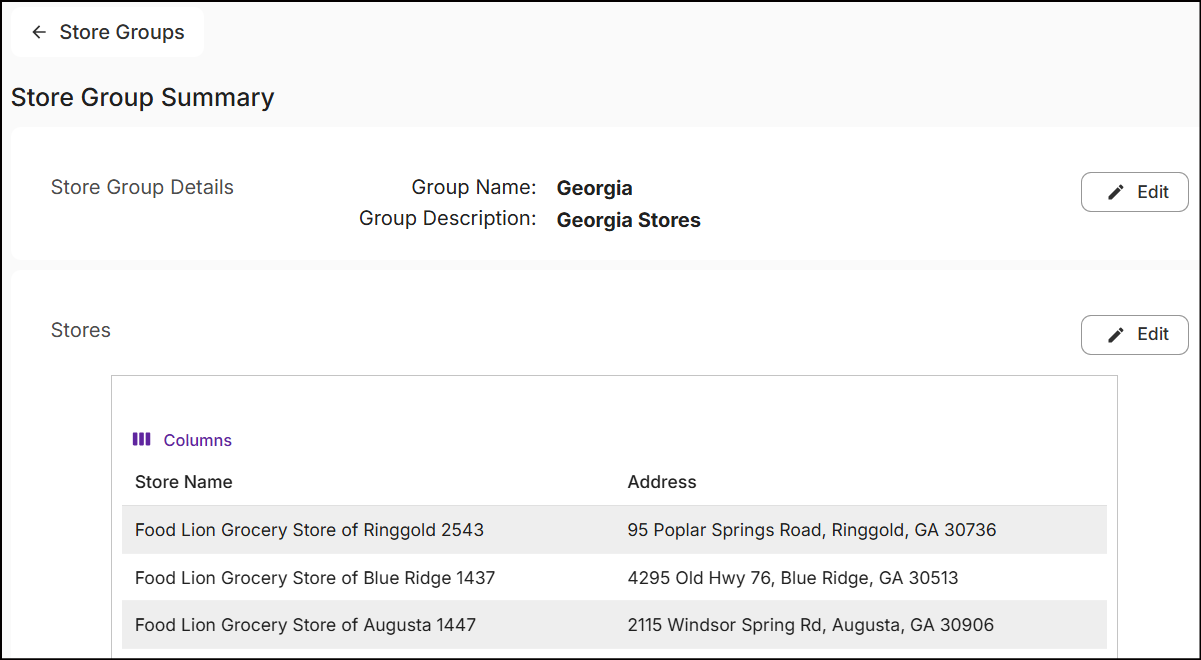
The store group summary displays the details of the store group and the list of stores within it.
Create store group
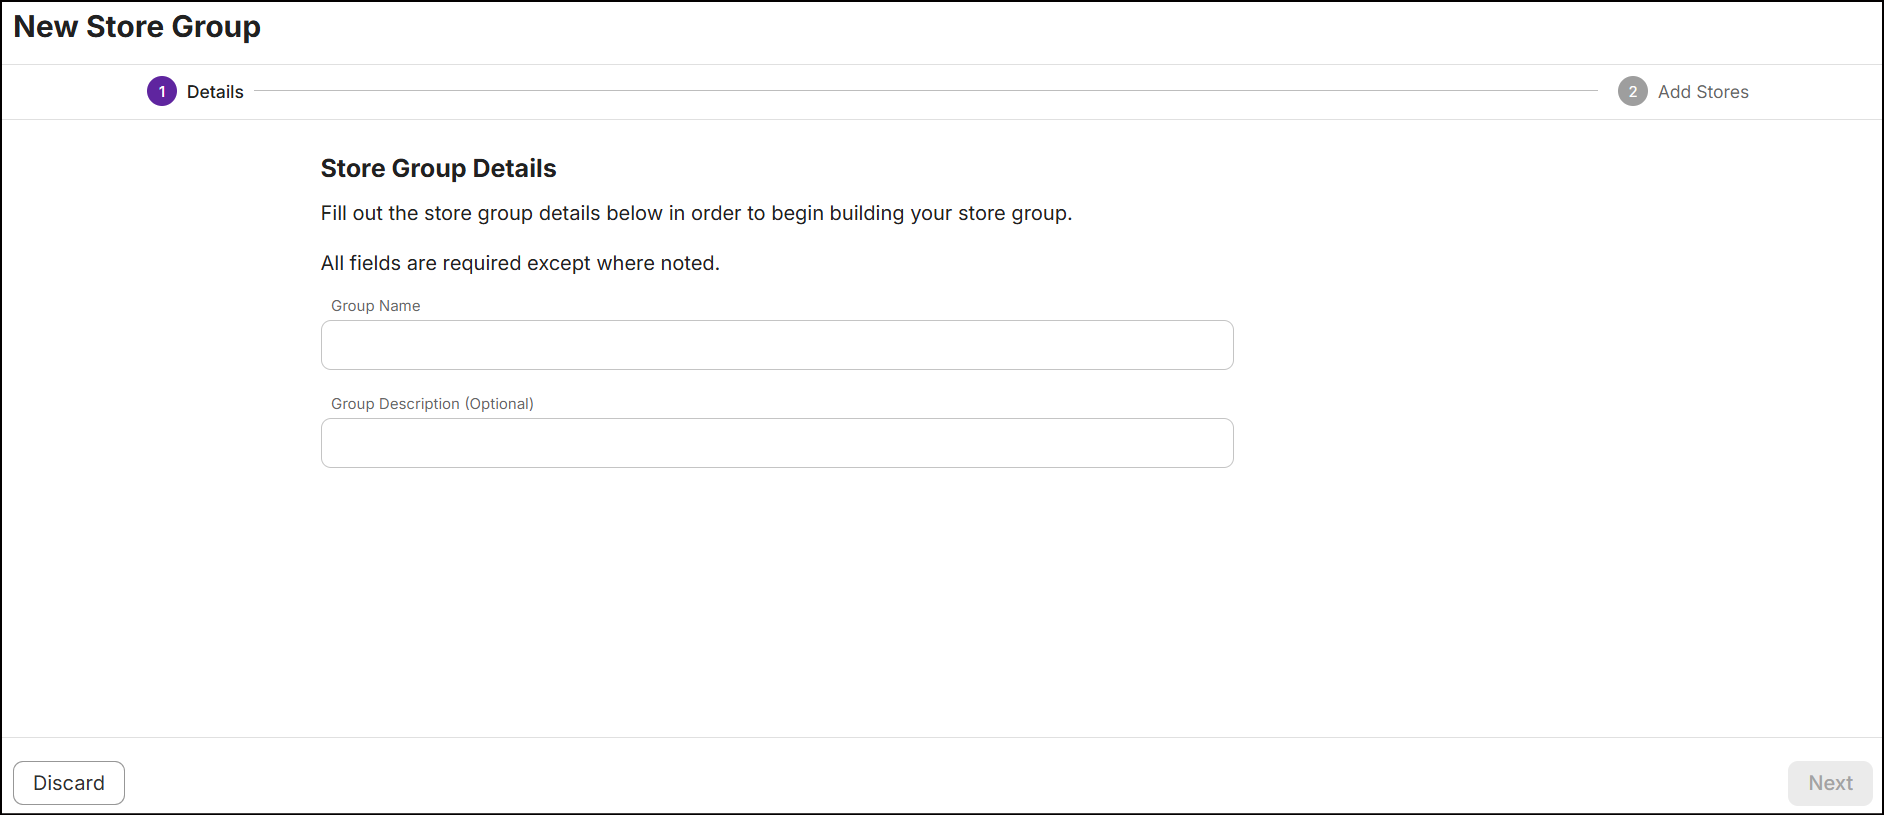
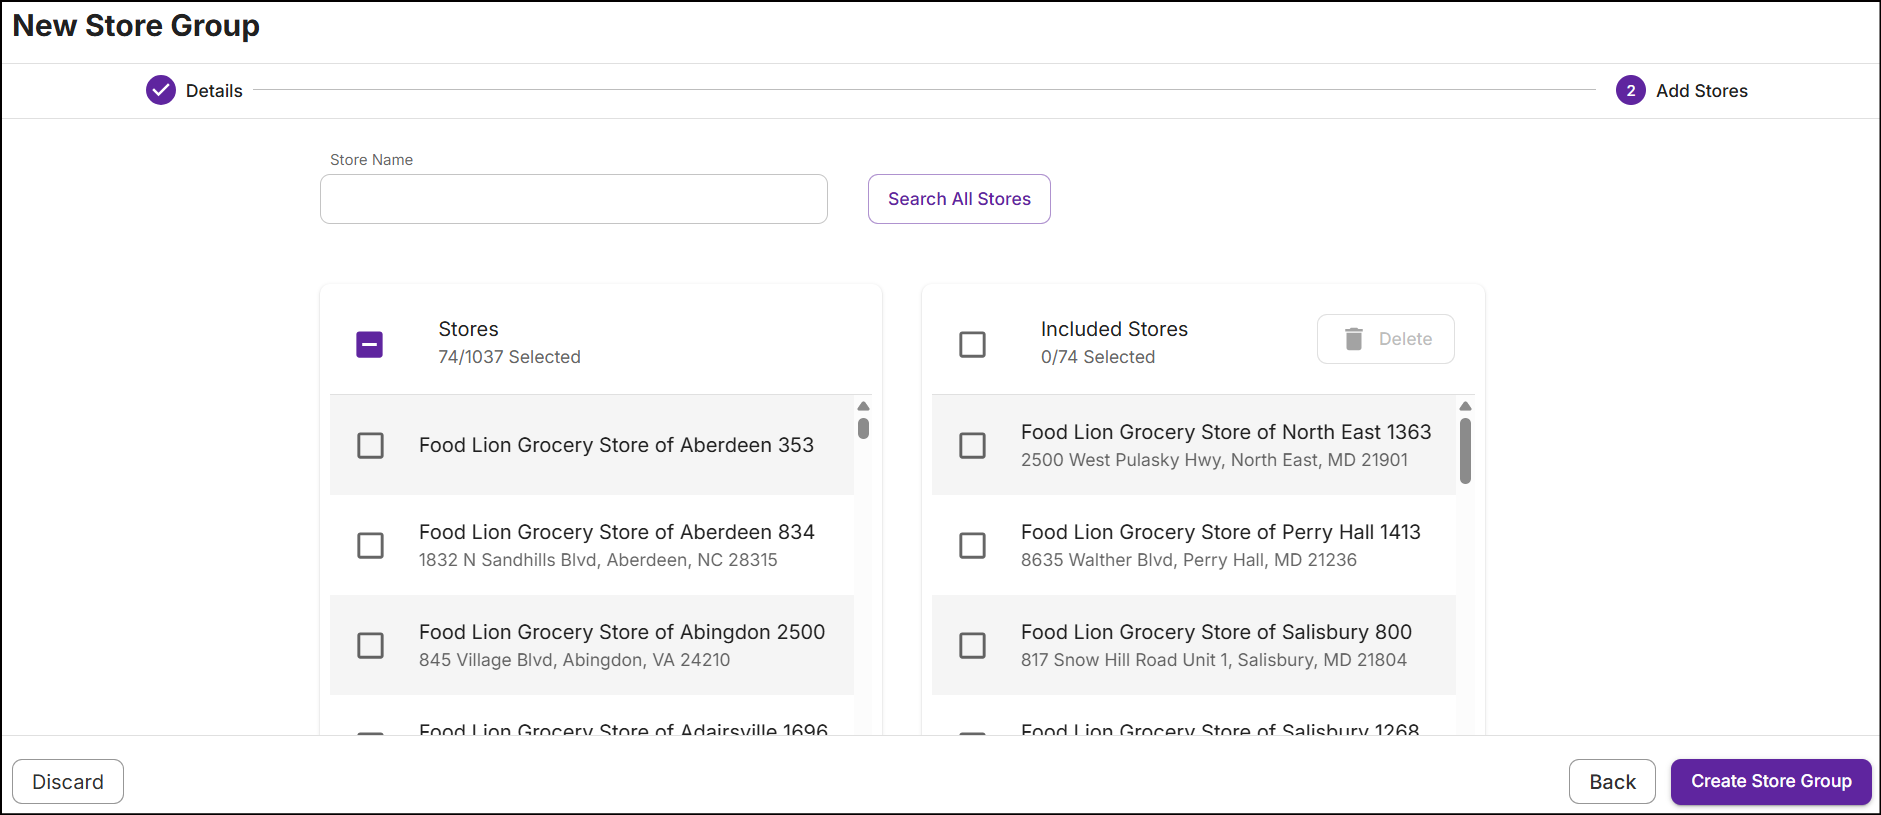
From the Store Groups screen, click Create Store Group in the top right corner. A New Store Group screen will appear, featuring 'details' and 'add stores' sections.
Details
-
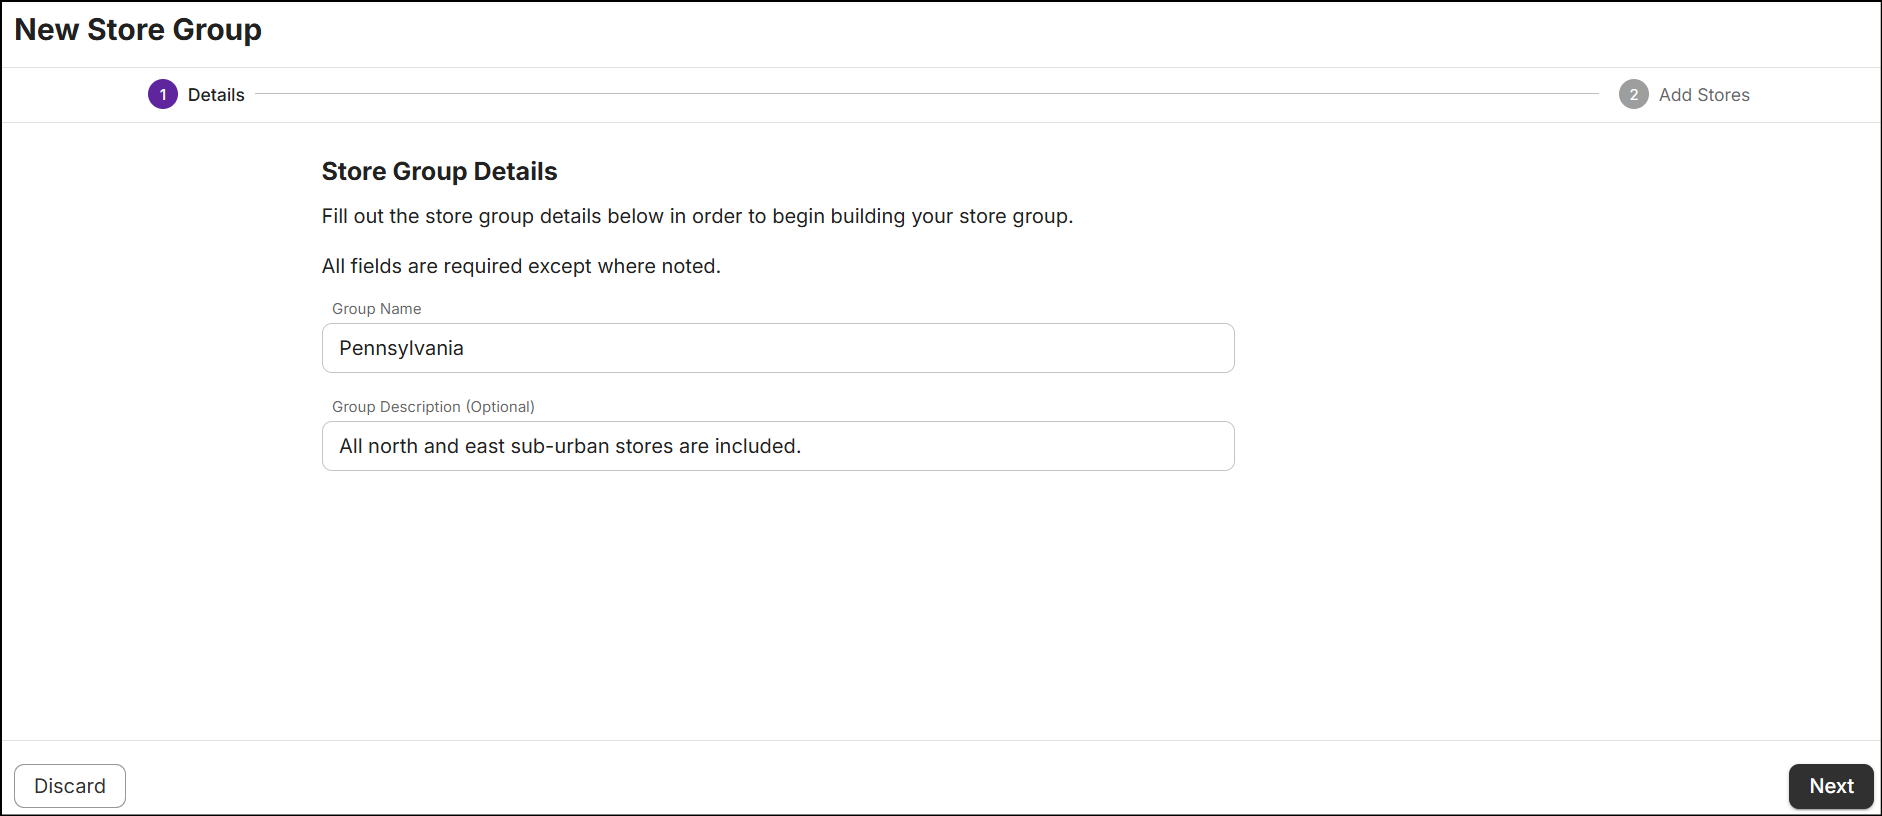
In the text box below Group Name, type a name of the store group.
-
Optionally, enter a Description for the store group highlighting its details.
Add stores
Add stores to the group using any of the following methods:
- Import stores through a CSV file.
- Search by store name.
- Search all stores using filters.
Note: If stores are added using CSV import, 'search using filters' will be disabled, and vice versa. Basic store name search is always accessible.

Add stores by CSV
-
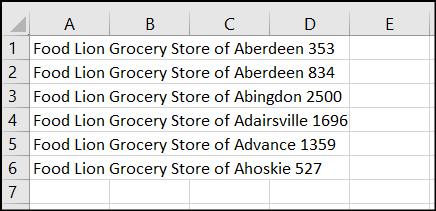
Click Import.CSV file and select a file from your local directory. Ensure that the CSV file contains only the names of the stores.
-
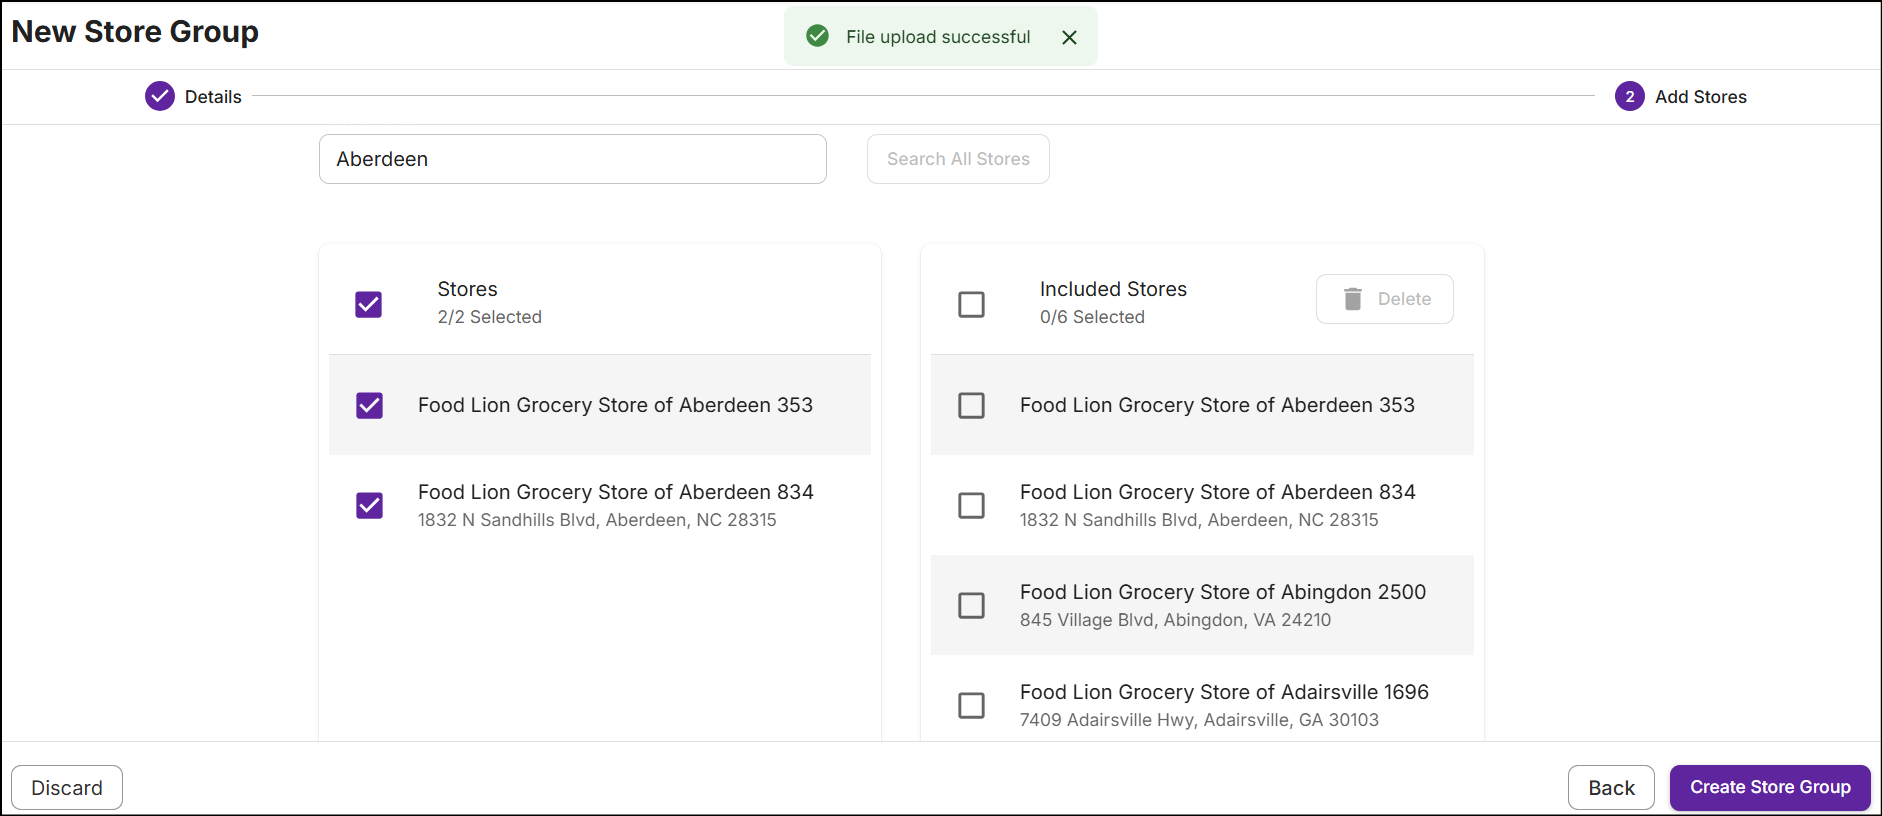
Upon successful import, a message stating 'File upload successful' will be displayed. The stores that have been imported from the CSV file will then be listed in the Included Stores table on the right.
-
If the CSV contains invalid entries, non-existent stores, or details other than the store name, the following message will be displayed:

Search by store name
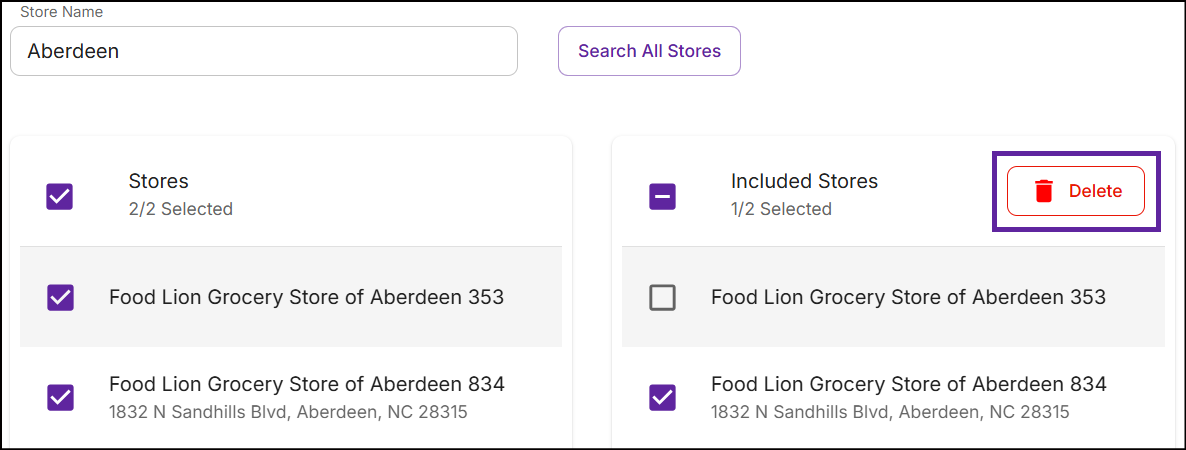
Search for the store names to include them in the store group.
-
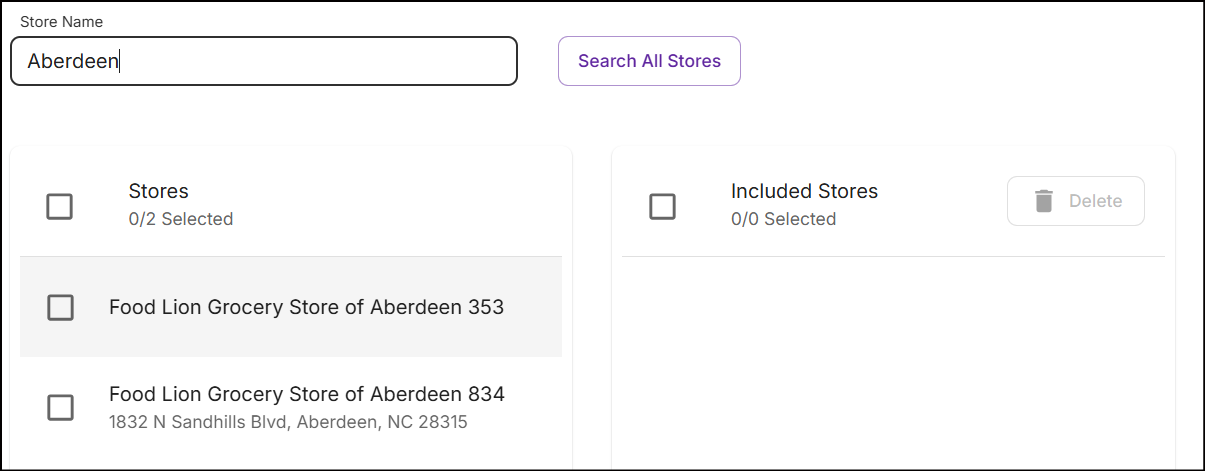
In the text box below Store Name, type the name of the store. The search results will then appear in the left panel.
-
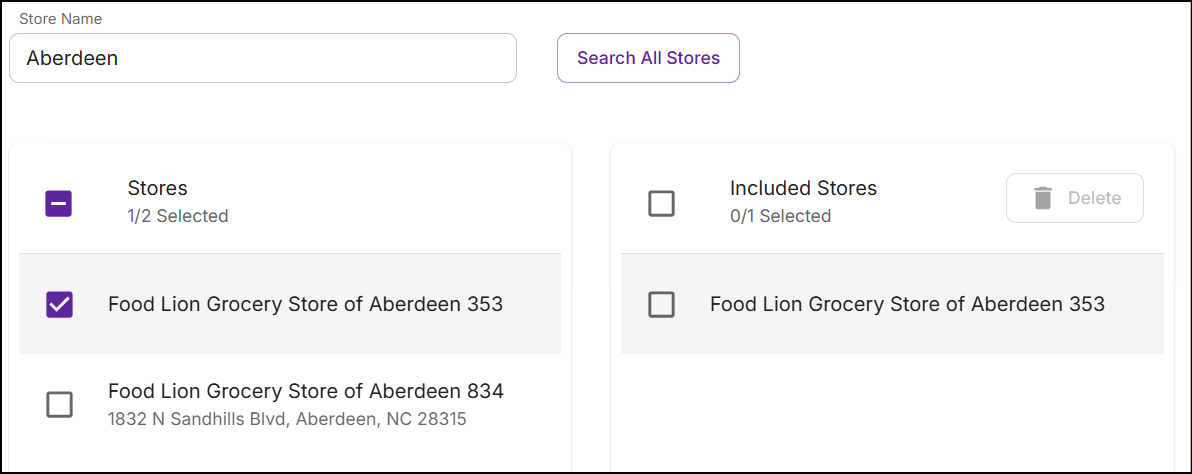
Select the store on the left panel. The store is added under Included Stores on the right panel.
-
To exclude stores listed under Included Stores, check the box next to the store(s) and click Delete.
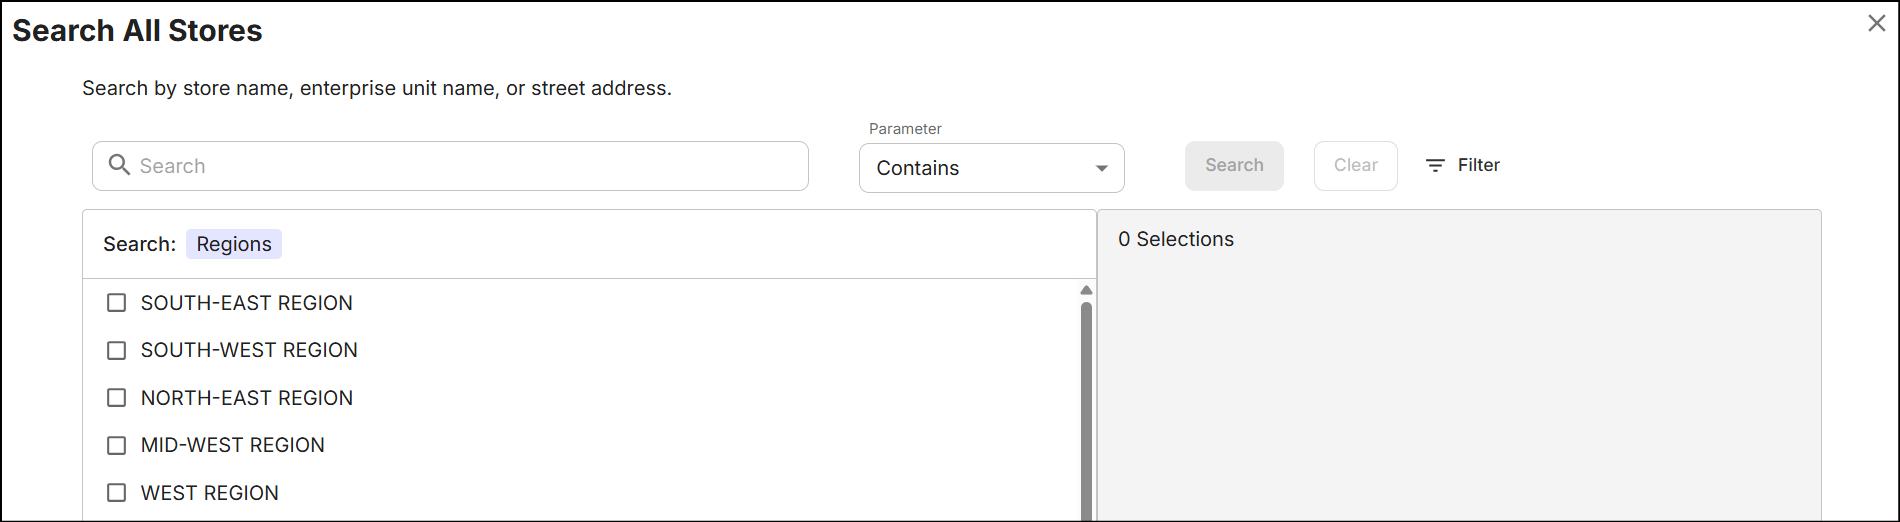
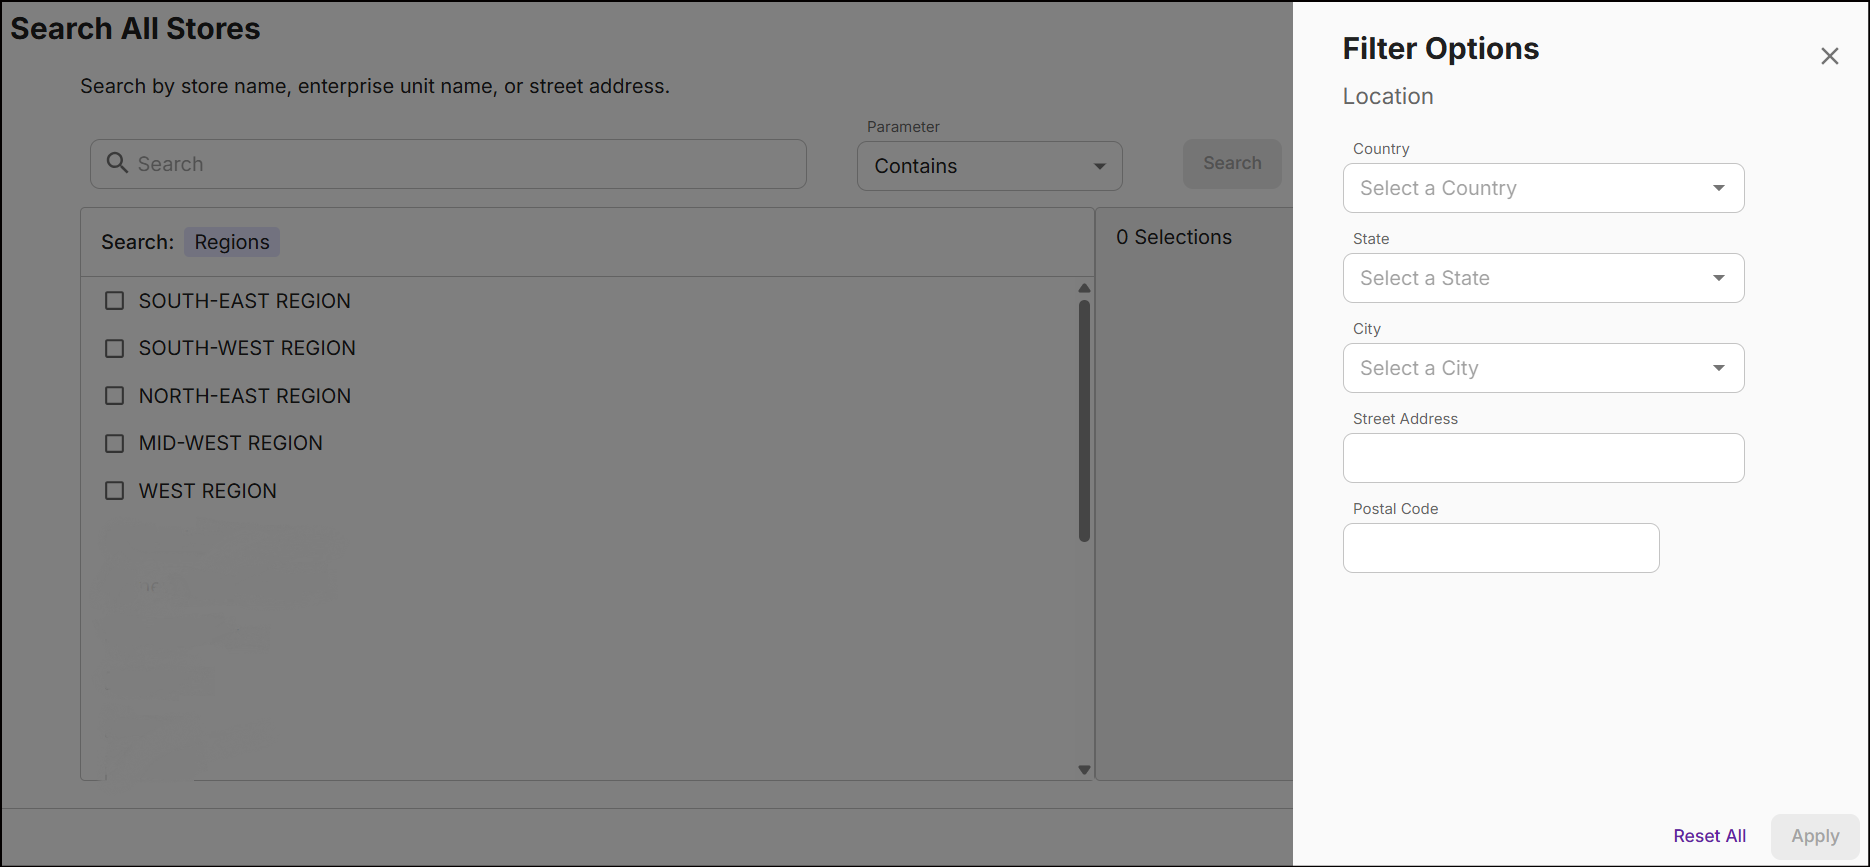
Search all stores using filters
-
Click Search All Stores to search and add stores using search parameters and filters. The following screen appears:
-
Enter the relevant search criteria in the search bar, select the parameter, and then click Search. The search results will appear on the left panel as shown below:
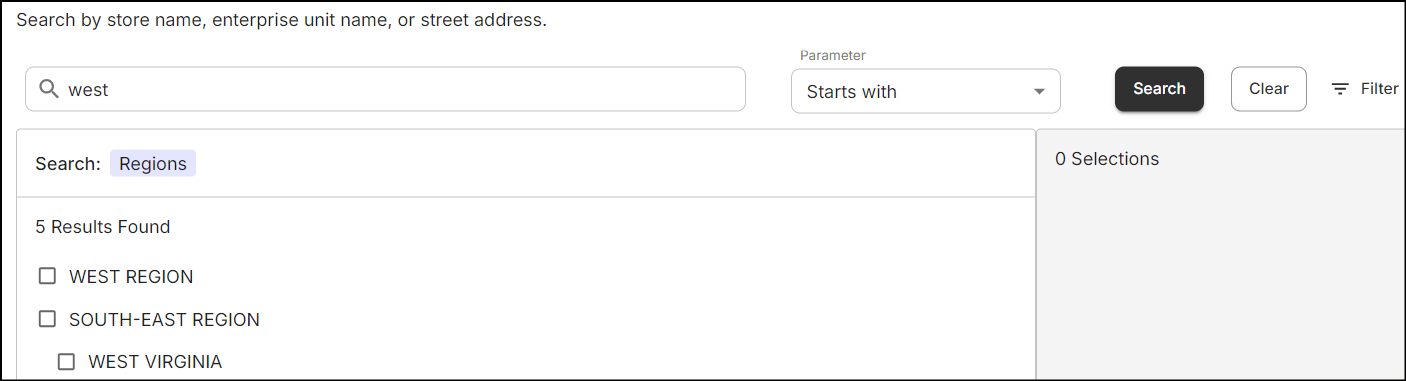
-
Check the box on the left panel to add a store. Your selections will then appear on the right panel.
-
When you select a region on the left, all stores associated with it are included.
-
Once you add stores to the right panel, click Save. The stores added from the catalog will appear in the Add Stores section.
Advanced filter options
-
Filter Options allows you to search the store using the location based criteria:
Once you add stores to the group using any method, click on Create Store Group. A message 'Successfully created store group' will appear on the Store Groups screen.
Button navigations
When you are in the Details or Add Stores sections, the buttons at the bottom of the screen perform the following functions:
-
Click Discard to discard any changes made to the store group. Any details entered in the group will not be saved.
-
Click Next to proceed to the Add Stores section.
-
Click Back to go back to the Details screen.
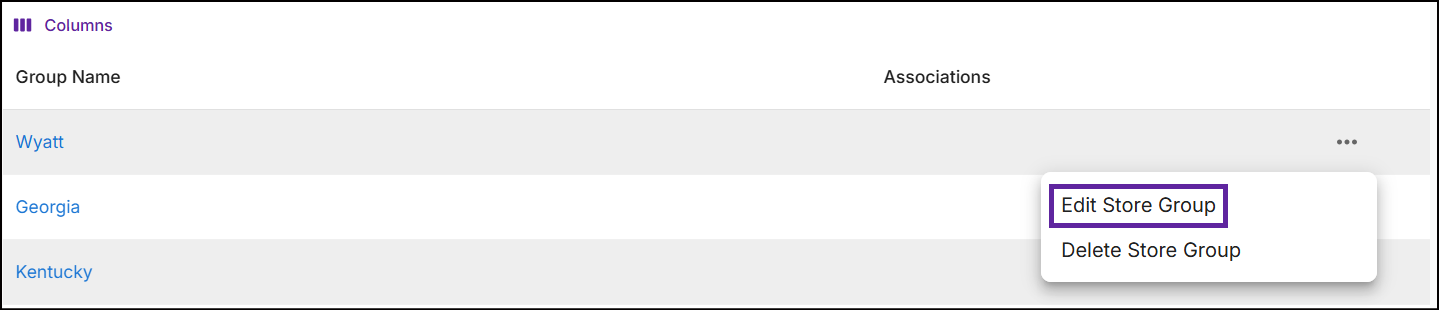
Edit store group
Update the store group to modify its details in the following ways:
-
Navigate to Store Groups screen, tap on Ellipsis, and select Edit Store Group.
or,
-
Click on the Store Group Name to view the Store Group Summary, then click the Edit button available for any specific section.
-
After making the necessary changes, click Update Store Group. A message, 'Successfully updated store group' is displayed.
Delete store group
Delete store groups that are not associated with the promotions.
From the Store Groups screen, tap on Ellipsis and select Delete Store Group. A pop-up message to confirm the deletion of the store group is displayed.
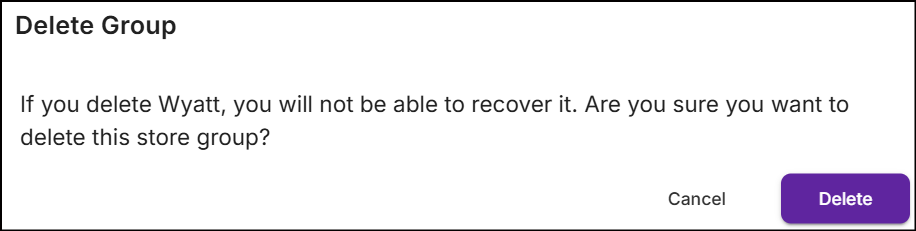
Click Delete. A message 'Successfully deleted store group' is displayed.
Associate store group
See the delivery section to associate promotions to the store group.