Working with vendors
A vendor is a supplier that sells and delivers their product or service directly to your restaurants. Restaurants typically buy from more than one vendor, based on the wholesale price, the availability of product, the proximity of the vendor location, a corporate mandate requirement, and more. Without vendors, the restaurant does not have the products necessary to prepare their menu items to serve their consumers.
You can either add vendors individually or import multiple vendors in bulk for faster setup.
- Add a vendor manually. See Manually adding a vendor
- Import vendors in bulk. See Bulk importing vendors
Manually adding a vendor
To add a vendor manually:
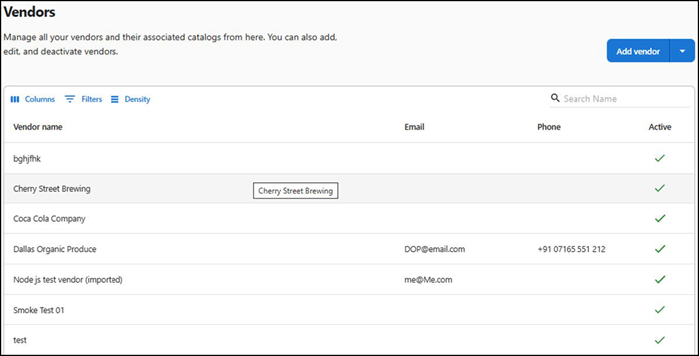
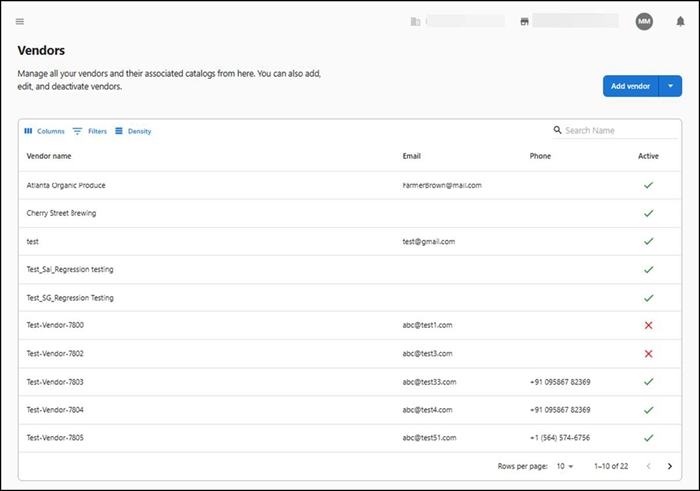
- Select Inventory > Vendors. The 'Vendors' screen appears.
- Click Add vendor. The 'New vendor details' screen appears.
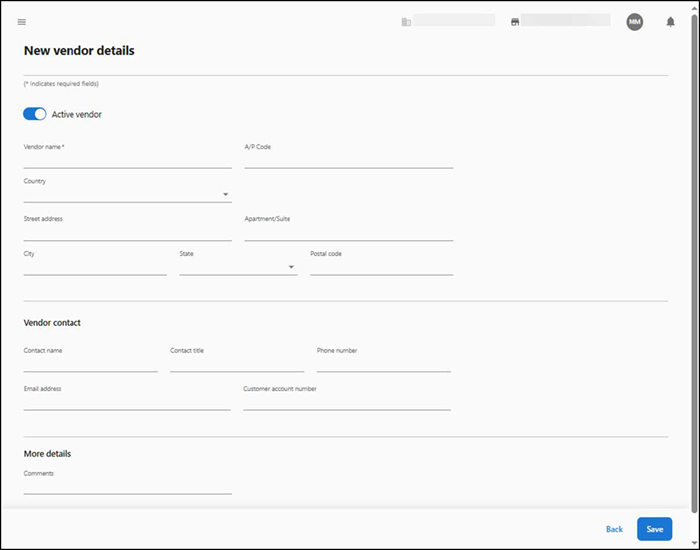
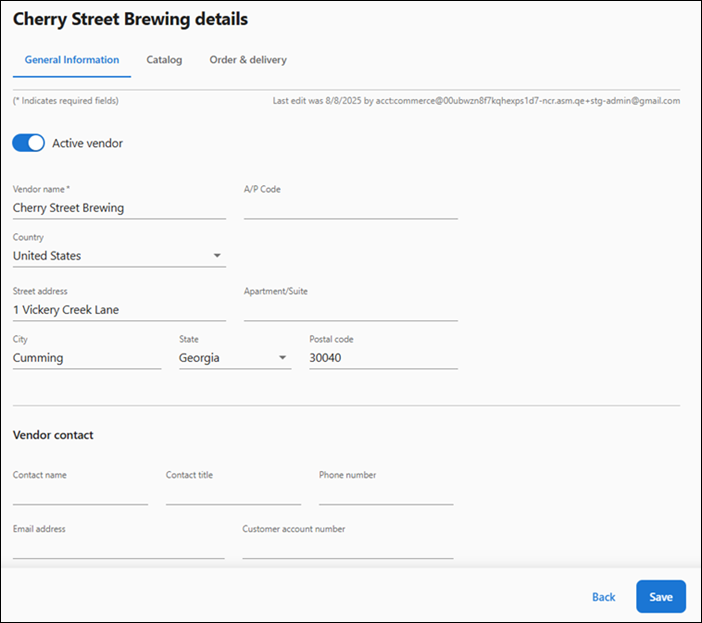
- Confirm Active vendor is toggled to the on position (default value). When toggled off, you cannot use the vendor.
- Type the name of the vendor.
- Type the A/P Code associated with the vendor. The accounts payable (AP) code is a six-character alphanumeric code attached to the vendor master records that allows you to post transactions to a general ledger account.
- Select the country where the vendor is located from the drop-down list.
- Type the address of the vendor in 'Address 1' and 'Apartment/Suite.'
- Type the city, state, and postal code of the location of the vendor.
- Under the 'Vendor contact' group bar, type the contact name of the vendor, typically a vendor employee.
- Type the designated title, phone number, and email address of the vendor contact.
- Type your customer account number associated with the vendor.
- Under the 'More details' group bar, enter any additional information about the vendor in 'Comments.'
- Click Save to save the vendor details or click Back to return to the 'Vendors' screen. The newly added vendor appears in the list.
Once you add a vendor, you must assign vendor items to the vendor. Refer to "Working with vendor items" for more information.
Bulk importing vendors
When working with vendors, you have the option to upload vendors into organizations within Aloha Smart Manager using a .CSV file. This helps high-end corporations, franchisees, and restaurants who use an extensive number of vendors to easily manage the transfer of these items to ASM without having to perform the tedious task of entering each vendor individually. To take advantage of this time-saving feature, you must enter your vendors into a spreadsheet. Be aware that Aloha Smart Manager requires specific rules and provides a downloadable template file for a successful upload. You must manually enter any fields that do not download successfully, or retry the upload.
Upload vendors in bulk using the 15 columns in the vendors_data_import.CSV file, adhering to the following rules:
- Do not alter the width of any column or you may receive unwanted changes. Always keep the width at approximately 8.43 units, which is the Microsoft® Excel® default.
- The total file size of the spreadsheet must not exceed 1 MB.
You will need the country.CSV, countrycode.CSV, and state.CSV as a reference for entering the data into vendors_data_import.CSV.
| Column | Description |
|---|---|
| Vendor name | The name of the vendor, up to 100 characters. This is a required field and it must be unique. |
| A/P Code | The accounts payable code, up to 50 characters. |
| Country | The country of the vendor as either the full name or abbreviation. Click 'Download country options list' for the list of countries defined in Aloha Smart Manager. |
| Address 1 | The address of the vendor, up to 250 characters. |
| Address/Suite | The address/suite of the vendor, up to 250 characters. |
| City | The city where the vendor resides, up to 100 characters. |
| State | The state or province where the vendor resides, either the full name or abbreviation. Click 'Download states/regions options list' for the list of states and regions defined in Aloha Smart Manager. |
| Postal Code | The postal code of the vendor, up to 10 characters. |
| Contact Name | The contact name associated with the vendor, up to 100 characters. |
| Contact Title | The title of the contact associated with the vendor, up to 50 characters. |
| Country Code | The country code for the vendor, either the full name or abbreviation. Click 'Download country code list' for the list of country codes defined in Aloha Smart Manager. |
| Phone | The phone number associated with the vendor. The number must be prefixed with the numbers in accordance with the corresponding country code. Refer to column C in the 'Country' spreadsheet downloaded for the 'Country Code' option. |
| Email Address | The email address of the vendor, up to 100 characters. |
| Customer Account Number | The customer account number associated with the vendor, up to 250 characters. |
| Comments | Any comments related to the vendor, up to 1000 characters. |
To upload vendors in bulk:
-
Select Inventory > Vendors. The 'Vendors' screen appears.
-
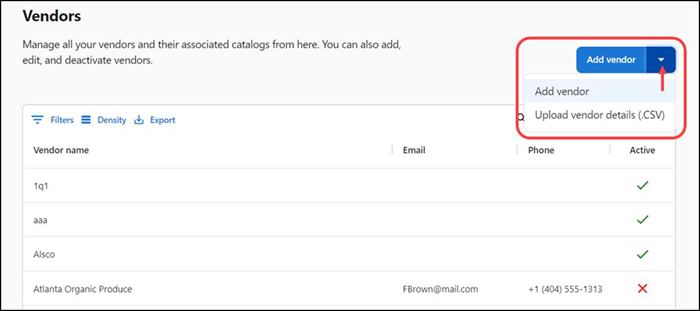
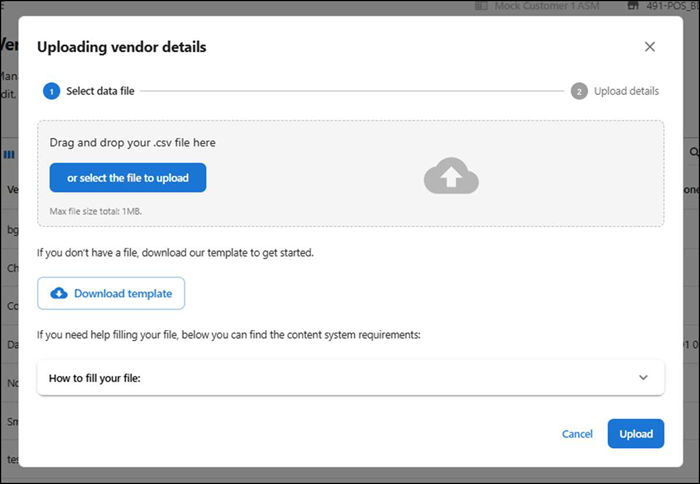
Click the Add vendor drop-down arrow and select Upload vendor details (.CSV). The 'Uploading vendor details' screen appears.
-
Click Download template. The file automatically downloads vendor_data_import.CSV.
-
Click the How to fill your file drop-down to expose instructions for completing the spreadsheet.
-
Type or copy and paste the vendor information into vendor_data_import.CSV.

-
Return to the Uploading vendor details screen and upload the .CSV file by performing one of the following:
Drag and drop vendor_data_import.CSV into the appropriate area.
-OR-
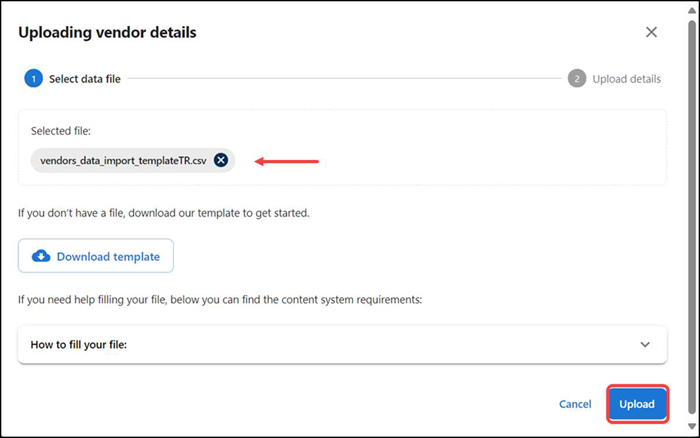
Click or select the file to upload to browse to and select vendor_data_import.CSV and click Open.
-
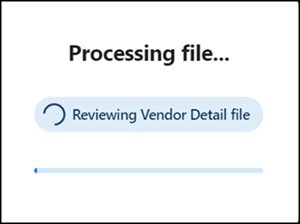
Click Upload to upload the file into ASM. A 'Processing file' status screen appears as ASM validates the file.
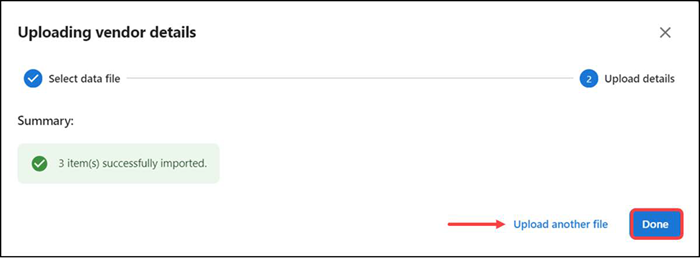
Once uploaded, the vendors appear in a grid format under the 'Selected file' tab. The summary appears in the 'Uploading vendor details' screen. Inspect any data that was not uploaded successfully.
-
Click Upload another file to upload another file with bulk vendor details or click Done to return to the 'Vendors' screen.
Editing a vendor
To edit a vendor:
- Select Inventory > Vendors.
- Select a vendor to edit. The vendor details appear with the 'General information' tab as the active tab.
- Make the necessary changes to the vendor.
- Click Save to save the changes or click Back to discard your changes and return to the 'Vendors' screen.
Return to "About inventory management"