Setting up the Label Printer
Label printing allows you to eliminate loose kitchen receipts, identify takeout orders, and simplify the order prepping process.
Requirements
- Bixolon Label Printer
- Power adapter
- Sticky Media Labels purchased through Iconex
- Ethernet Cable
- Access to your wireless network
To purchase additional labels (also known as sticky media) go to https://iconexstore.com and type "Sticky" in the search box.
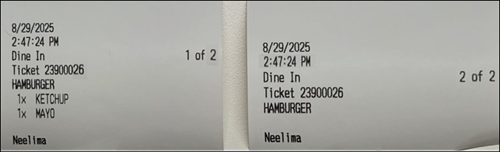
What prints on a label
A label is formatted with less information than a kitchen chit and is ideal for smaller, 40mm sticky paper. It includes:
- Timestamp
- Order type
- Ticket number
- Item Name
- All Modifiers
- Customer Name
- Order sequence, for example if there are two items in an order it will show '1 of 2' and '2 of 2'.
Back Office Set Up
Kitchen routing groups control how menu items are printed/presented on kitchen devices. You must log in using Company View (All Stores) to create kitchen routing groups. Then log in using a specific site and define printer routing specific to that site.
To use the label printer, begin by setting up a kitchen routing group and end up by adding a new kitchen device.
To setup a kitchen routing group:
- Log in to Back Office using Company View (All Stores) or using specific store.
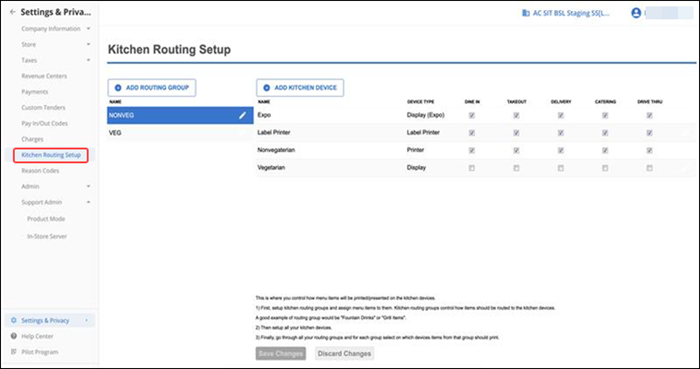
- Select Settings & Privacy > Kitchen Routing Setup.
- Click ADD ROUTING GROUP. The Add Routing Group popup appears.
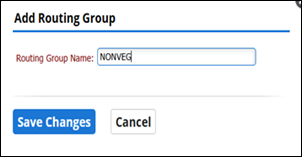
- Type a name for the routing group.
- Click Save Changes.
- Continue to the next procedure that is adding a kitchen device.
To add kitchen devices:
- Log in to Back Office using a specific store.
- Select Settings & Privacy > Kitchen Routing Setup.
- Click ADD KITCHEN DEVICE. The Add Kitchen Device screen appears.
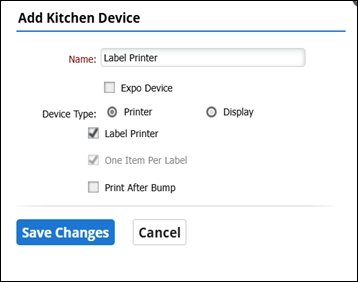
- Type a name for the kitchen device. Give the device a distinct name to indicate the location of the station, such as Label, select the Device Type as Printer and Click Save Changes.
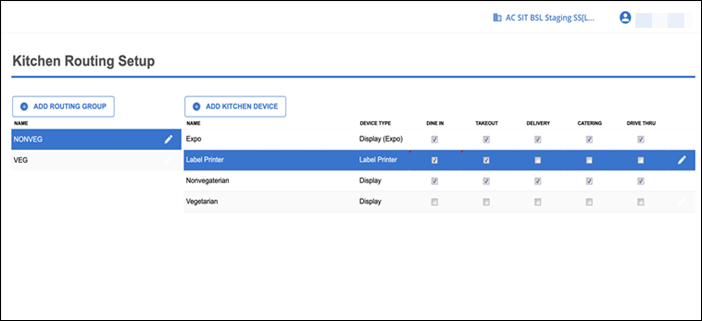
- For newly added kitchen device, select required order modes that route items to that device.
- Click Save Changes.
- Exit Kitchen Routing.
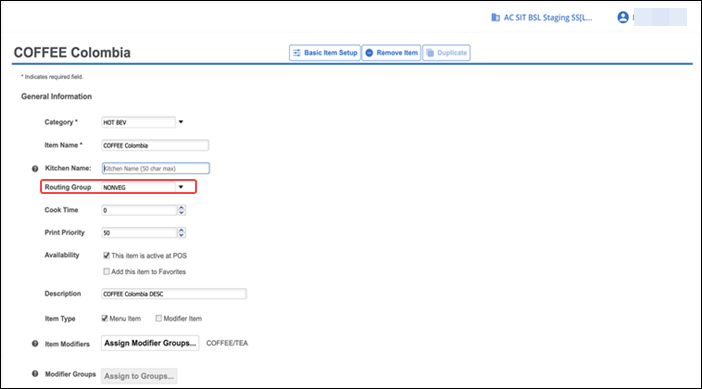
Note: To ensure proper setup, assign your items to a printer group. Navigate to the menu, click on the desired item, select the appropriate printer group, and save your changes.
Connecting to the POS
Use the Printers option on the Settings menu to define the label printers to use with the device. Prior to setting up kitchen printers, you must configure Kitchen Routing in the Back Office as above.
The label printer connects to the Point of Sale application through your wireless network.
- Plug in the label printers power chord.
- Connect the label printer to your network router using an Ethernet cable.
- Turn on the printer using the power switch.
- Open the Point of Sale Application and Log in.
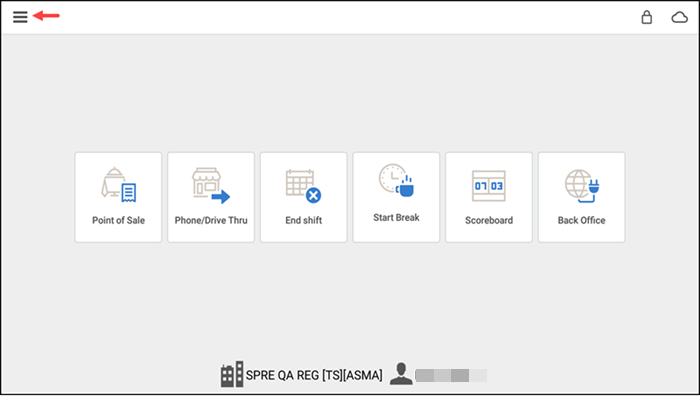
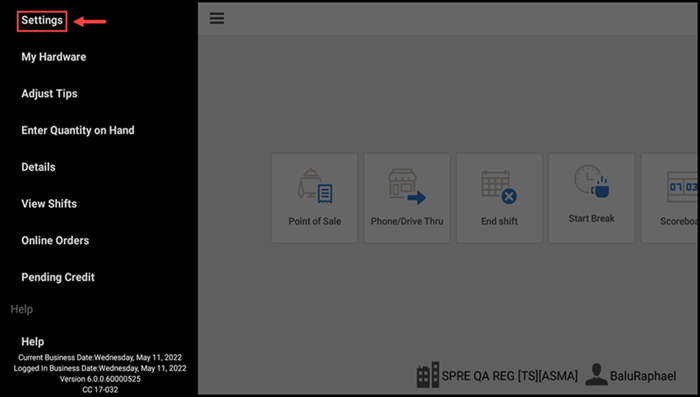
- Tap the menu icon on the top left to display the slide out menu, then tap Settings.
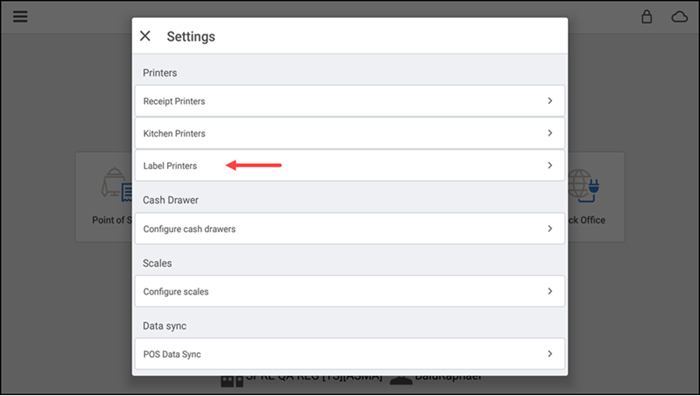
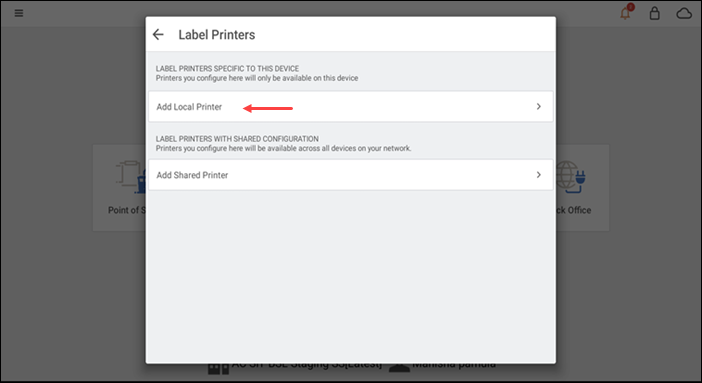
- Tap Label Printers, then select Add Local Printer.
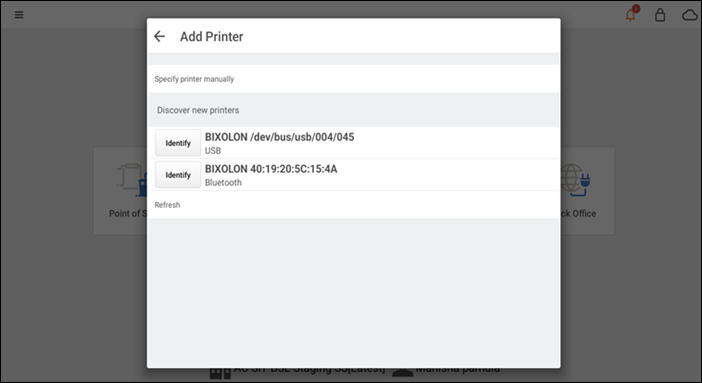
- Tap a listed printer (For example, Bixolon SRP-S300) once the printer is automatically discovered.
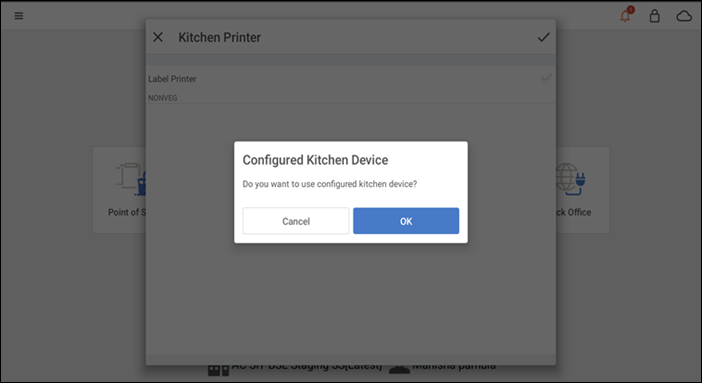
- Tap the kitchen device name in use. In this example you can view one kitchen device. A confirmation popup appears. Click OK to continue.
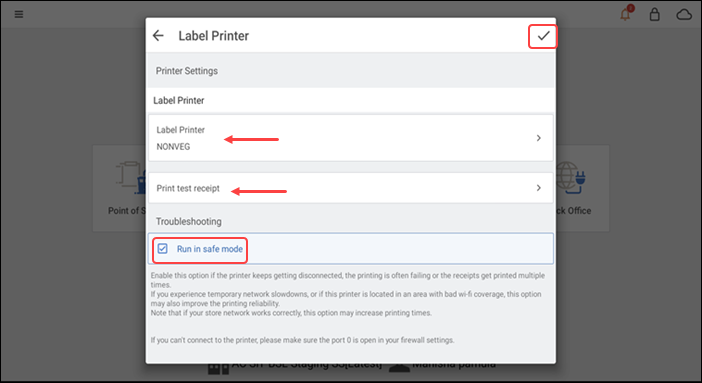
Note: In the steps above we used 'Label Printer' as the kitchen device and 'NONVEG' as the Kitchen routing group.
- Choose to print test receipt or run in safe mode.
- Once setup is complete, tap the check mark to save the printer configuration.