Creating a floor plan
In Table Service mode, you can create a floor plan for each room of your restaurant from your POS.
This document discusses the following:
- Navigating the floor plan.
- Adding a room to the floor plan.
- Deleting a room from the floor plan.
- Rearranging rooms in the floor plan.
- Managing tables in a room.
- Managing objects in a room.
- Rearranging rooms in the floor plan.
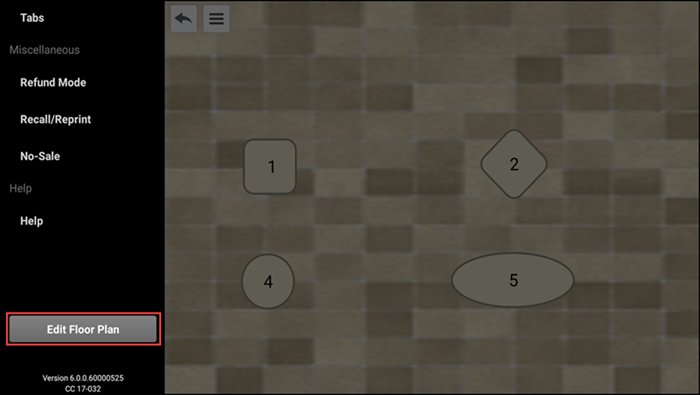
Navigating the floor plan
Use the following to navigate tables and tabs on your floor plan:
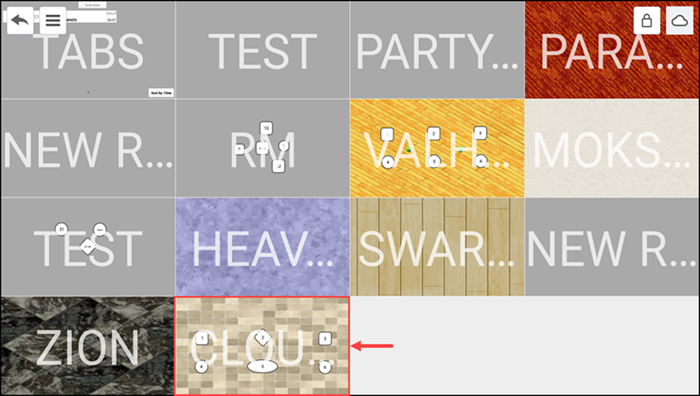
- To see all rooms within the floor plan, pinch two fingers together on the device screen.
- To select a room, tap the room on the floor plan screen.
- To move from one room to another on the device, swipe right to left or left to right.
Adding a room to the floor plan
- Log in to the POS.
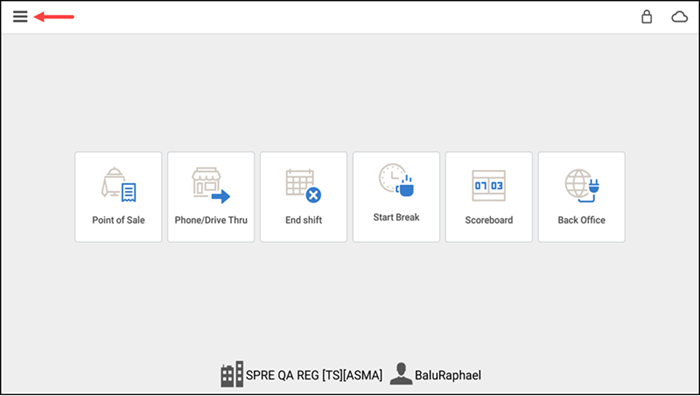
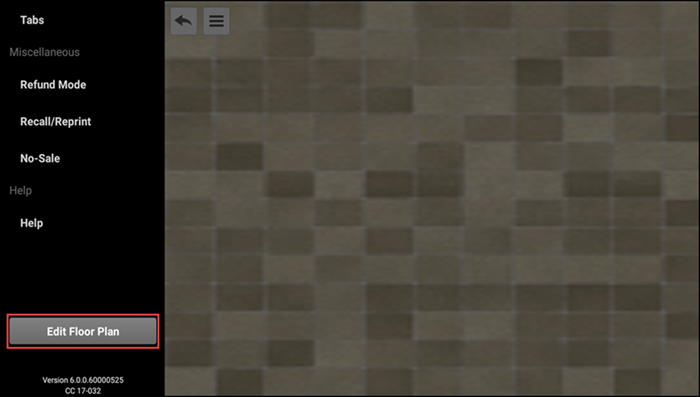
- Tap the menu icon on the top left side of the screen to display a slide out menu.
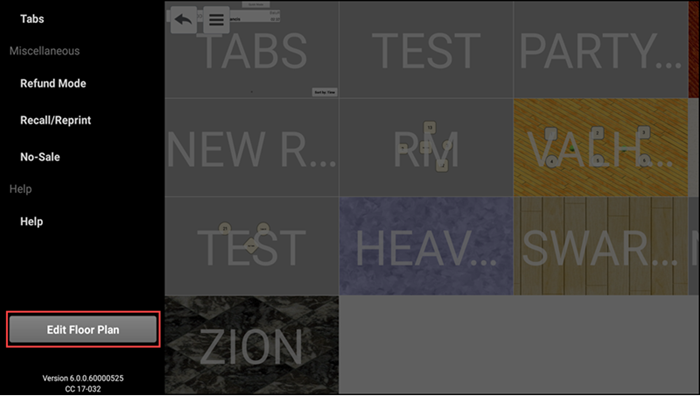
- Tap Edit Floor Plan..The editing options appear in the slide out menu on the left.
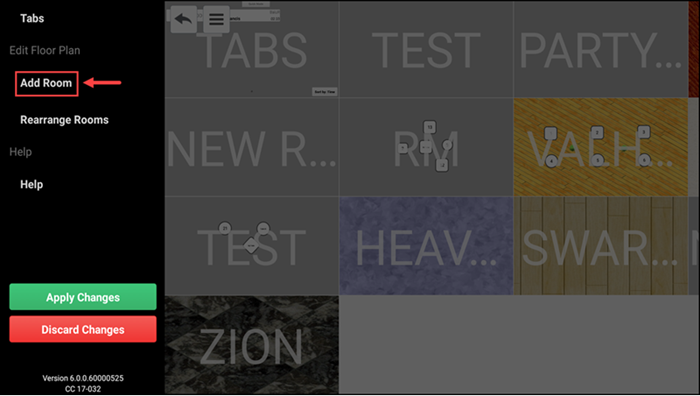
- Under Edit Floor Plan, tap Add Room.

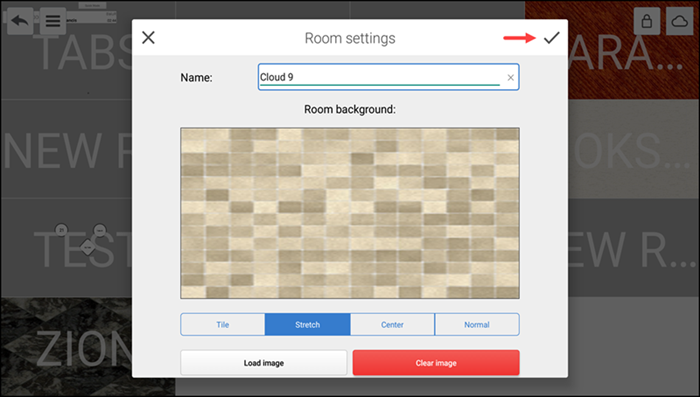
- Type a name for the room.
- Optionally, tap Load Image to select a background image for the room. You can choose one of the predefined images or one from your device library.
- Tap the check mark, when done.
- Repeat steps 3 thru 6 for each room in your restaurant.
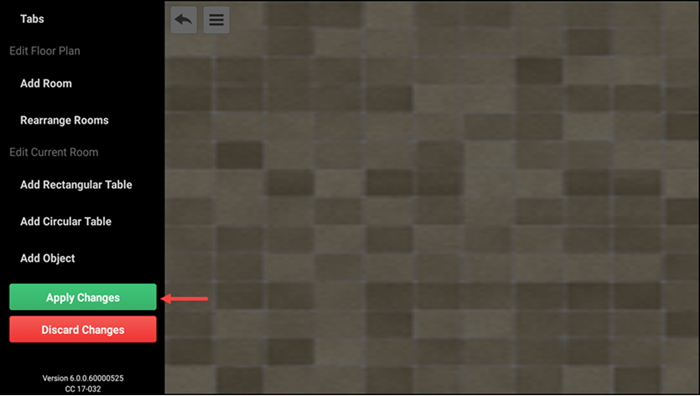
- When finished making all changes, tap Apply Changes from the slide out menu.
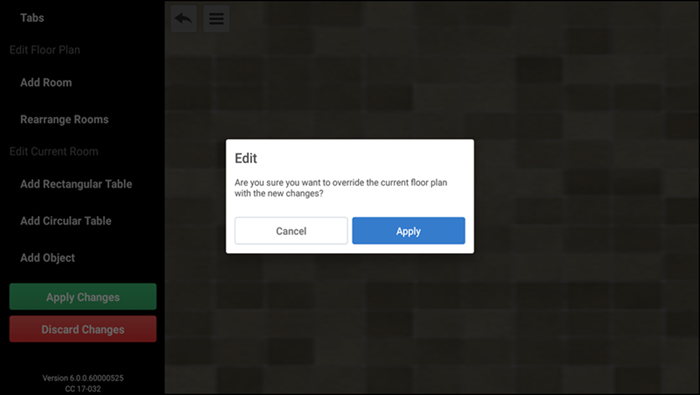
- Tap Apply to confirm changes.
Deleting a room from the floor plan
- Log in to the POS.

- Tap a room on the floor plan.
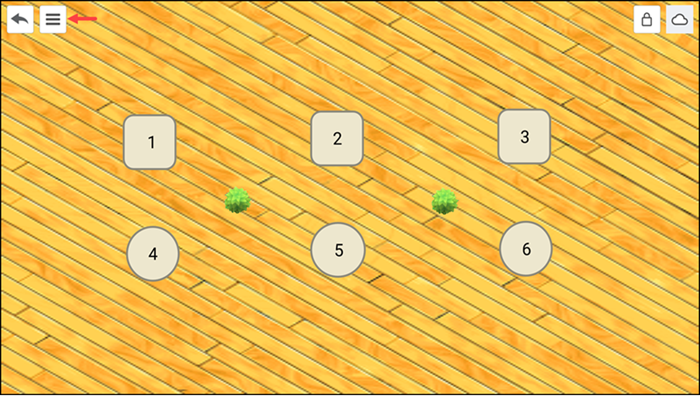
- Tap the menu icon on the top left side of the screen.
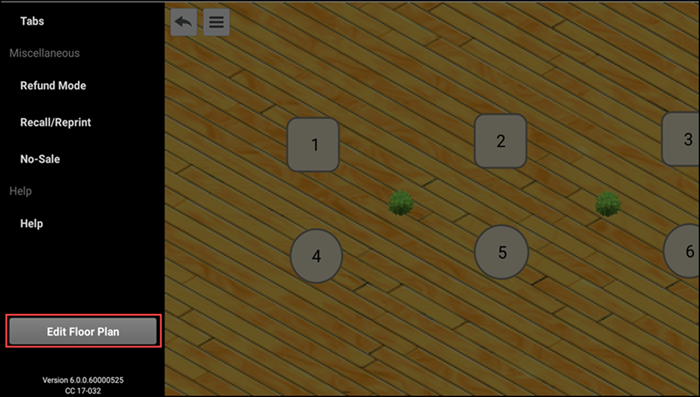
- Tap Edit Floor Plan.
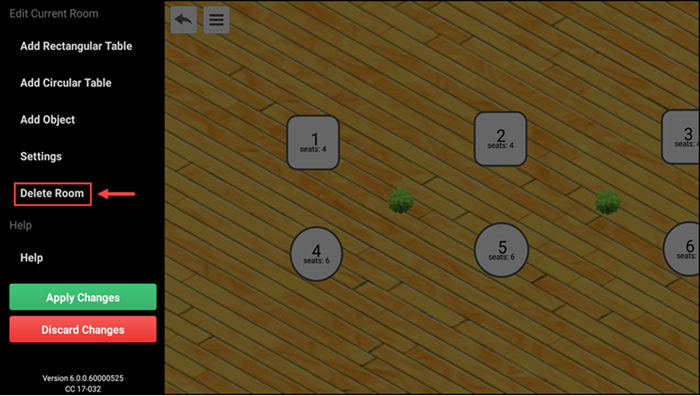
- Under Current Room, tap Delete Room.
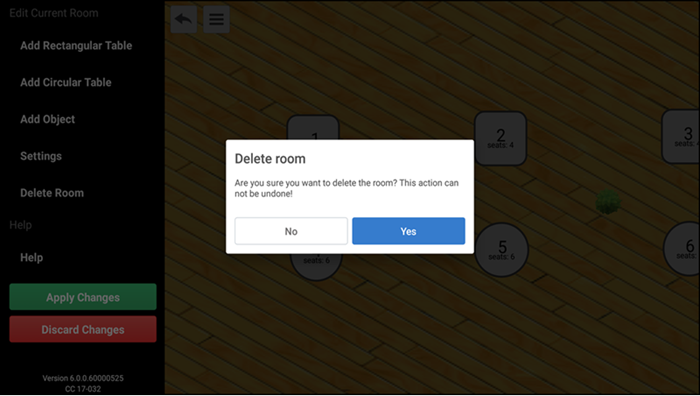
- Tap Yes.
- When finished making all changes tap Apply Changes from the slide out menu.
- Tap Apply to confirm changes.
Rearranging rooms in the floor plan
- Log in to the POS.
- Tap the menu icon on the top left side of the screen to display a slide out menu.
- Tap Edit Floor Plan.
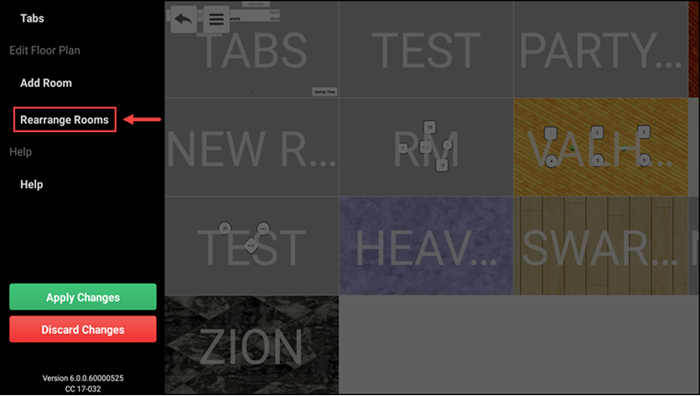
- Under Edit Floor Plan, tap Rearrange Rooms.
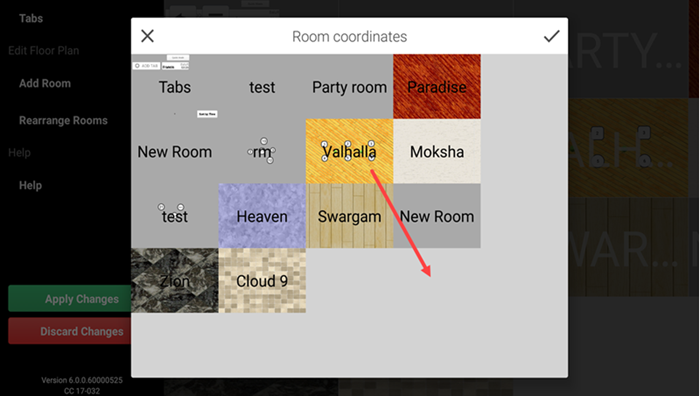
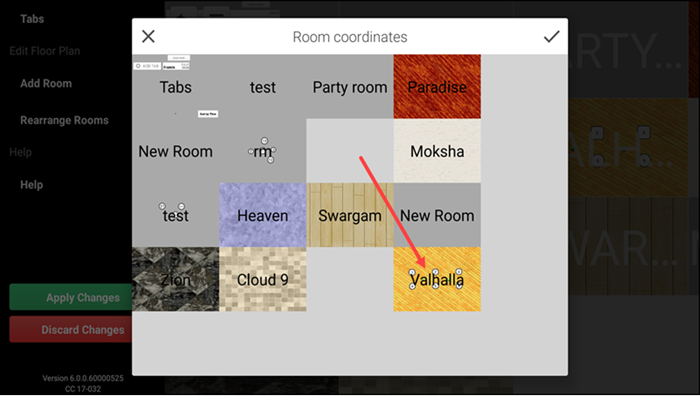
- Press to drag and drop rooms to the desired location and tap the check mark when done.
- When finished making all changes, tap Apply Changes from the slide out menu.
- Tap Apply to confirm changes.
Managing tables in a room
-
Log in to the POS.
-
Tap a room on the floor plan.
-
Tap the menu icon on the top left side of the screen to display a slide out menu.
-
Tap Edit Floor Plan.
-
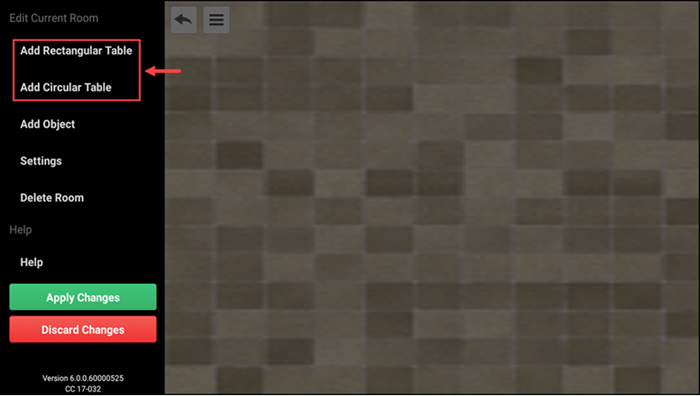
Under Current Room, tap Add Rectangular Table or Add Circular Table to add a table to the room.<
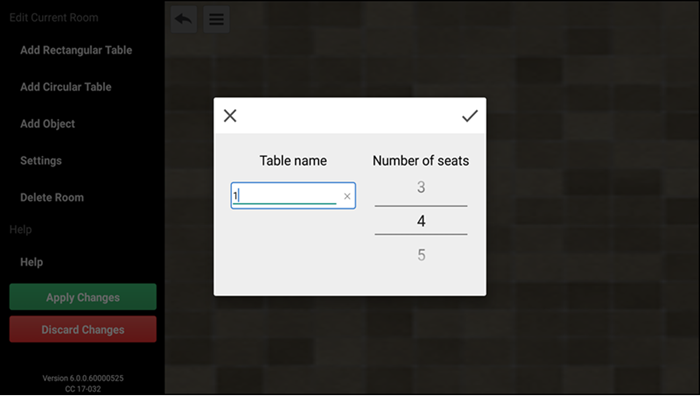
Name the table Select the default number of seats for the table
-
Repeat step 3 for as many tables as you need for the selected room.
-
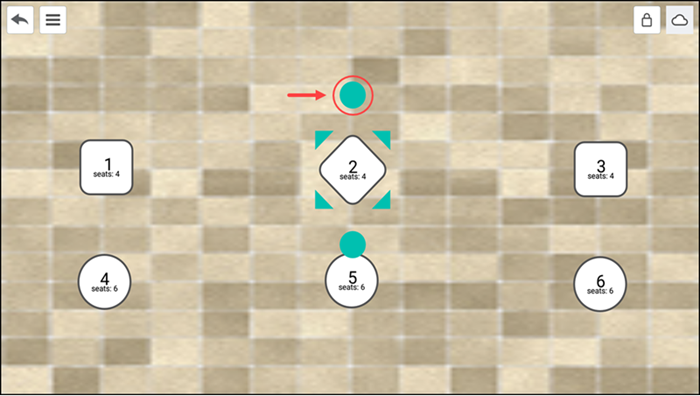
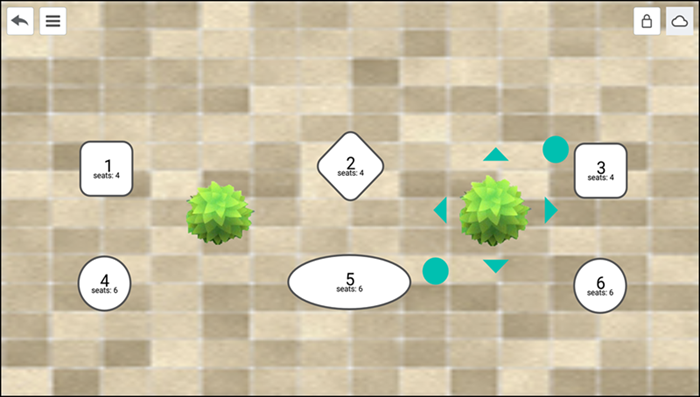
Touch the table and drag it to the desired location in the room to change the placement of a table.
-
To rotate the table, tap the table then touch one of the blue circles and rotate the table in the desired direction.
-
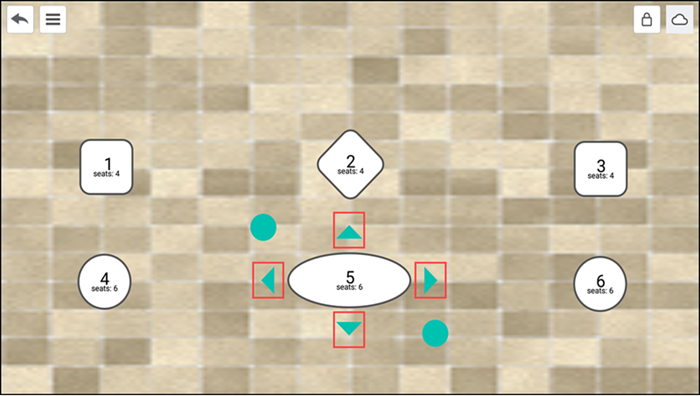
To resize the table, tap the table then touch one of the blue arrows and drag it in a direction to lengthen or shorten the table.<
-
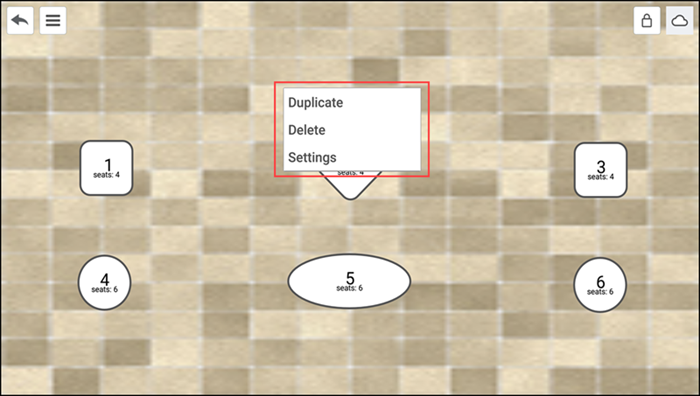
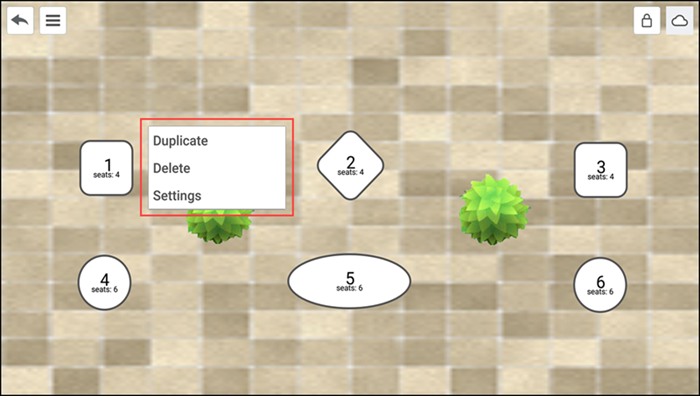
To duplicate a table, press and hold the table and then tap Duplicate.
Note: By default, the system assigns the table the next available table number and assigns four seats to each table.
-
To change the table name or number of seats, press and hold the table and then tap Settings. Make the desired changes then tap the check mark when done.
Scroll to change the number of seats at a table.
A table can have 1-20 seats.
Note: When changing the table name, you can use alphanumeric names, such as ' P1' or ' Patio table 1'.
- To delete a table, press and hold the table and then tap Delete.
- When finished making all changes tap Apply Changes from the slide out menu.
- Tap Apply to confirm changes.
Managing objects in a room
- Log in to the POS.
- Tap a room on the floor plan.
- Tap the menu icon on the top left side of the screen to display a slide out menu.
- Tap Edit Floor Plan.

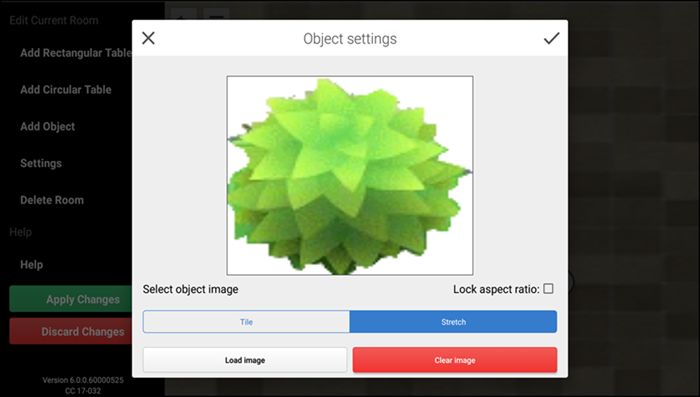
- Under Current Room, tap Add Object to add things, such as a wall or a plant.
- (Optional) To change the object to a different image, press and hold the object, tap Settings, tap Load image, select an image from the device library or from the predefined images, and tap check mark when done.
- (Optional) To modify or delete an object, follow the same instructions as for a table.
- When finished making all changes tap Apply Changes from the slide out menu.
- Tap Apply to confirm changes.
View video
Please allow time for the "Creating a Floor Plan in Aloha Cloud" video to load.