Working with event schedules
Use Menu > Events to establish special pricing during specific times in a day, such as during Happy Hour, or on a specific day of the week, such as every Sunday. First, define when each event is to occur, and then access each of the items subject to the special pricing and designate which events apply to the items and at what price you wish to sell the item during the event time frame.
Adding an event schedule
To add an event schedule:
-
Log in to Back Office using Company View (All Stores).
-
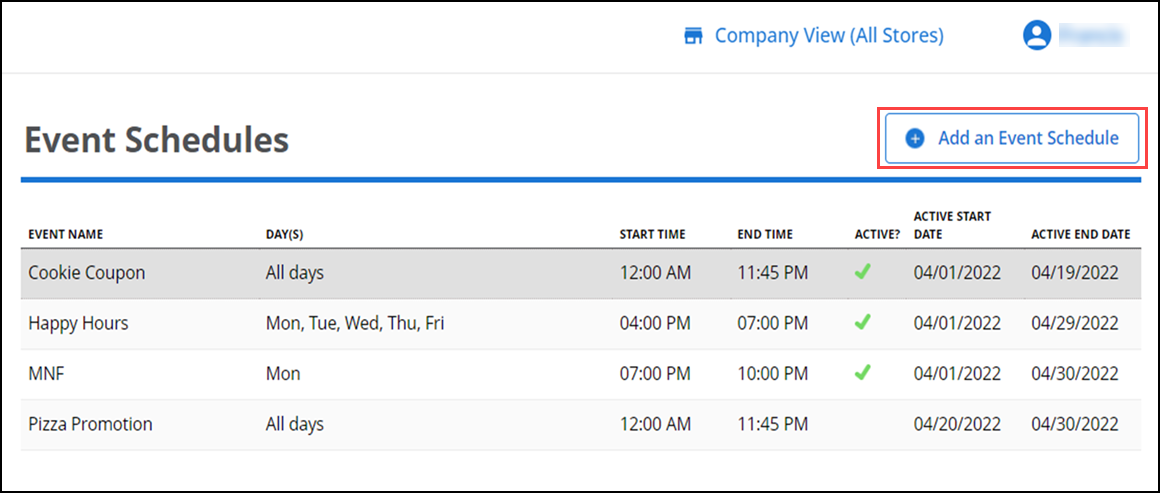
Select Menu > Events. The Event Schedules screen appears.

-
Click Add an Event Schedule.

-
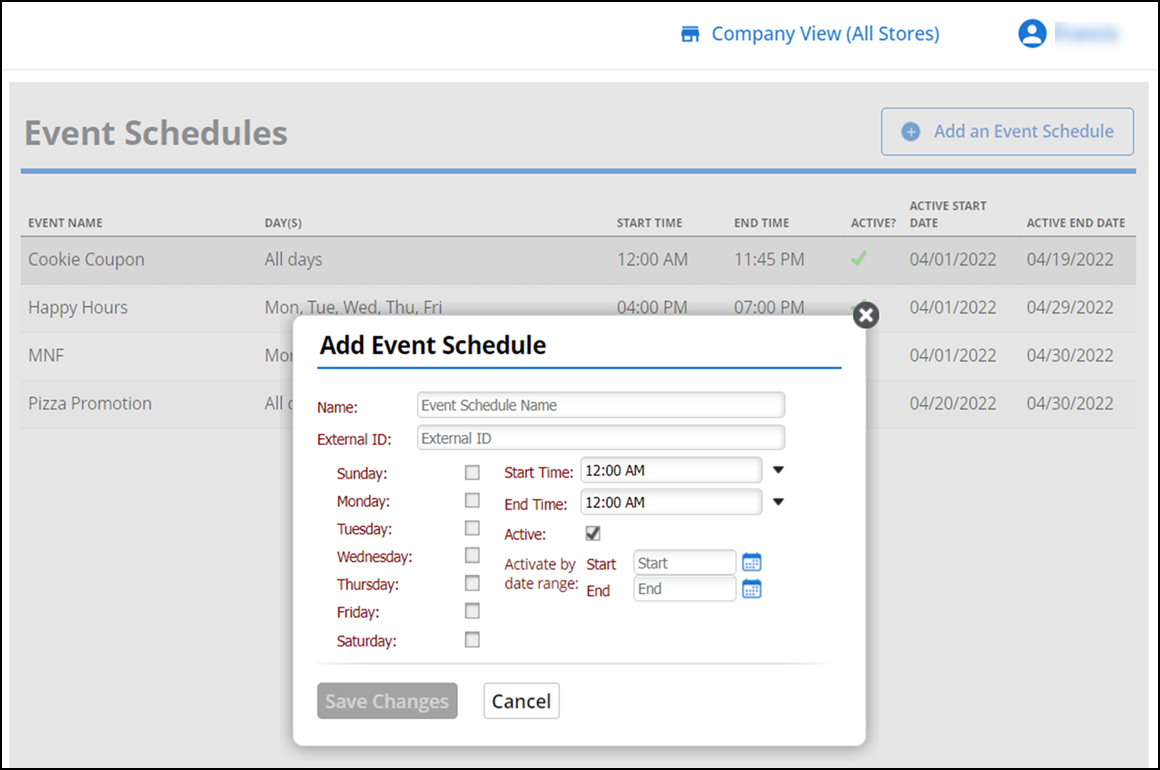
Type a name for the event.
-
(Optional) Enter the External ID.
-
Select the days the event is to occur. Select all days if the event is to occur every day.
-
Select a starting and ending time. You must specify a time even if the event occurs all day.
-
Select Active to enable the event.
-OR-
Select a starting and ending date to activate the event for a specific date range.
Note: When you enable the event according to date range, you cannot select Active, as the event is automatically activated for the selected date range.
-
Click Save Changes.
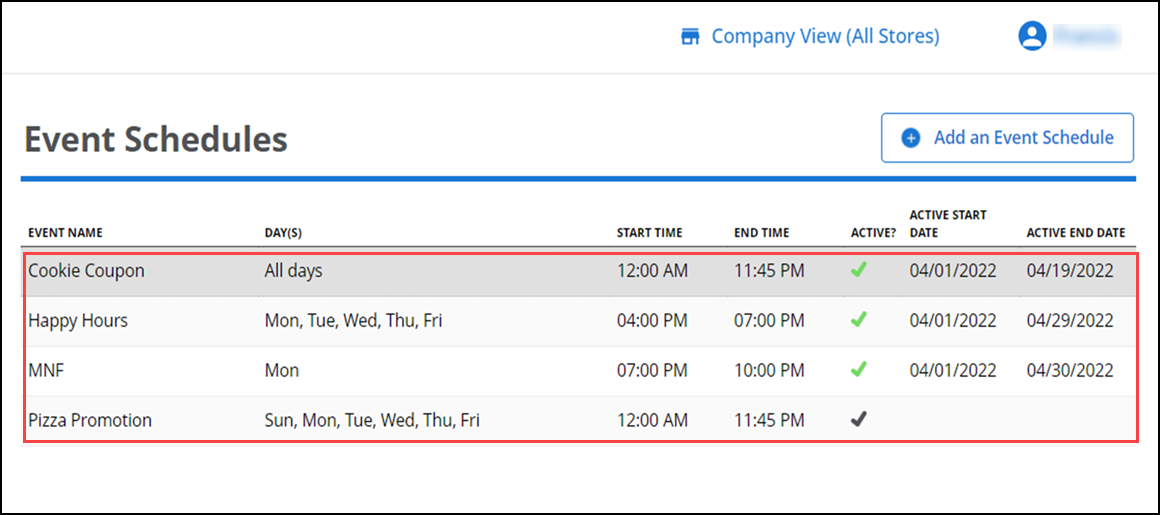
If you specify a date range, the system places a green check mark in the corresponding active column. Active events without a starting and ending date have a black check mark under the corresponding active column.

Once you create an event, assign it to price lists to automatically assign special pricing to specific items during the event time.
For restaurants with multiple stores, manage events at the company level, and assign them to the desired store(s).