Transferring tabs, tables, and seats
You can transfer an order from one table to another, to a tab, from a tab to a table, and a split check to a table or a tab. If you are transferring to an occupied tab or table, then you must own both tabs or tables.
Note: You can transfer tabs, tables and guests only with the active the tabs (with assigned order), if not add a tab and items to it.
This document discusses the following:
- Transferring a tab to a table.
- Transferring a table to a tab.
- Transferring a seat from one table to a new or occupied table.
- Transferring a seat from one tab to a new or existing tab.
- Transferring a split check to another table.
- Taking ownership of a table.
- Adding seats to a table
Transferring a tab to a table
You have started a tab for a couple at the bar and they decide to go ahead and move to a table. You can easily transfer the tab to a table.
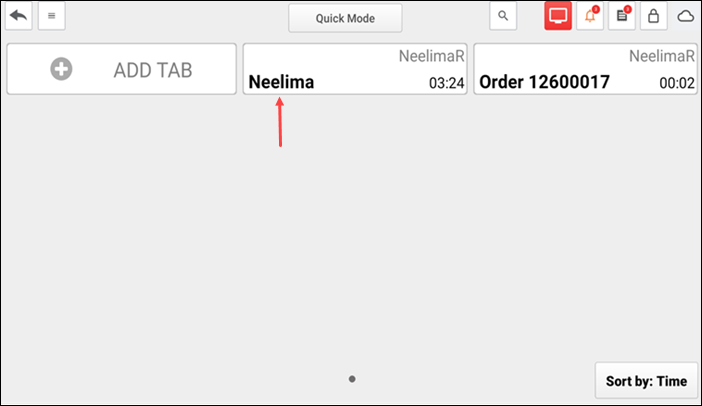
- Access the TABS screen.
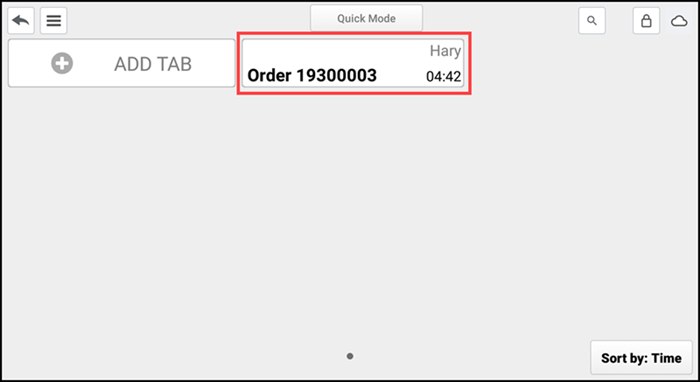
- Long press the tab to transfer.

- Tap Transfer tab from the popup menu. The floor plan screen appears.
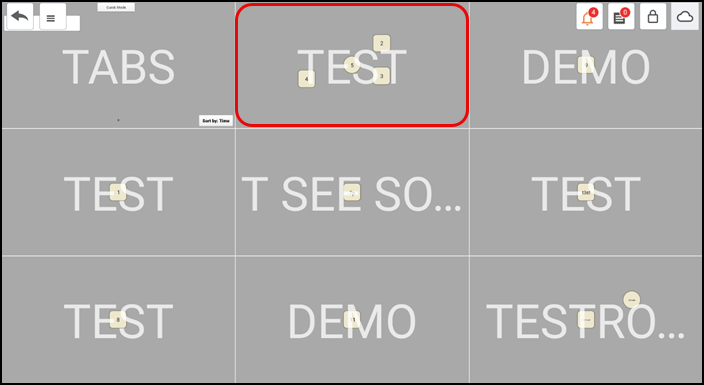
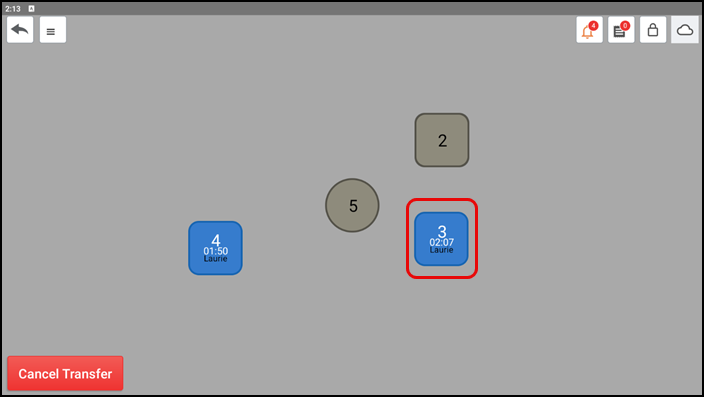
- Tap the desired room. The unoccupied tables begin flashing.
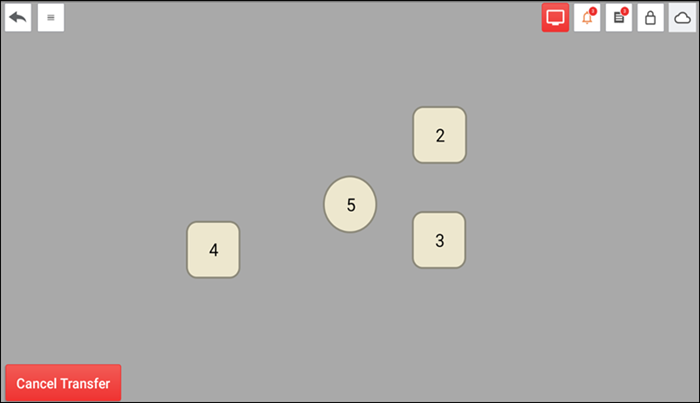
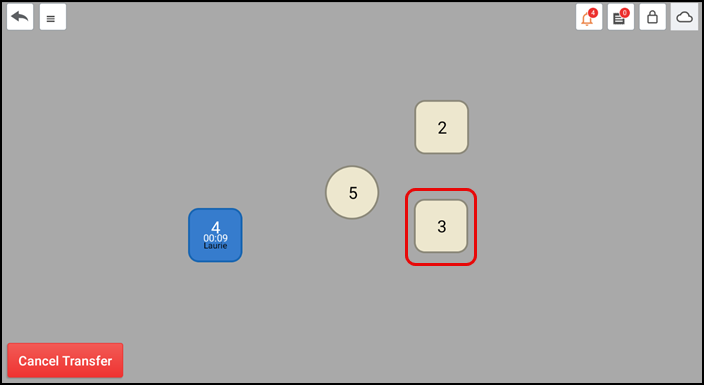
- Tap the table to which to transfer the tab.
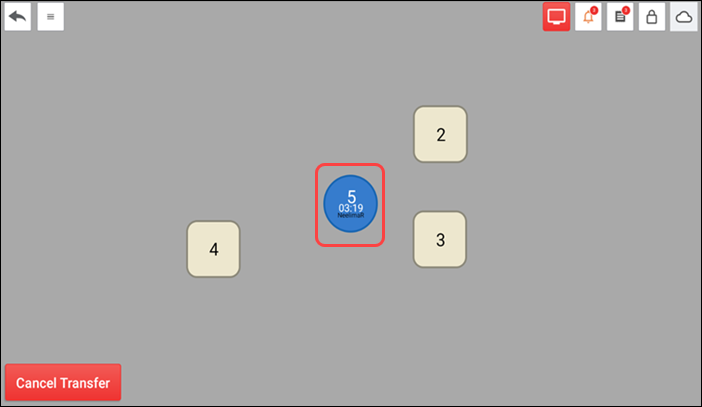
- Tap the table again to view the order and confirm the transfer was successful.
Transferring a table to a tab
You have started a table and they decide to move to the bar. You can easily transfer the table to a tab.
- Access the TABS screen.
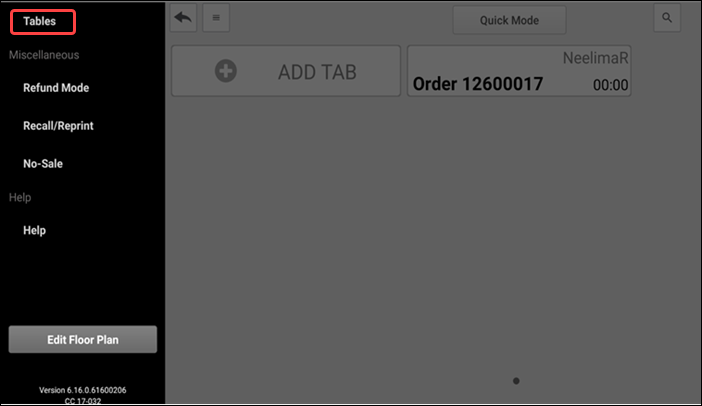
- Tap the menu icon and tap Tables on the slide out menu that appears. The floor plan screen appears.
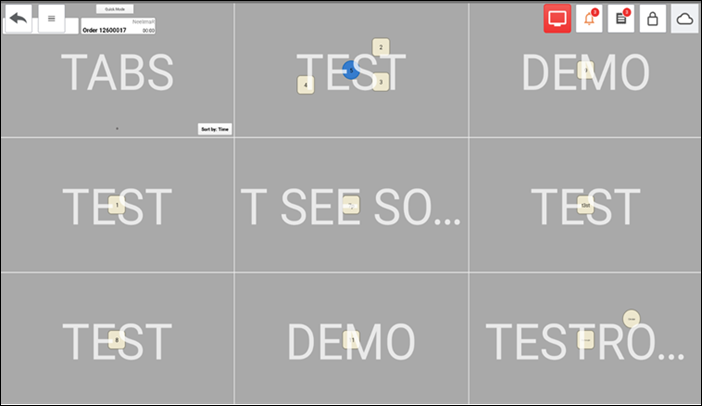
- Tap the floor plan screen.
- Tap the room containing the table to transfer.
- Long press the table to transfer.
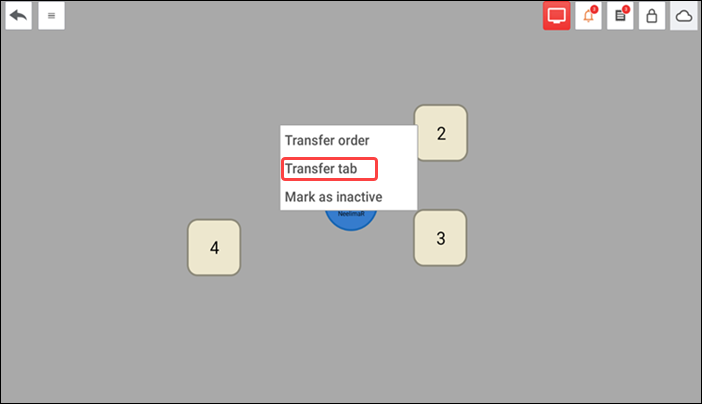
- Tap Transfer tab from the popup menu. The Name Tab screen appears.
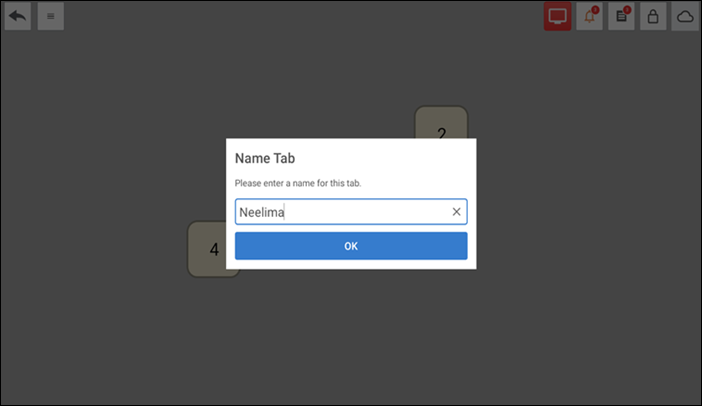
- (Optional) Name the tab.
- Tap OK.
- Tap the menu icon and select Tabs. The order now appears on the TABS screen.
Transferring a seat from one table to a new or occupied table
You have started a table using seating positions. A guest in one seating position decides to move to another table. Transfer the seat to the employee working the station that contains the table.
-
Ensure the guest check for the table with the seat to transfer is active on the order entry screen.

-
Long press the seat number to transfer at the top of the screen and tap Transfer Seat from the popup menu. The floor plan screen appears with the room in which the check resides as the active room.
-
If the table is in the same room, tap the table to which to transfer the seat. You can then click the new table to confirm the seat transferred to the new table.
-OR-
-
If the table is in another room, tap the menu icon, tap Tabs, and then tap Tables to return to the floor plan screen.
-
Tap the floor plan screen.
-
Tap the room containing the table to which you are transferring the seat.
-
Tap the table to which to transfer the seat.
-
Tap the table again to confirm the seat now appears on that table.
Transferring a seat from one tab to a new or existing tab
You have started a tab using seating positions. A guest in one seating position decides to separate his seat from the tab and start a new tab.
-
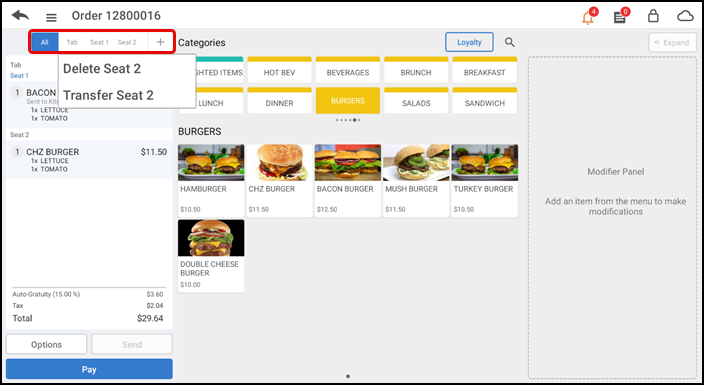
Ensure the tab with the seat to transfer is active on the order entry screen.
-
Long press the seat number to transfer at the top of the screen and tap Transfer Seat from the popup menu. The floor plan screen appears.
-
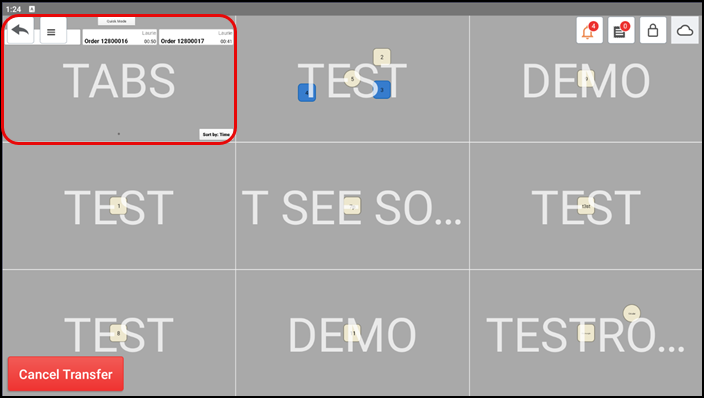
Tap the room labeled TABS to return to the TABS screen.
-
Tap the tab to which to transfer the seat and continue to the last step.
Tip: If you attempt to transfer the seat to the original order, an error message appears. Click OK and start over.
-OR-
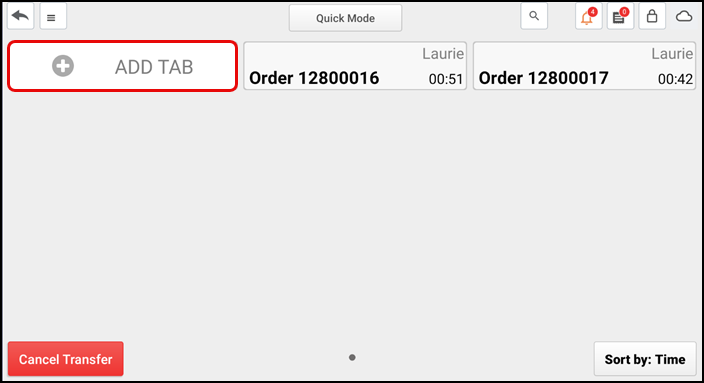
Tap ADD TAB to add the seat to a new tab. A Name Tab screen appears.
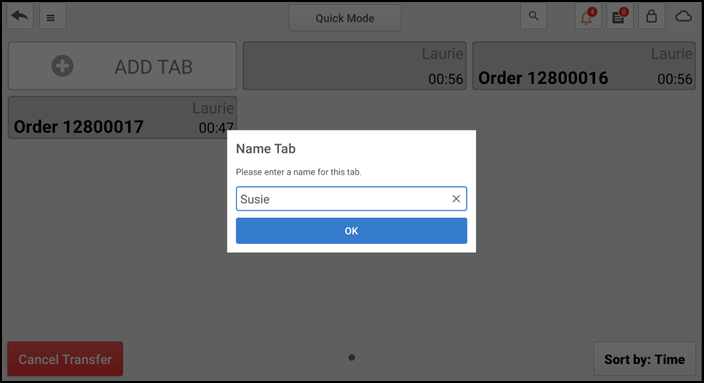
-
Type a name for the new tab and tap OK. The new tab appears on the TABS screen.
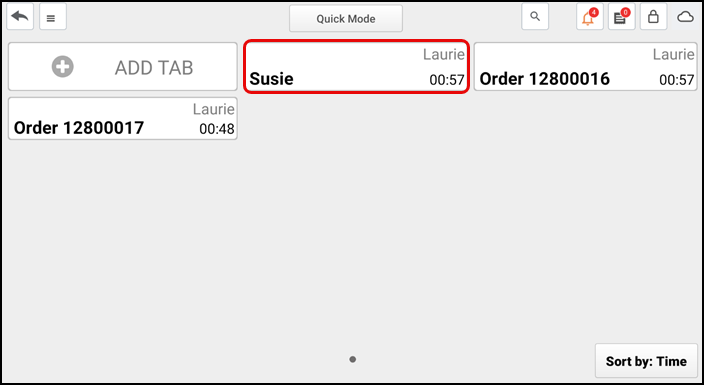
Note: If you do not name the new tab, it appears on the TABS screen without a name or order number.
-
Tap the new tab to confirm the seat transferred to the new tab.
Transfering a split check to another table
After splitting a check for a table, one party decides to join another table. You can transfer the open ticket to another table.
-
Ensure the guest check wtih split checks is active on the order entry screen.
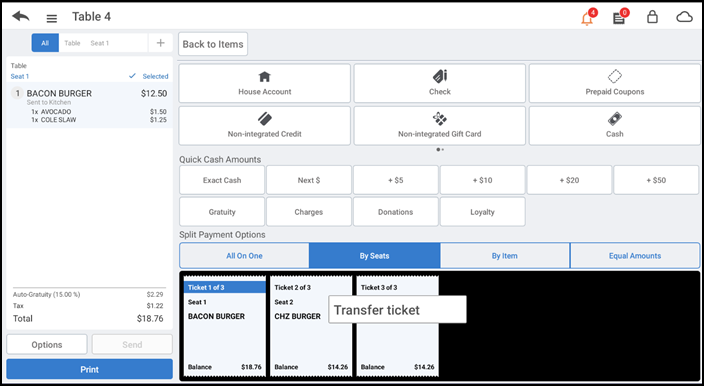
-
Long press the split check to transfer and tap Transfer ticket. The floor plan screen appears with the room in which the split check currently resides as the active room.
-
If the table is in the same room, tap the table to which to transfer the split check. You can then click the new table to confirm the split check transferred to the new table.
-OR-
If the table is in another room, tap the menu icon, tap Tabs, and then tap Tables to return to the floor plan screen.
-
Tap the floor plan screen.
-
Tap the room containing the table to which you are transferring the split check.
-
Tap the table to which to transfer the split check.
-
Tap the table again to confirm the split check now appears on that table.
-
Tap the back arrow. The Name Order screen appears.
-
Tap Save.
-
Tap the new table to confirm the split check transferred successfully.
Taking ownership of a table
You can take ownership of a table you do not own, and another employee can take ownership of a table currently owned by you. When you take ownership of a table, you assume financial responsibility for the table.
-
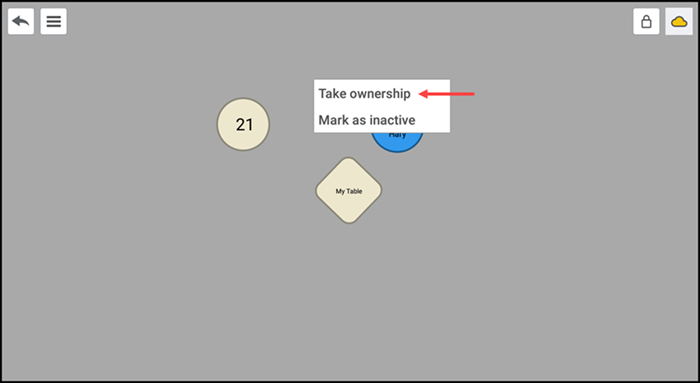
Long press a table you do not own to display a popup menu.
-
Tap Take ownership. You now own the table.
-OR-
If you do not have sufficient permission to take ownership of a table, the 'Manager Approval Needed' screen appears. It is necessary for you to obtain manager approval.
Adding seats to a table
You can add additional seats to a guest check. For example, if a party of five is sat at a four-top table, add one more seat for the fifth guest.
- Ensure the guest check for which to add additional seats is active on the order entry screen.
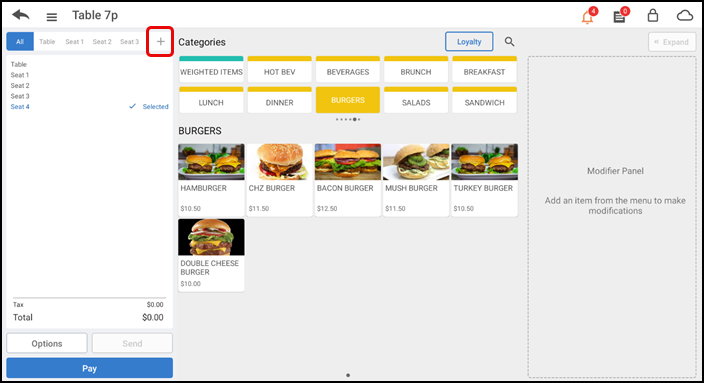
- Tap the + icon in the top right corner of the order ticket window for each seat to add to the table.
- Tap the first seat and add items to the guest check, as normal.
View video
Please allow time for the "Transferring a ticket in Aloha Cloud" video to load.