Working with tables and tags
This feature allows you to assign a table or custom tag to each ticket. If you choose to use the tag option, you can create your own custom label that fits your business needs. For example, you can use Invoice #, Claim #, or Work Order. With either option, you also have the ability to pre-configure values that you use often, as well as to create temporary values for each ticket.
Turning on Table/Tag Assignment
This setting is off by default, but if you want to use or enable this feature:
- Log in to the POS.
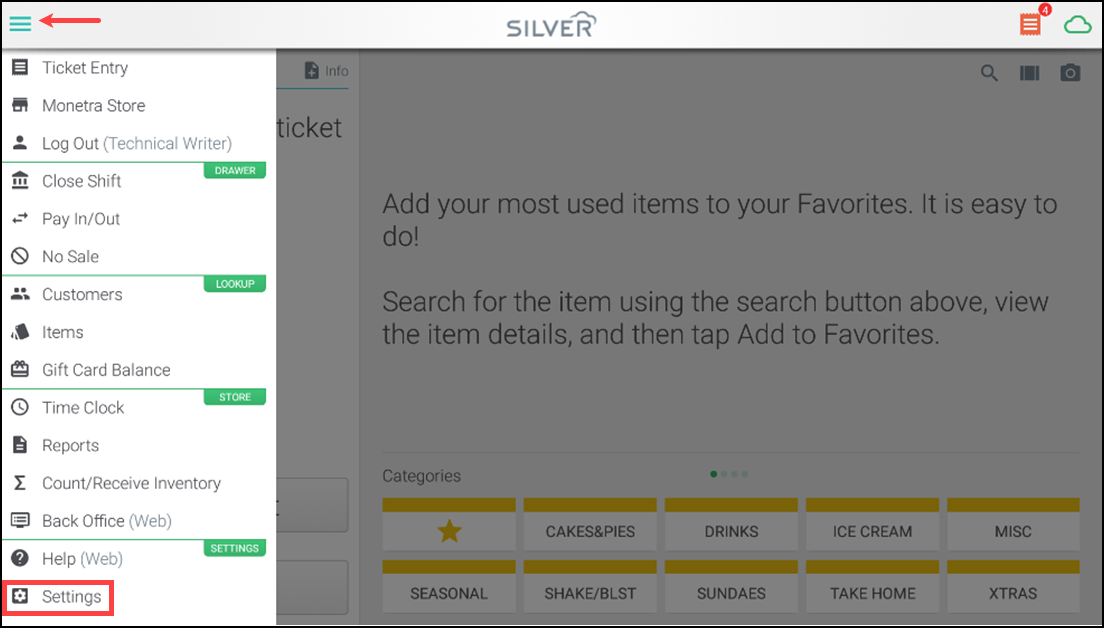
- Open the hamburger menu icon and tap Settings.
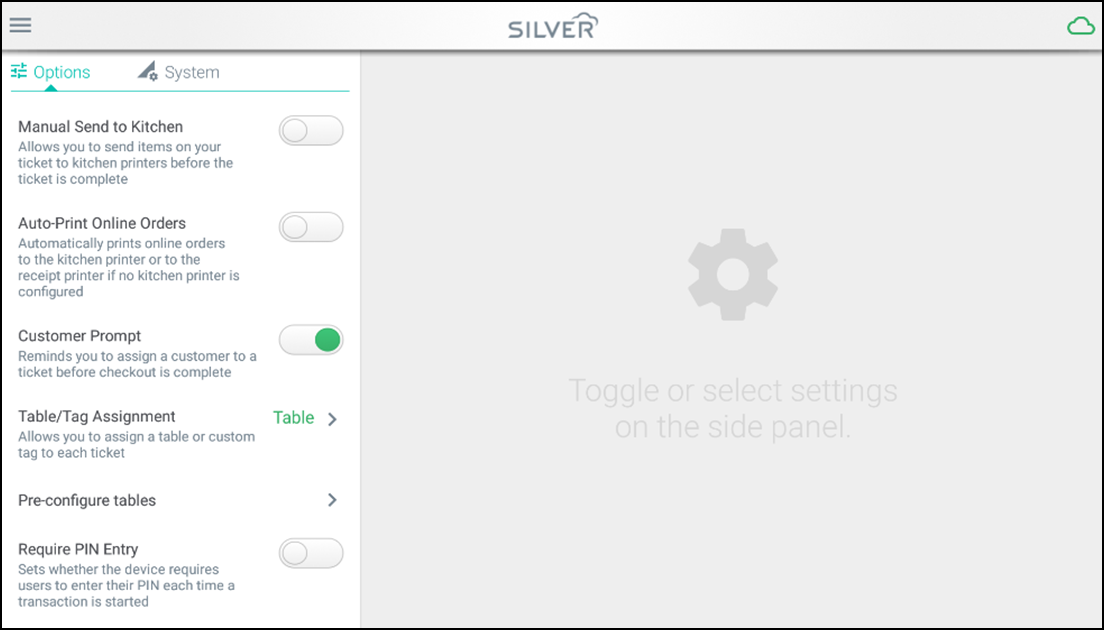
- Scroll down and tap the Table/Tag Assignment section.
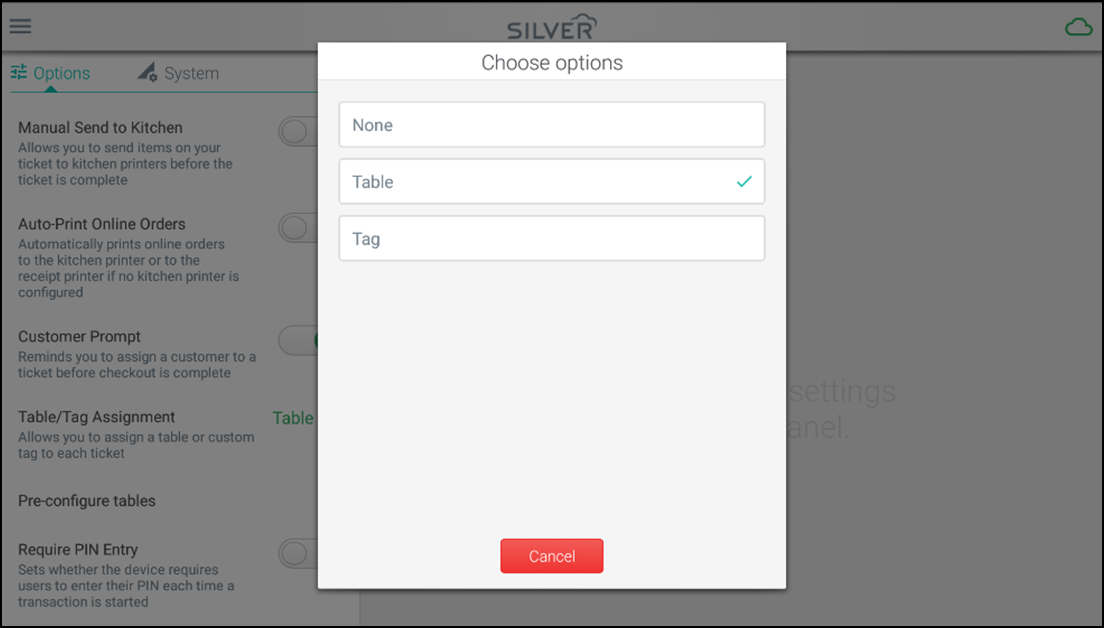
- Do one of the following:
- Tap None to not use this feature.
- Tap Table to set up tables.
- Tap Tag to create your own tag/label.
- Tap Cancel to go back to the ticket entry screen.
After you turned this function on, there are a few different ways to assign table/tags to a ticket:
- Log in to the POS. The ticket entry screen appears.
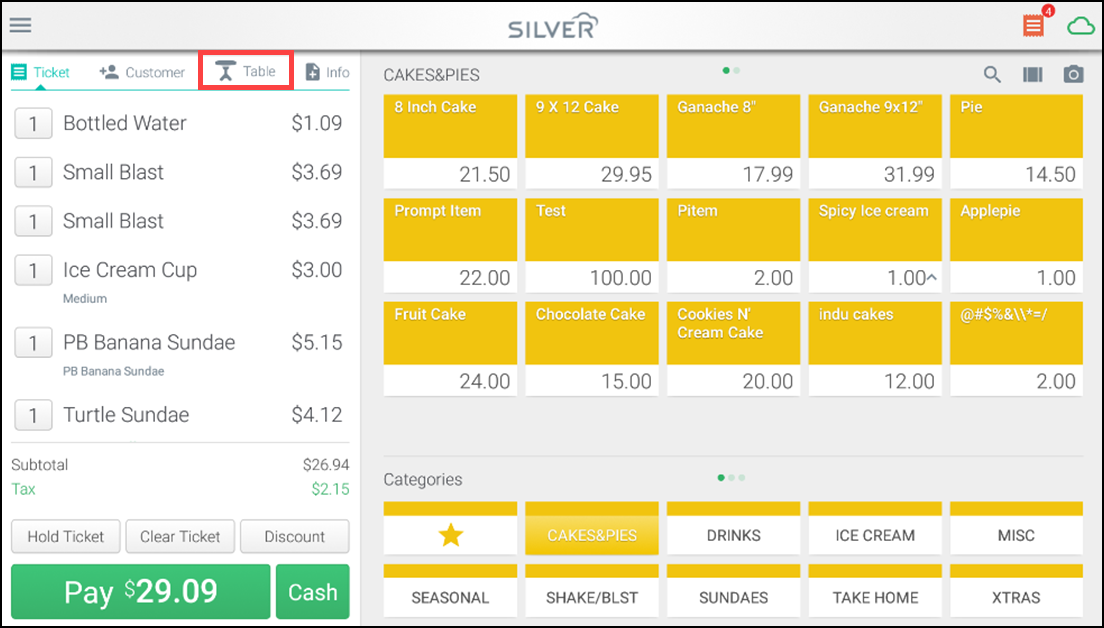
- Tap the Table or Tag tab.
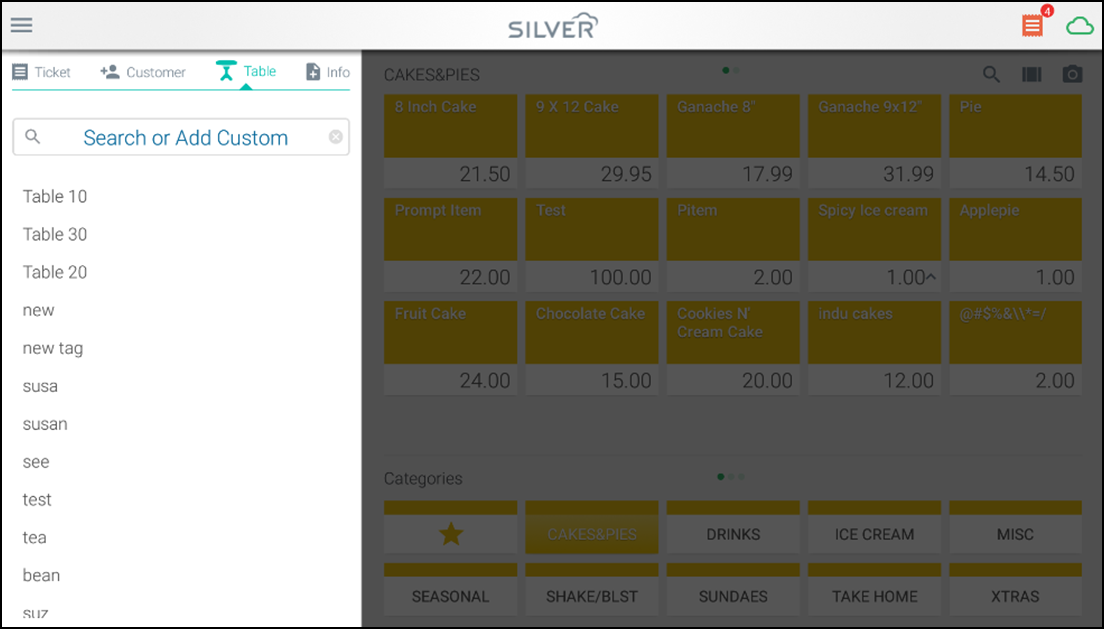
- Select from the list of pre-configured options, or type a custom option to be used for this single transaction.
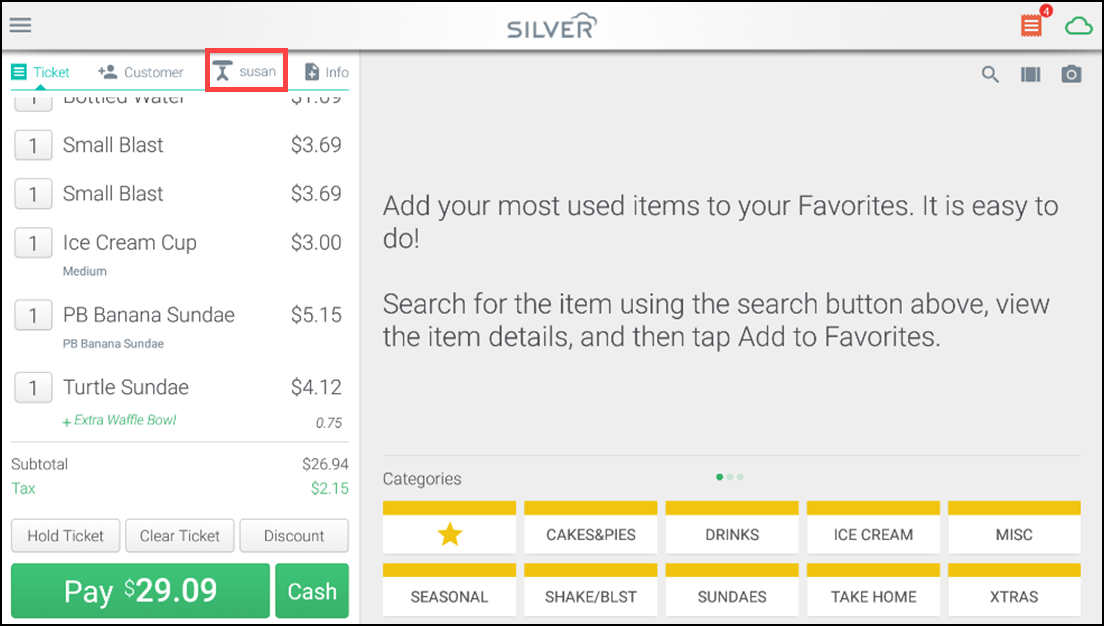
Once you select your table or tag, you are returned to the ticket screen. The option you selected appears in place of the table/tag tab.
Important: Remember, what you type for the table assignment appears on the customer receipt. Be careful to remain polite and professional when setting up your tables and assigning temporary table names to tickets.
Looking for resources or help with Silver? Click here.