Working with categories in the POS
By grouping your merchandise into categories, you can put similar inventory items together. For example, if you sell sporting goods, you might define a category for each sport, such as golf, tennis, basketball, etc. If you own a book store, you can group items by type, such as hard cover, soft cover, large print, etc.
Grouping items into categories makes finding items in the POS much easier. Also, the reports in Back Office use item categories to consolidate key sales information. For example, you can track profits by how well each category is selling.
If you are having trouble deciding what categories to use, start by creating very broad categories. You can always change them or add more specific categories later.
This document discusses the following:
Adding a new category
A POS user must be assigned to a user role with permission to access the category/item management feature to add a new category in the POS app.
To add a new category in the POS:
- Log in to the POS. The ticket entry screen appears.
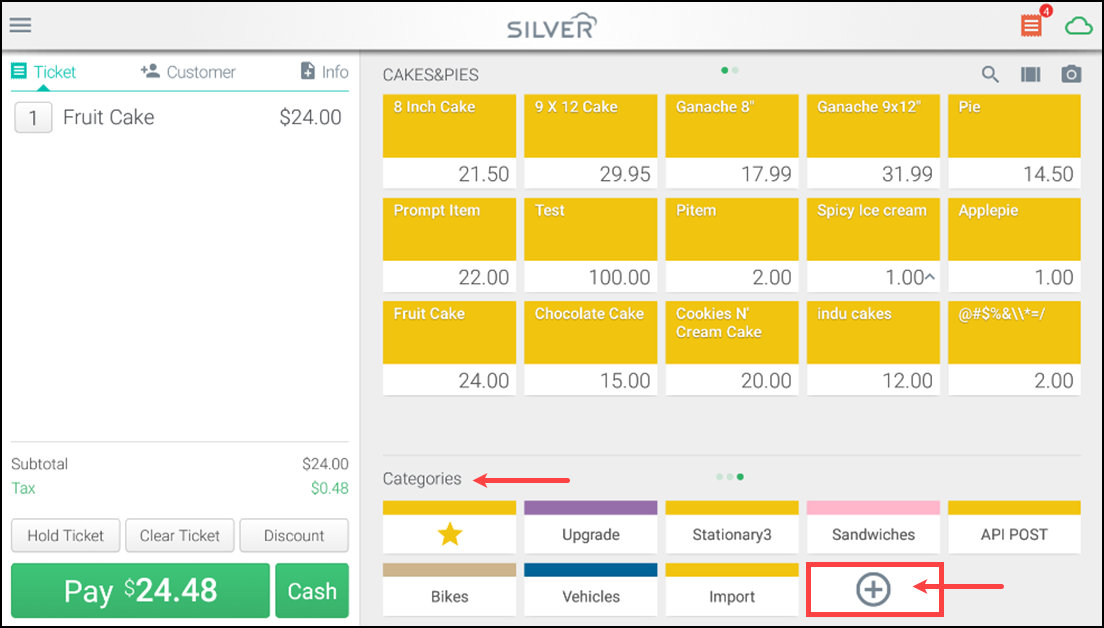
- Scroll to the last page/screen of categories (using the small "dots") at the bottom of the screen.
- Tap the plus icon to add a new category in the POS. The New Category screen appears.
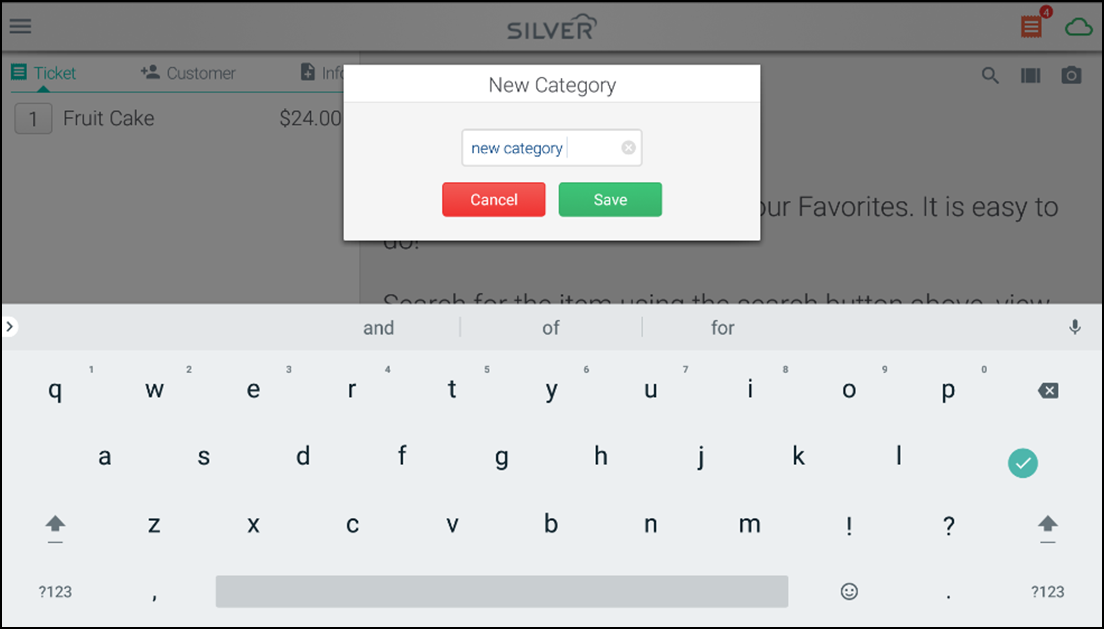
- Enter a name up to 20 characters for the new category.
- Tap Save.
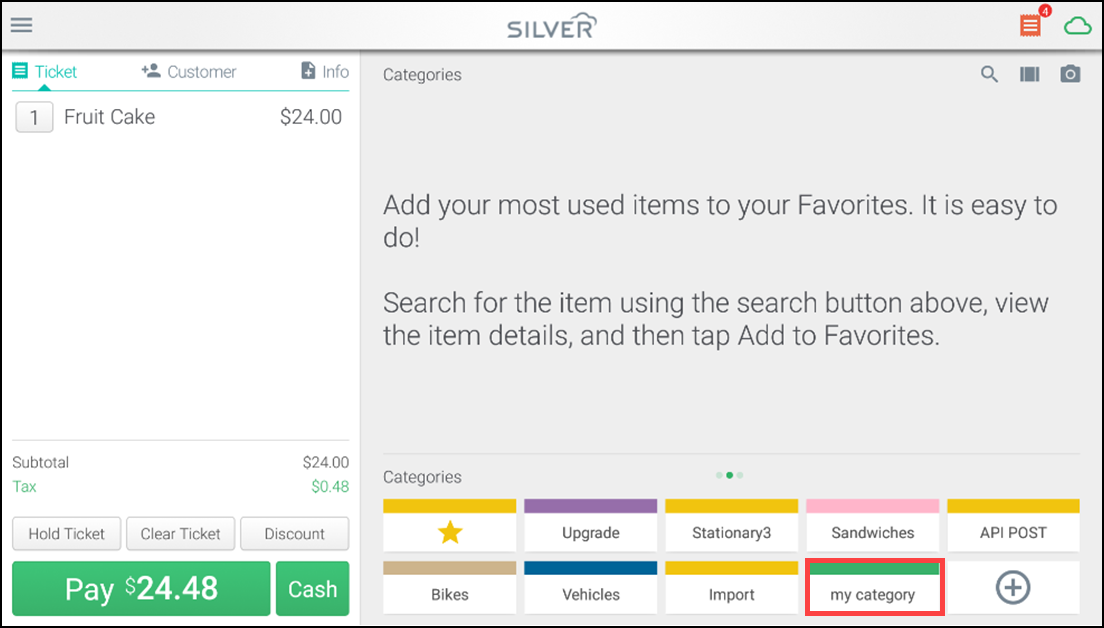
Note: The system automatically assigns a color to the new category. You can change the color in Back Office.
Hiding empty categories
You can only hide categories that have no assigned items. You can adjust item assignment in Back Office using company view or the individual store view. If you are in a multi-store that sells different items in different locations, you can unassign any items from the POS and hide the empty category buttons. For more information, refer to Working with items.
Note: You must be a multi-store environment to hide empty categories. The option is device specific and must be enabled for each device.
To hide empty categories in the POS:
- Log in to the POS.
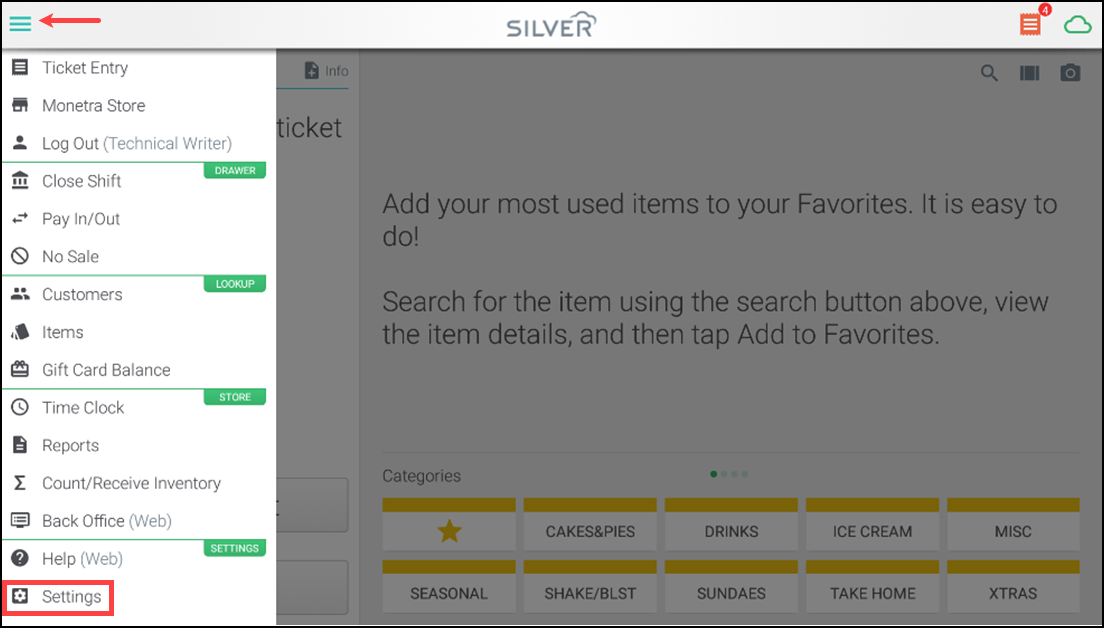
- Open the hamburger menu icon and tap Settings located at the bottom of the screen.
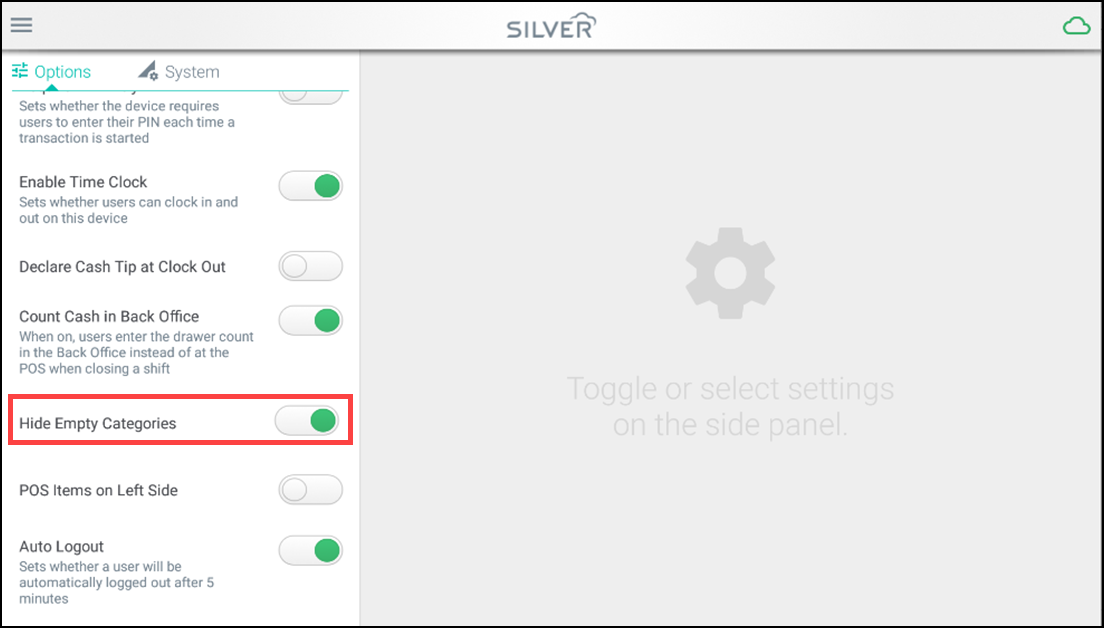
- Scroll down and tap Hide Empty Categories so that the button turns green (on). The empty categories no longer appear.
Looking for resources or help with Silver? Click here.