Using get check
The get check feature allows an employee to access and make changes to a check owned by another employee. This allows the employees and managers to assist each other while leaving the financial ownership with the current employee who owns the check.
This functionality requires enabling two user role permissions: 'Modify Team Checks' and 'Return Financial Ownership' in Back Office. For more information, refer to Defining user roles and Understanding POS levels of access.
To access a check owned by another employee:
-
Log in to the POS as Server 1 (first user role).
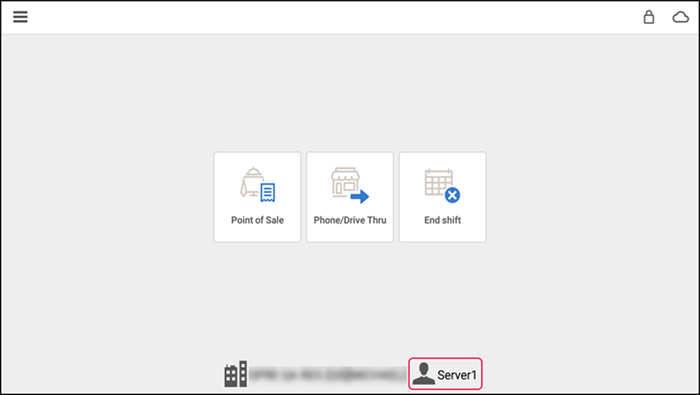
-
Tap Point of Sale and start a new shift.
-
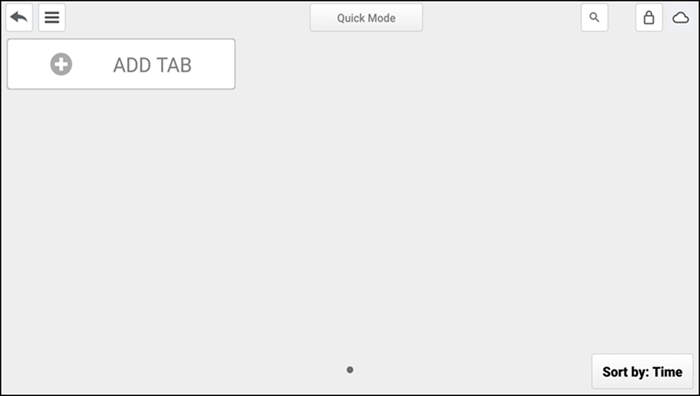
Start a guest check.
-
Add items to the guest check.
-
Tap the back arrow and save the order.
-
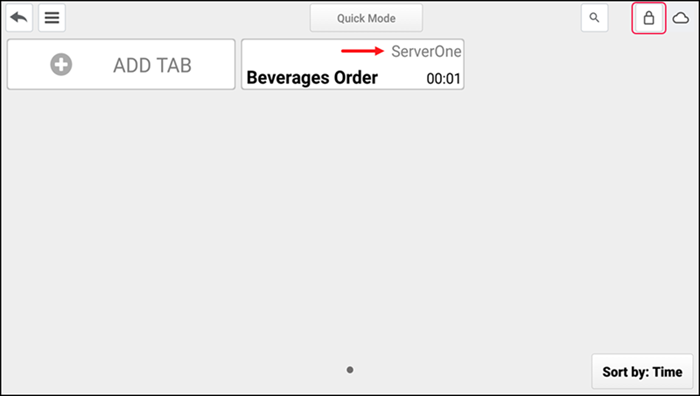
Tap the lock icon at the right corner of the screen to log out.
-
Log in to POS as Server 2 (second user role).

-
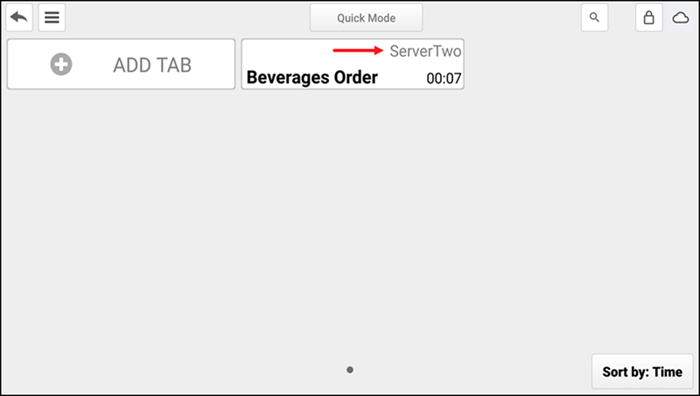
Tap Point of Sale and start a new shift. The TABS screen appears. The point of sale shows the previously created order and Server 1 as the current owner of that order.
-
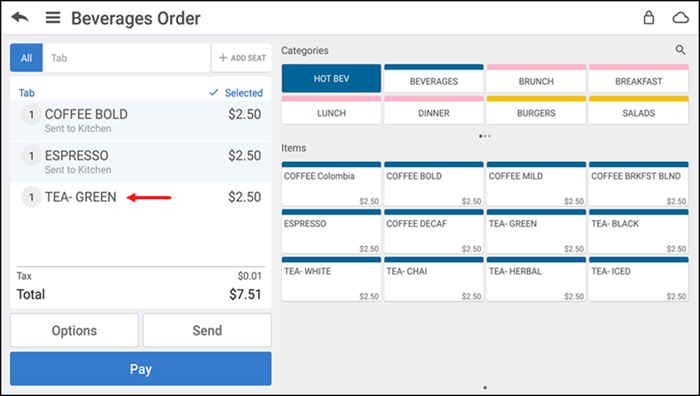
Tap and open the order. The order entry screen appears.
-
Add item to the guest check.
-
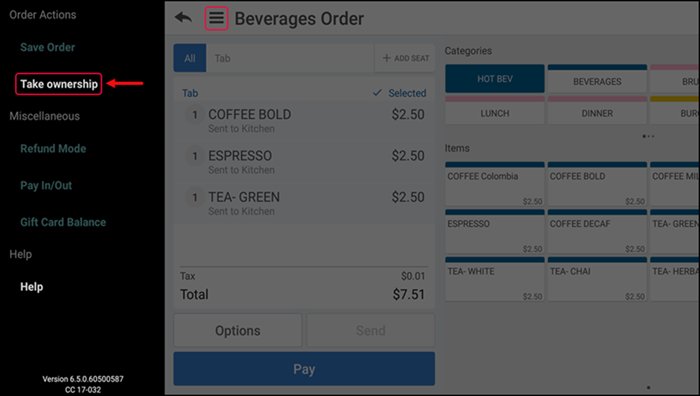
Tap the menu icon at the top of the screen.
-
Tap Take ownership.
-
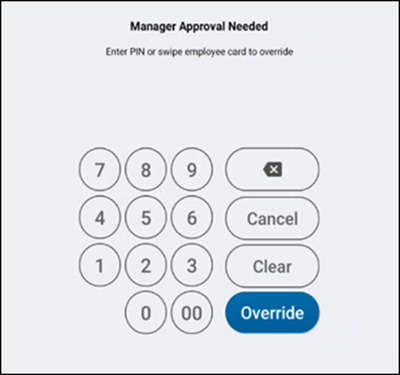
If you do not have sufficient permissions to take ownership, the 'Manager Approval Needed' screen appears. It is necessary for you to obtain manager approval.
-
Ask an employee with adequate permission to authorize the operation.
-
An employee with adequate permissions enters their PIN and taps Override to continue with the operation.
-OR-
Tap Cancel to close the Manager Approval Needed screen. The tab view screen appears. Server 2 now has ownership of the order.
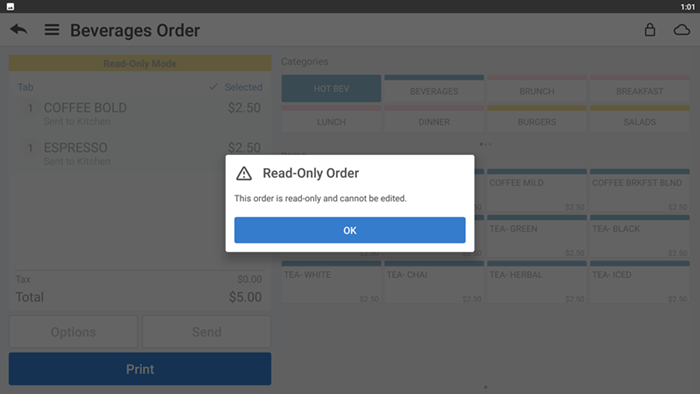
Scenario 1: When Modify Team Checks user role is disabled
When the Modify Team Checks user role is disabled, you are able to see a lock icon on the order tab.
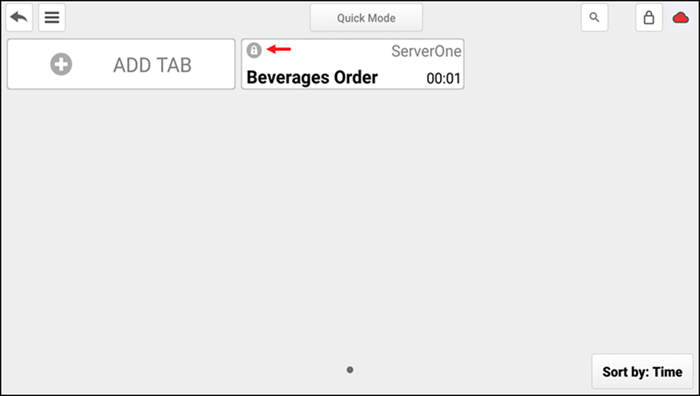
The lock icon appears on orders which are owned by another user. The lock icon indicates that the order is in read only mode and you are unable to edit the guest check. This requires Supervisor permission to edit the check.
Scenario 2: When Return Financial Ownership user role is disabled
When the Return Financial Ownership user role is disabled, the financial ownership gets transferred automatically to the user who has last modified the order.
Scenario 3: When Return Financial Ownership user role is enabled
When the Return Financial Ownership user role is enabled, the financial ownership remains with the current owner, though another user modifies the order.
Note: It is an automatic function that retains the financial ownership of the current owner, provided the current logged-in user also has enabled the Return Finanacial Ownership user role.