Applying loyalty rewards
Based on the Back Office configuration, a customer can use the built-in loyalty program (Native Loyalty) or a third-party loyalty program for their POS orders.
- Native loyalty: Loyalty rewards are visible while assigning the customer to the order, hence, rewards are redeemed based on customer eligibility.
- Third party loyalty (customized): A loyalty button on POS is used to fetch the rewards assigned to the customer by providing the phone number/barcode etc. that is associated to the respective customer, allowing reward redemption while applying payment.
This document discusses the following:
Applying loyalty rewards
The Aloha Cloud POS system provides the ability to enroll, assign, and allow customers to earn and claim loyalty rewards. The customer can earn the rewards through their loyalty program participation. The redemption process deducts the correct number of points or applies the appropriate rewards. Using the 'Loyalty' option in the POS you can apply the loyalty to an item/modifier and appears as a line item on the guest check. Aloha POS fetches the rewards assigned to the customer using several methods: Phone number, barcode, or by sliding the card through a mag reader. The earned loyalty is redeemed during the payment process.
To apply loyalty reward:
-
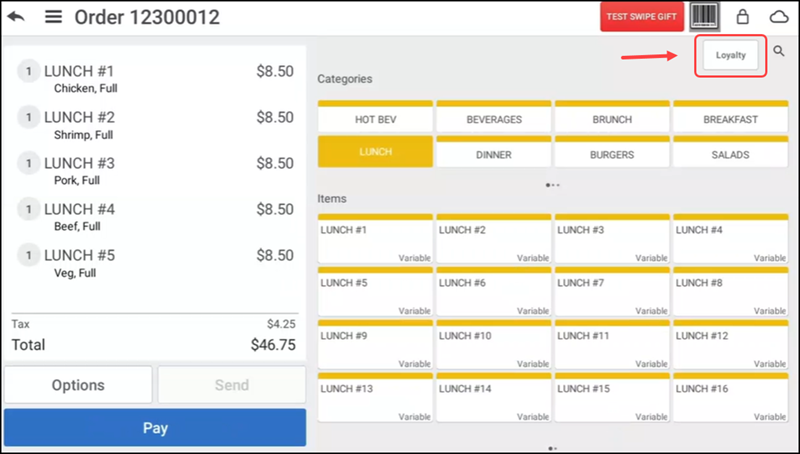
Ensure the guest check to which to add loyalty rewards is active on the order entry screen.
-
Tap Loyalty in the top right corner of the order entry screen. The Loyalty screen appears.

Enter the customer phone number and continue to Viewing loyalty rewards by using customer phone number
-OR-
Scan a barcode and continue to Viewing loyalty rewards by using barcode scanner
-OR-
Slide the card to view loyalty rewards and continue to Viewing loyalty rewards by swiping the customer loyalty card
Viewing loyalty rewards using customer phone number
You can view loyalty rewards assigned to a customer by entering the respective customer phone number.
- Tap the Customer option.
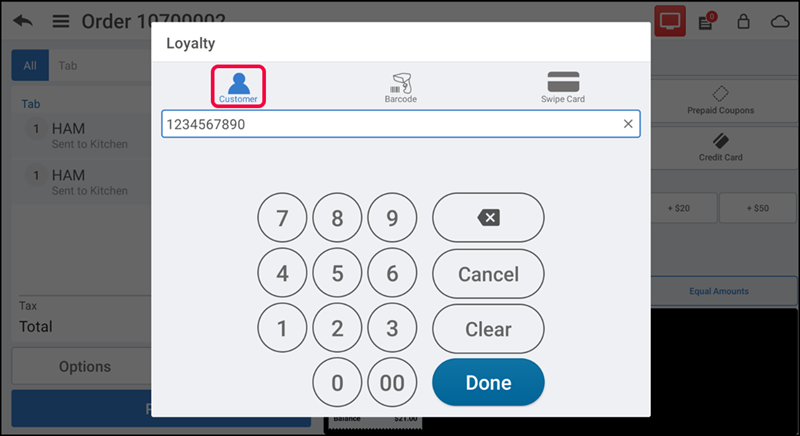
- Type the customer phone number and tap Done. The Loyalty Rewards tab along with the assigned loyalty rewards appear by default.
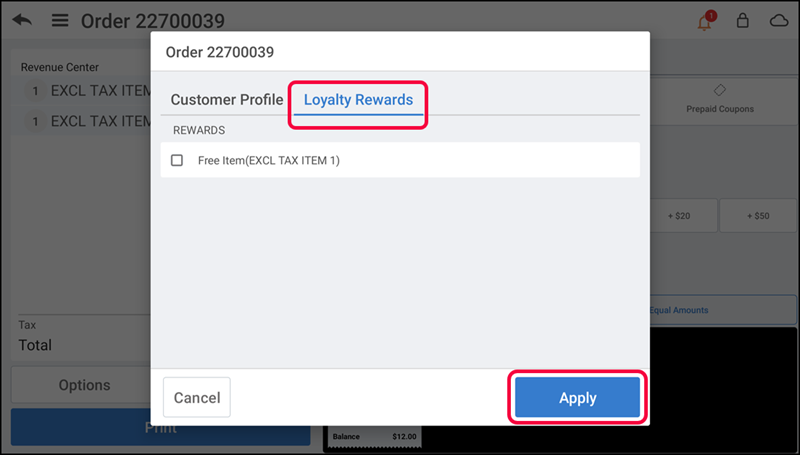
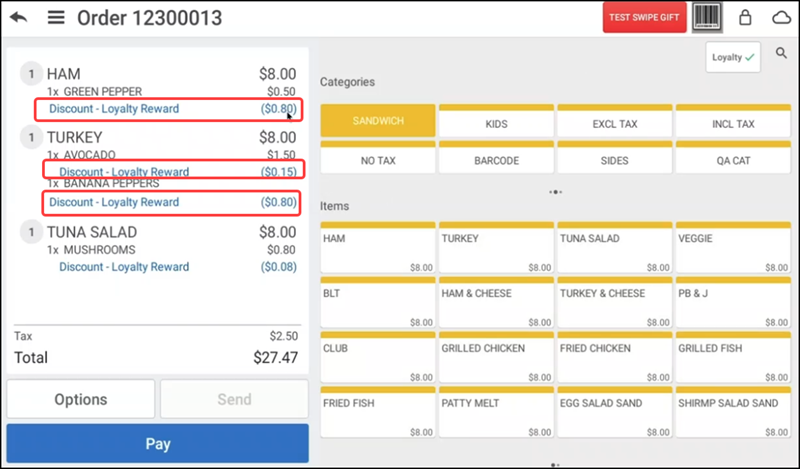
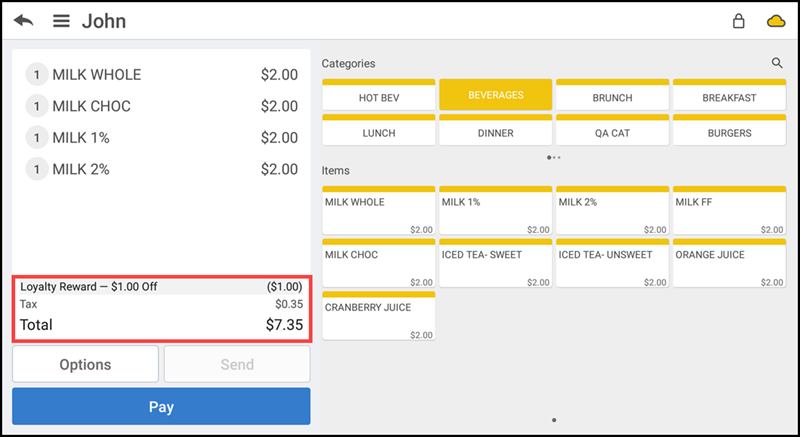
- Select the desired loyalty rewards to apply to the guest check and tap Apply to redeem the loyalty reward. The system applies the loyalty discount to each item/modifier and appears as a line item under the respective item/modifier on the guest check.
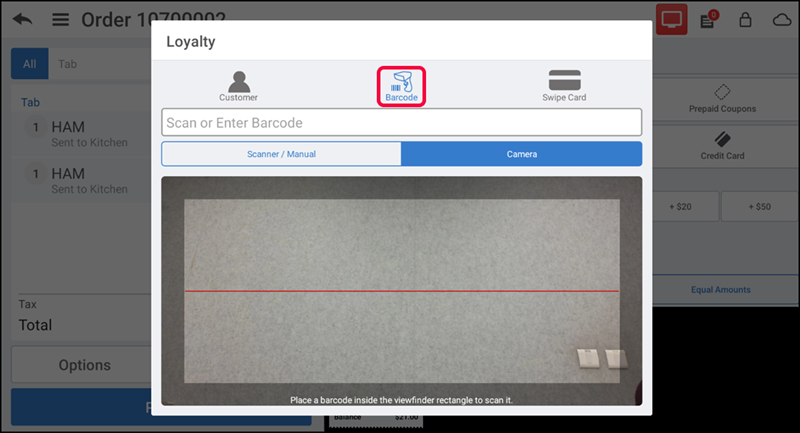
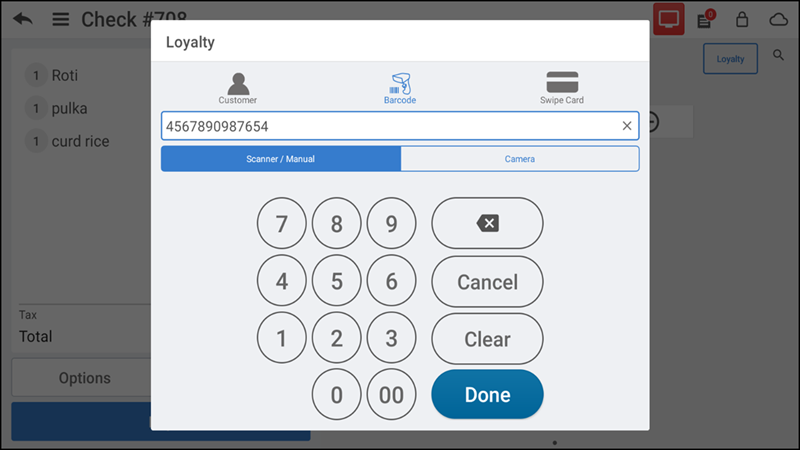
Viewing loyalty rewards by using barcode scanner
You can view loyalty rewards assigned to a customer by scanning the barcode.
-
Tap the Barcode option to display the barcode entry screen.
-
Scan or enter the barcode or enter the loyalty card number as shown below.
The Loyalty Rewards tab along with the assigned loyalty rewards appear by default.
-
Select the desired loyalty rewards.
-
Tap Apply to redeem the loyalty reward. The system applies the loyalty discount to each item/modifier, which appears as a line item under the respective item/modifier on the guest check.
Viewing loyalty rewards by swiping the customer loyalty card
You can view loyalty rewards assigned to a customer by sliding the physical loyalty card.
-
Tap the Swipe Card option to display the following screen.
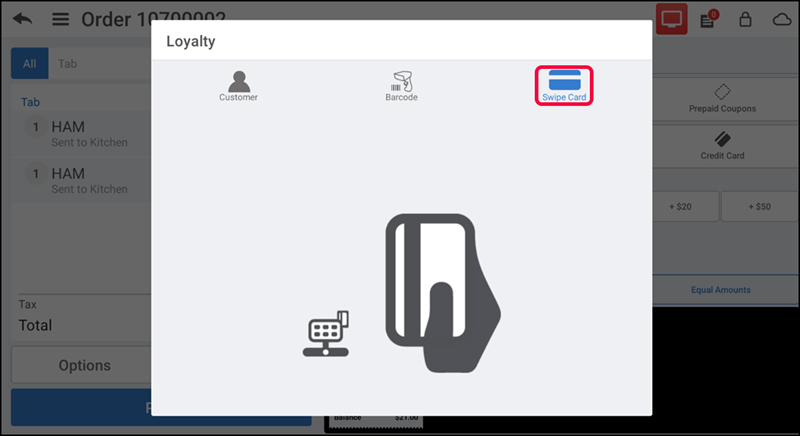
-
Slide the loyalty card through the magnetic card reader. The Loyalty Rewards tab with the assigned loyalty rewards appears by default.
-
Select the desired loyalty rewards.
-
Tap Apply to redeem the loyalty reward. The system applies the loyalty discount to each item/modifier. The reward appears as a line item under the respective modifier on the guest check.
Tip: You are allowed to select multiple rewards to apply to a single transaction, if the guest wishes to do so.
Note: Loyalty supports different types of rewards, such as BOGO and Cashback, for a single transaction.
Viewing loyalty reward status
Once you assign a customer to a guest check, it is possible to determine if they have any rewards available. If the customer does not have any available rewards, you can still tap the customer name to view their loyalty status.
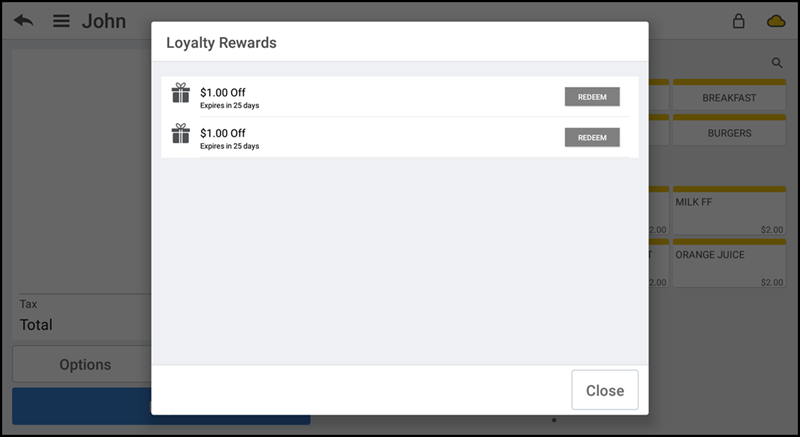
To redeem a reward, tap the Redeem button. The system applies the Loyalty discount to the ticket, as shown below.
Complete the payment process. The reward status of the customer appears on their receipt (printed and or emailed). When paying with credit card, some additional loyalty features are available to the customer. To take advantage of these, make sure you have digital signature capture turned on and the customer does not select the Email Receipt option on the signature screen. When these conditions are met, when you present the POS device for the customer to sign on the screen, they sign and tap Accept. The below screen appears.
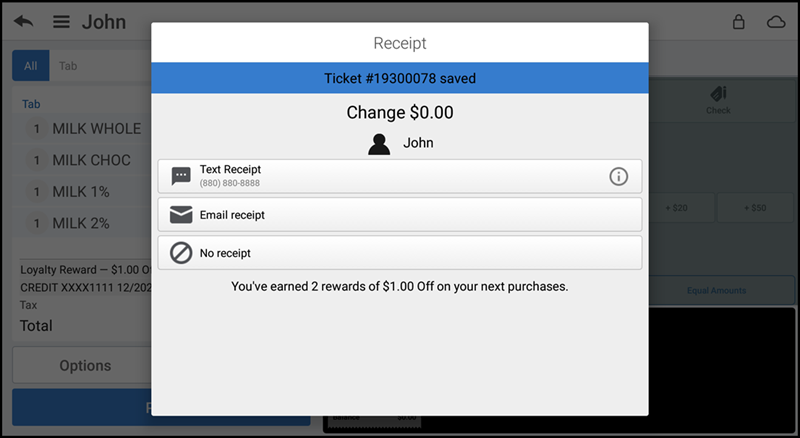
The customer can view their loyalty reward status and select their receipt option — None, Print, or email.
Tracking loyalty program rewards
-
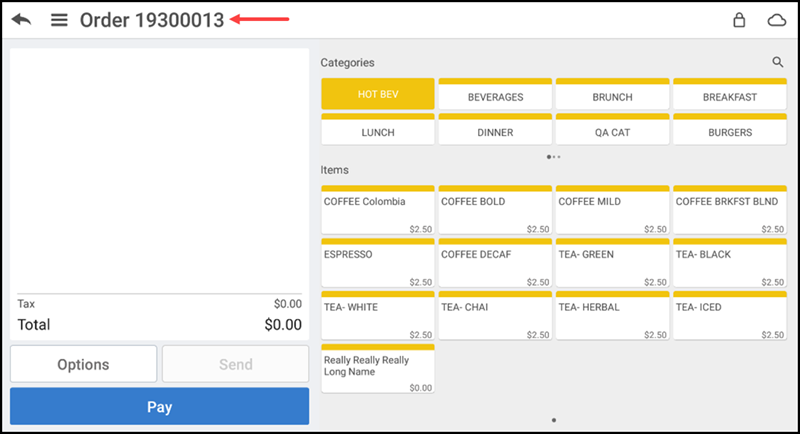
Ensure a guest check is active on the order entry screen.
-
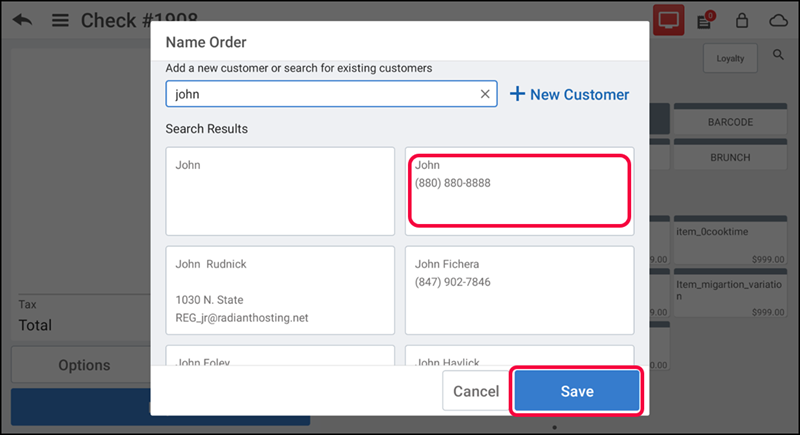
Tap the order name. The Customer Profile screen appears.
-
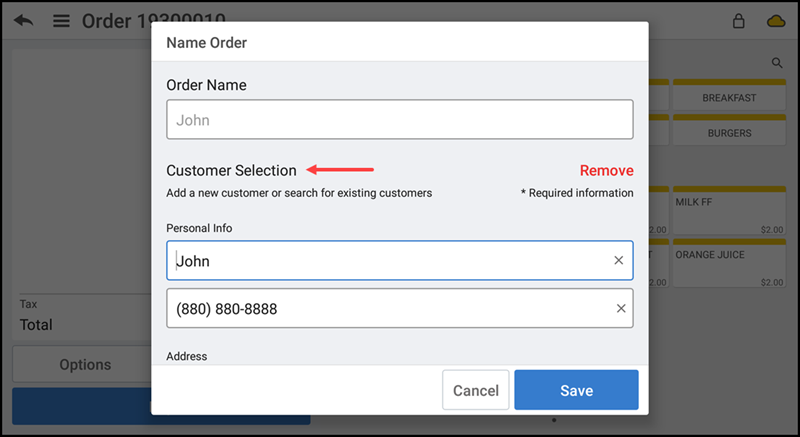
Type the customer name or phone number. The matching results appear on the screen.
-
Select the desired customer.
-
Tap Save. The Phone Number screen appears.

-
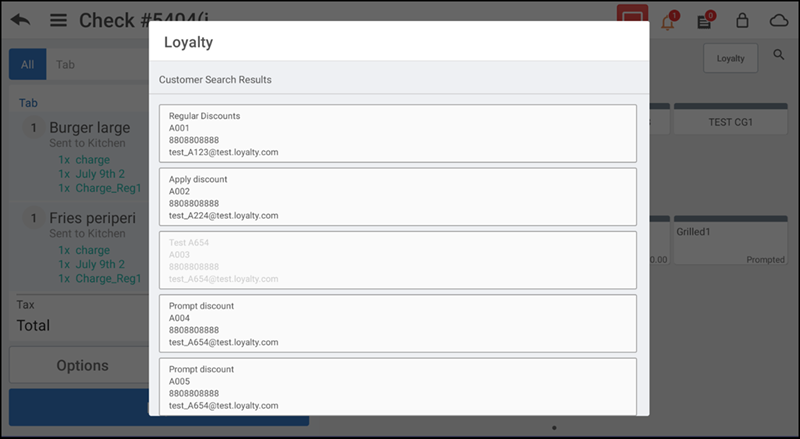
Enter the phone number for SMS notification or tap Skip, if notification is not required.
-
Tap Done. The Loyalty screen appears and you can track all the assigned loyalty rewards for the respective customer.
Note: To learn how to track loyalty rewards in Back Office, refer to Assigning a loyalty program