Video Queues
Select Maintenance > Hardware > Video Queues to access this function.
Use Video Queues to define the video devices where orders appear in the kitchen for preparation. You can use the standard setting, or set up the queues to use load balancing, which attempts to distribute the orders among the video devices. The Video Queues function appears only when you select ‘Uses Kitchen’ under the ‘Products installed’ group bar in Maintenance > Business > Installed Products > Global tab or ‘Display VideoMX’ under the ‘Options to display’ group bar in Maintenance > Business > Additional Features > Corporate Owner tab.
You can define the video to use the split screen functionality to show two queues on the same monitor, either top and bottom, or left and right.
If using an unequal number of columns per queue, when you split a video screen left and right, the right queue has more weight. For example, if you define the screen as a 2 x 5 grid, the left queue appears in the two leftmost columns and the right queue appears in the remaining three columns.
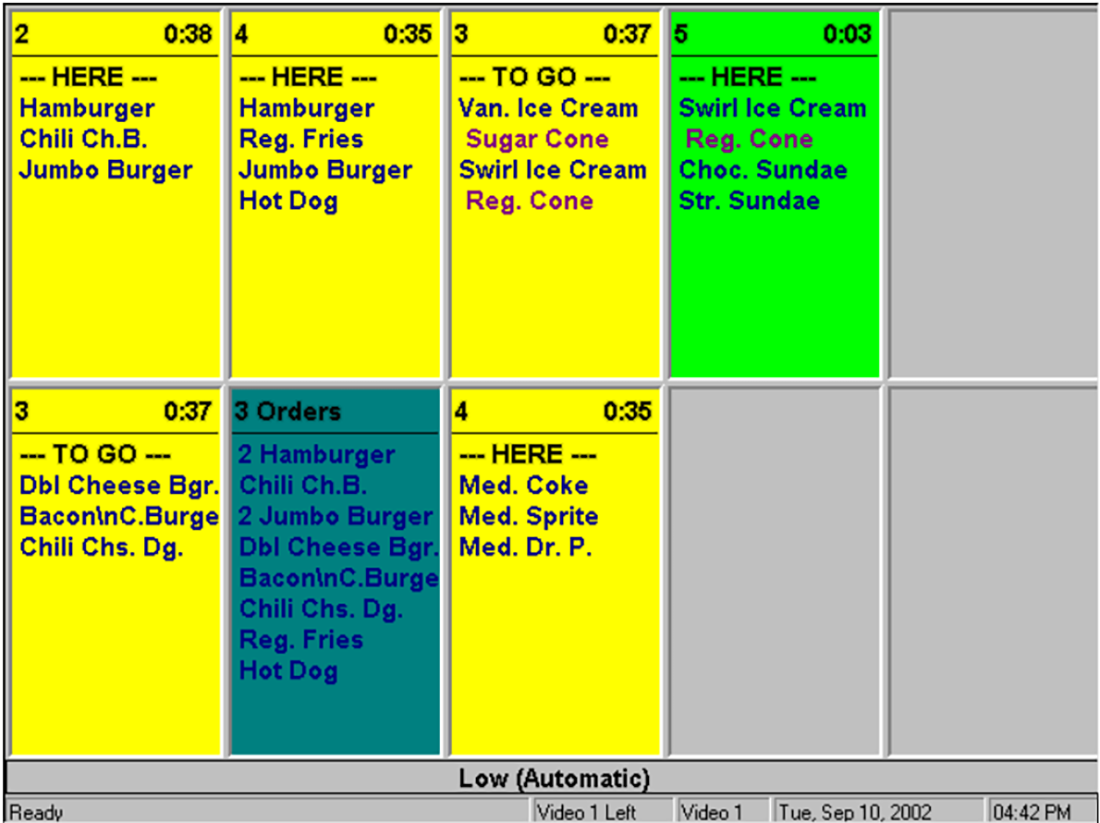
Orders can span across multiple monitors if they are set in the Video Queue Maintenance screen. You can define up to five video devices to show items that are sent to the queue.
For example, if you send hamburgers to Queue 1 and Queue 1 appears on Device 1, Device 2, and Device 3, then when Device 1 fills, the next order appears on Device 2. In turn, when Device 2 fills, the next order appears on Device 3, and so on.
Reference: Refer to the Aloha Kitchen Implementation Guide - HKS328 for more information on using Video Queues with Aloha Kitchen.
Video Queue types
When you create a new video queue, you must select the type of queue to create. Click the New drop-down-arrow to select from the following types, when you add a new queue:
Standard indicates a standard video queue set up for the device and keypad.
Load balance indicates a video queue that automatically distributes orders to multiple queues, based on individual queue load.
Video Queue tab
The Video Queue tab enables you to define where orders appear in the kitchen for preparation.
Group Bar: Settings
Name — Identifies the video queue. Video queue naming conventions are set by the user.
Type — Indicates the type of video queue selected from the ‘Type’ list box. This option is read only.
Display method — Determines when the items appear on the video monitor once employees enter the order.
Display items as entered — Sends each item to the video screen within five seconds after entering on the order screen. Use this method when you want orders to reach the food preparation staff as soon as possible. Items are not yet finalized (see Display When Finalized below) and may be deleted or changed.
Display one behind — Sends each item to the video screen as soon as you enter the next item. Items appear to food preparation staff within seconds after entering on the order screen. Finalizing the order sends the last item on an order. Using this method can curtail sending premature information about an ordered item, considering last second changes to item modifiers.
Display order when finalized — Sends all items on an order to the video screen, only after you finalize the order. A finalized order is an order that was sent to the kitchen for preparation. Orders are considered finalized if you have ordered all the items and sent them to the kitchen (in Table Service), you close the order (in both Table Service and Quick Service), you total the order (in Quick Service), or you navigate away from the order screen (in Quick Service).
Display Default order mode — Shows the default order mode on the video display as you enter the items on the guest check, if you are using the ‘Display Items as Ordered’, or the ‘Display One Behind’ options as your display method. Related Options: In Quick Service, you define the default order mode in Maintenance > System Settings > Terminals or Maintenance > System Settings > Order Entry Queue.
Display check total in video cell — Enables the total of the check to appear in video cells.
Display check paid/unpaid status in video cell — Shows ‘Check Paid’ or ‘Check Unpaid’ on the bottom line of the video cell, depending on the state of the check. **Related Options:** If you select this option in conjunction with ‘Display Check Total in Video Cell,’ the video cell shows ‘Paid’ and ‘Unpaid.’
Cannot bump from video device until check closed — Restricts bumping open checks from video screens.
Display add-on items in original cell — Shows add-on items in the same cell with the originally ordered items. An ‘Add-On’ header appears in the cell to identify the add-on items.
Group Bar: Options
Starts timer — Enables the video to start order delay timers. You must select this option for any monitor to which you route items with specified delay times.
Bump from all video queues — Enables the dispatcher to bump all instances of an order from all monitors upon completion. Orders bumped from the ‘master’ monitor, bump from all video screens. This option is not available with Progressive.
Bump to video group — Specifies a video group to receive bumped orders.
Summary cell items — Indicates which items appear in the summary cell of the video screen.
Show menu items — Shows menu items in the Summary cell.
Show tracking items — Enables you to show only those menu items defined in Aloha Quick Count, in a summary cell that shows tracking items. **Related Options:** Only items set up as tracking items show in the summary cell.
Split screen — Indicates how you want different order queues to appear on the same video screen (either top and bottom, or left and right). Select one of the following options to enable users to view orders from different order queues on the same video screen. **Related Options:** This option works in conjunction with the ‘Cell Layout’ section of the Video Controller screen.
Caution: Be aware that the system disables the split screen feature when mixing a top or bottom video queue with a left or right video queue, and creates an error in VERIFY.TXT until you correct the configuration.
None — Disables the split screen feature. Top — Indicates the queue appears on the top of the screen. Bottom — Indicates the queue appears on the bottom of the screen. Left — Indicates the queue appears on the left side of the screen. Right — Indicates the queue appears on the right side of the screen.
Group Bar: Hardware
You must select ‘Standard’ as the video queue type to enable this group bar and its options.
Controller #1 through Controller #5 — Identifies the specific video device used for the queue. You can define up to five video devices for each queue; however, you cannot select a specific device more than once.
Group Bar: Load balancing
You must select ‘Load balance’ as the video queue type to enable this group bar and its options.
Balancing method — Identifies the type of method used to distribute orders to multiple queues, based on the individual queue load. Options include:
By number of orders — Distributes the orders to the queues based on the number of orders. By number of items — Distributes the orders to the queues based on the number of items.
Queue 1 through Queue 5 — Identifies the specific queue to use for load balancing. You can define up to five video queues; however, you cannot select a specific queue more than once.
Video Groups tab
The Video Groups tab enables you to assign video groups to a video queue. You define video groups in Maintenance > Hardware > Video Groups.
Group Bar: Video Group Assignment
Use the >> and << arrows to move selected video groups between the ‘Available’ list and the ‘Included’ list. The column headings that appear in the ‘Available’ and the ‘Included’ lists are as follows:
Number — Indicates the unique number assigned to the video group.
Name — Identifies the specific video group.